

Splash screen is the initial screen you’ll see when you open your app. It also called as launch screen or start up screen. The duration at which system will show your splash screen and it’s performance depends on factors like app startup time. It may vary depending upon whether your app process is already running in the system or not. You can understand more about app startup time in the official documentation here.
In order to customise splash screen by adding a logo, for example, usually you would need to create a new activity, create a layout to specify your logo, set background, theme for the splash screen etc. But Android makes it a lot easier in version 12 and above.
If you’re not creating an activity to customise your splash screen, then by default, splash screen uses android:windowBackground attribute of your app theme where you can specify a single solid colour for the splash screen background.
| <item name="android:windowBackground">@color/white</item> |
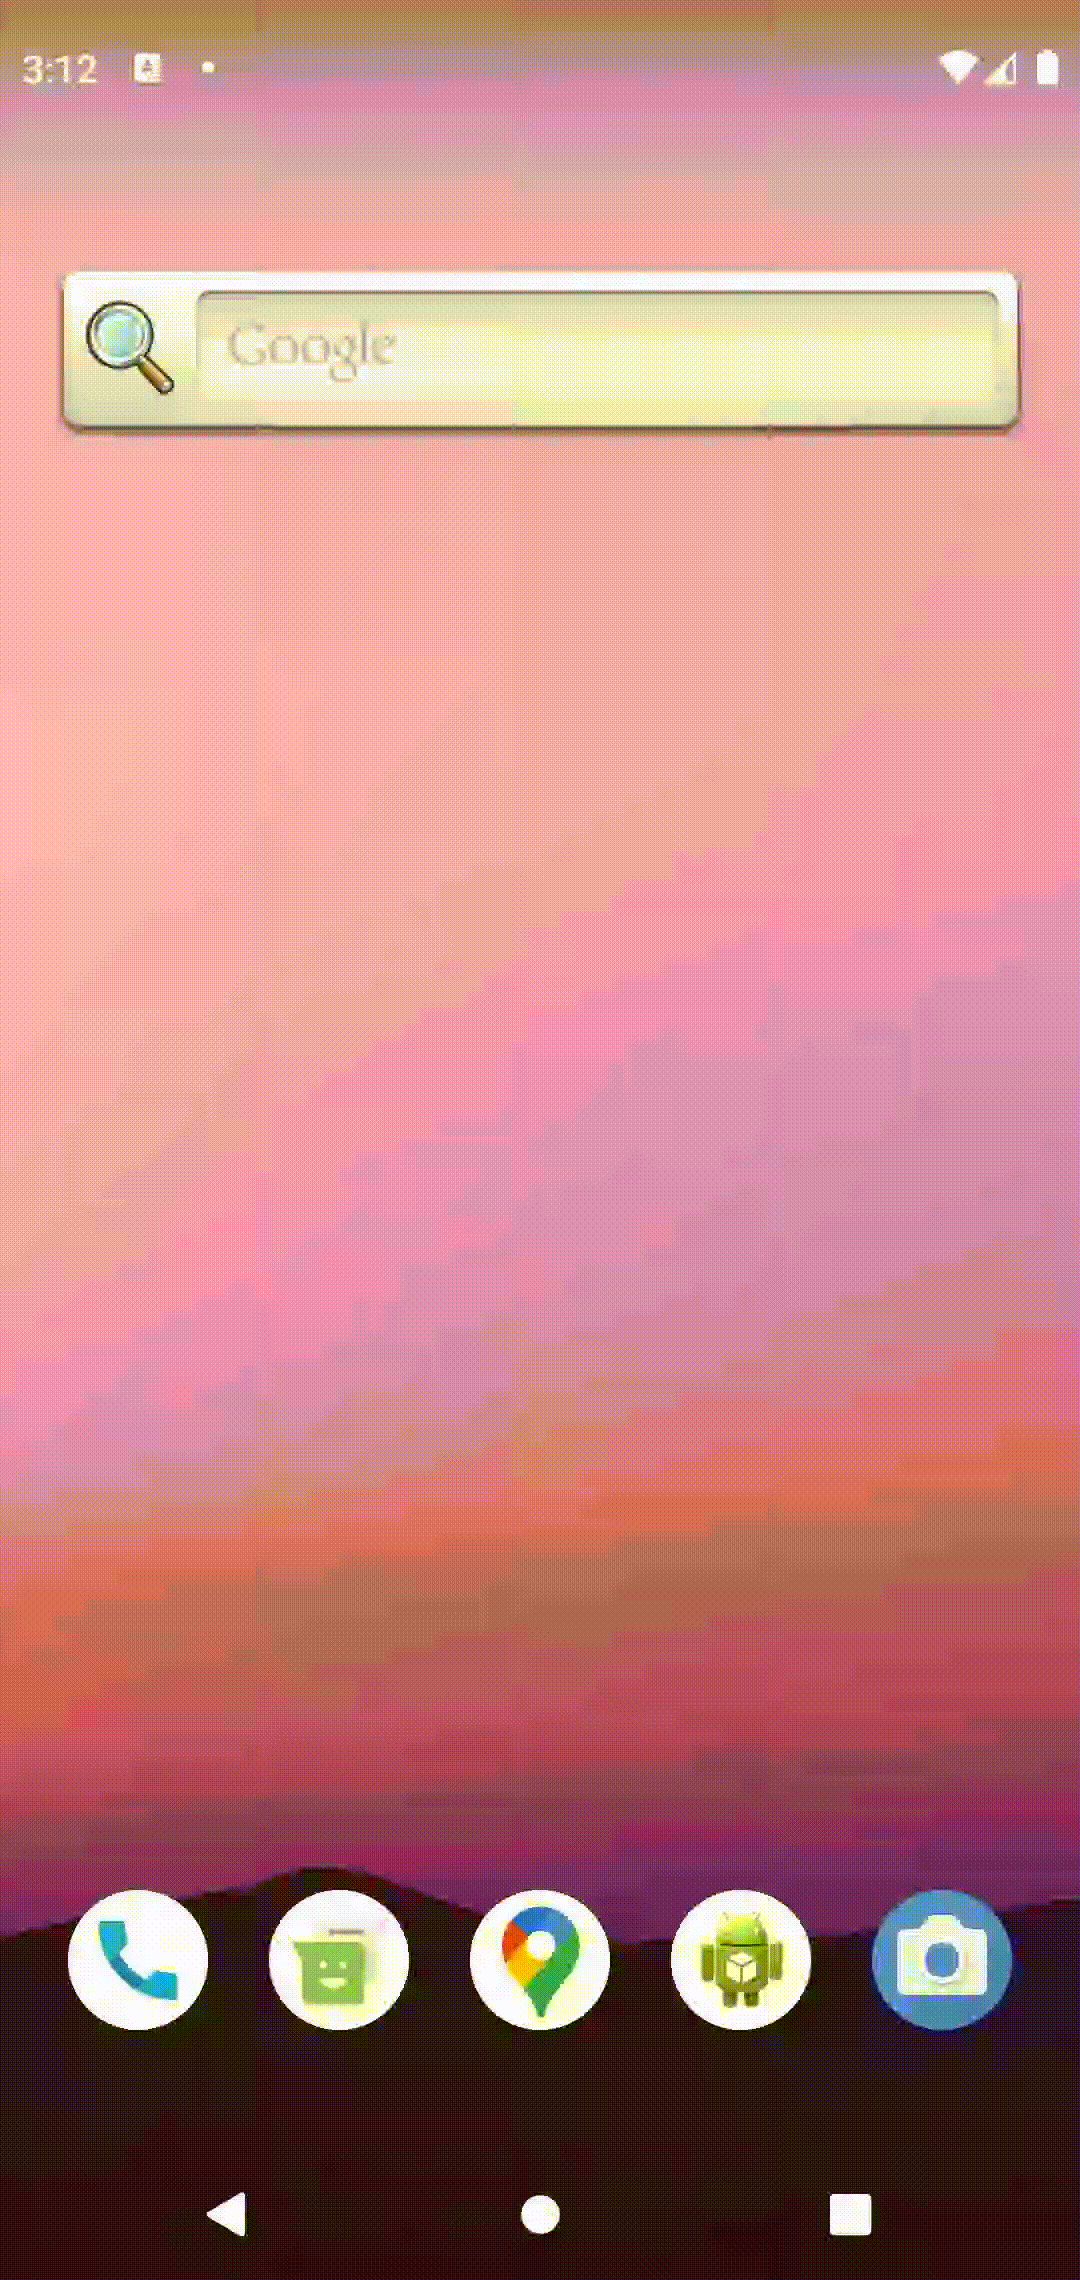
Splash screen background will be white colour as specified and will look like below.
Android 12 introduced a new SplashScreen API. With this API, you don’t need to create a separate activity to customise the splash screen. The system will automatically create one for you. It also allows you to have a new launch animation for your apps. The look and feel of splash screen in devices having Android 12 or higher is different from the look of splash screens in lower versions.
To create a splash screen, you can either directly use the SplashScreen API or use AndroidX Splash screen compat library. But the recommendation is to use the support library. If you’re not using support library, your splash screen will exactly have the same old look in lower versions as you had before. But with AndroidX compat library, the splash screen looks consistent across all the devices with various android versions. Even in the devices having version less than 12.
Knowledge is of no value unless you put it into practice — Anton Chekhov
Following are the steps to migrate to SplashScreen API or start using it in your apps:
- Change compileSdk to 31 in the module level build.gradle file and add SplashScreen API compat library dependency
| android { | |
| compileSdk 31 | |
| ... | |
| } | |
| dependencies { | |
| ... | |
| implementation 'androidx.core:core-splashscreen:1.0.0-alpha01' | |
| } |
2. Create a custom theme whose parent is Theme.SplashScreen.
| <style name="Theme.CustomSplashScreenTheme" parent="Theme.SplashScreen"> | |
| <item name="windowSplashScreenBackground">@color/white</item> | |
| <item name="windowSplashScreenAnimatedIcon">@drawable/logo</item> | |
| <item name="windowSplashScreenAnimationDuration">300</item> | |
| <item name="postSplashScreenTheme">@style/Theme.TalesOfKnots</item> | |
| </style> |
Theme.CustomSplashScreenTheme is the new theme we created for the splash screen.
The android:windowSplashScreenBackground is a replacement for windowBackground in higher versions. Which specifies solid colour for window background.
If you’re not using support library of splash screen, replace windowBackground with windowSplashScreenBackground for versions above 12. It is added in API level 31. So it requires API level 31. So the system will notify you of the same if your current minSdk version is less than 31. Then override themes.xml for version 31 and specify android:windowSplashScreenBackground to specify background colour.
android:windowSplashScreenAnimatedIcon specifies the static or animated drawable. android: windowSplashScreenAnimationDuration needs to be mentioned for the drawable which is animated. This specifies how long the animation should be shown on the screen. The recommended duration for app icon animation is that it shouldn’t exceed 1000 milliseconds.
android:postSplashScreenTheme specifies the theme of the activity that follows the splash screen immediately. It’ll be the theme of your home screen.
3. In the manifest.xml file, add application theme to the newly created Custom theme.
| <application | |
| ... | |
| android:theme="@style/Theme.CustomSplashScreenTheme"> | |
| </Application> |
4. To use the splash screen features, call installSplashScreen() method before setContentView() within the activity which starts immediately after the splash screen. In our case, it is MainActivity.
| class MainActivity : AppCompatActivity() { | |
| override fun onCreate(savedInstanceState: Bundle?) { | |
| super.onCreate(savedInstanceState) | |
| installSplashScreen() | |
| setContentView(R.layout.activity_main) | |
| } | |
| } |
OUR VIDEO RECOMMENDATION


Jobs
installSplashScreen will create an instance of Splash screen and return it. It also set the postSplashScreenTheme to the MainActivity . If you’re not creating your custom theme and not specifying postSplashScreenTheme, then you’ll get an error like this:
Caused by: android.content.res.Resources$NotFoundException: Cannot set AppTheme. No theme value defined for attribute com.anu.talesofknots:attr/postSplashScreenTheme
postSplashScreenTheme is similar to setting theme to Activity using Activity.setTheme().
5. Build and Run the app to see the changes..
Tadaaa !!
Your new splash screen is now ready.
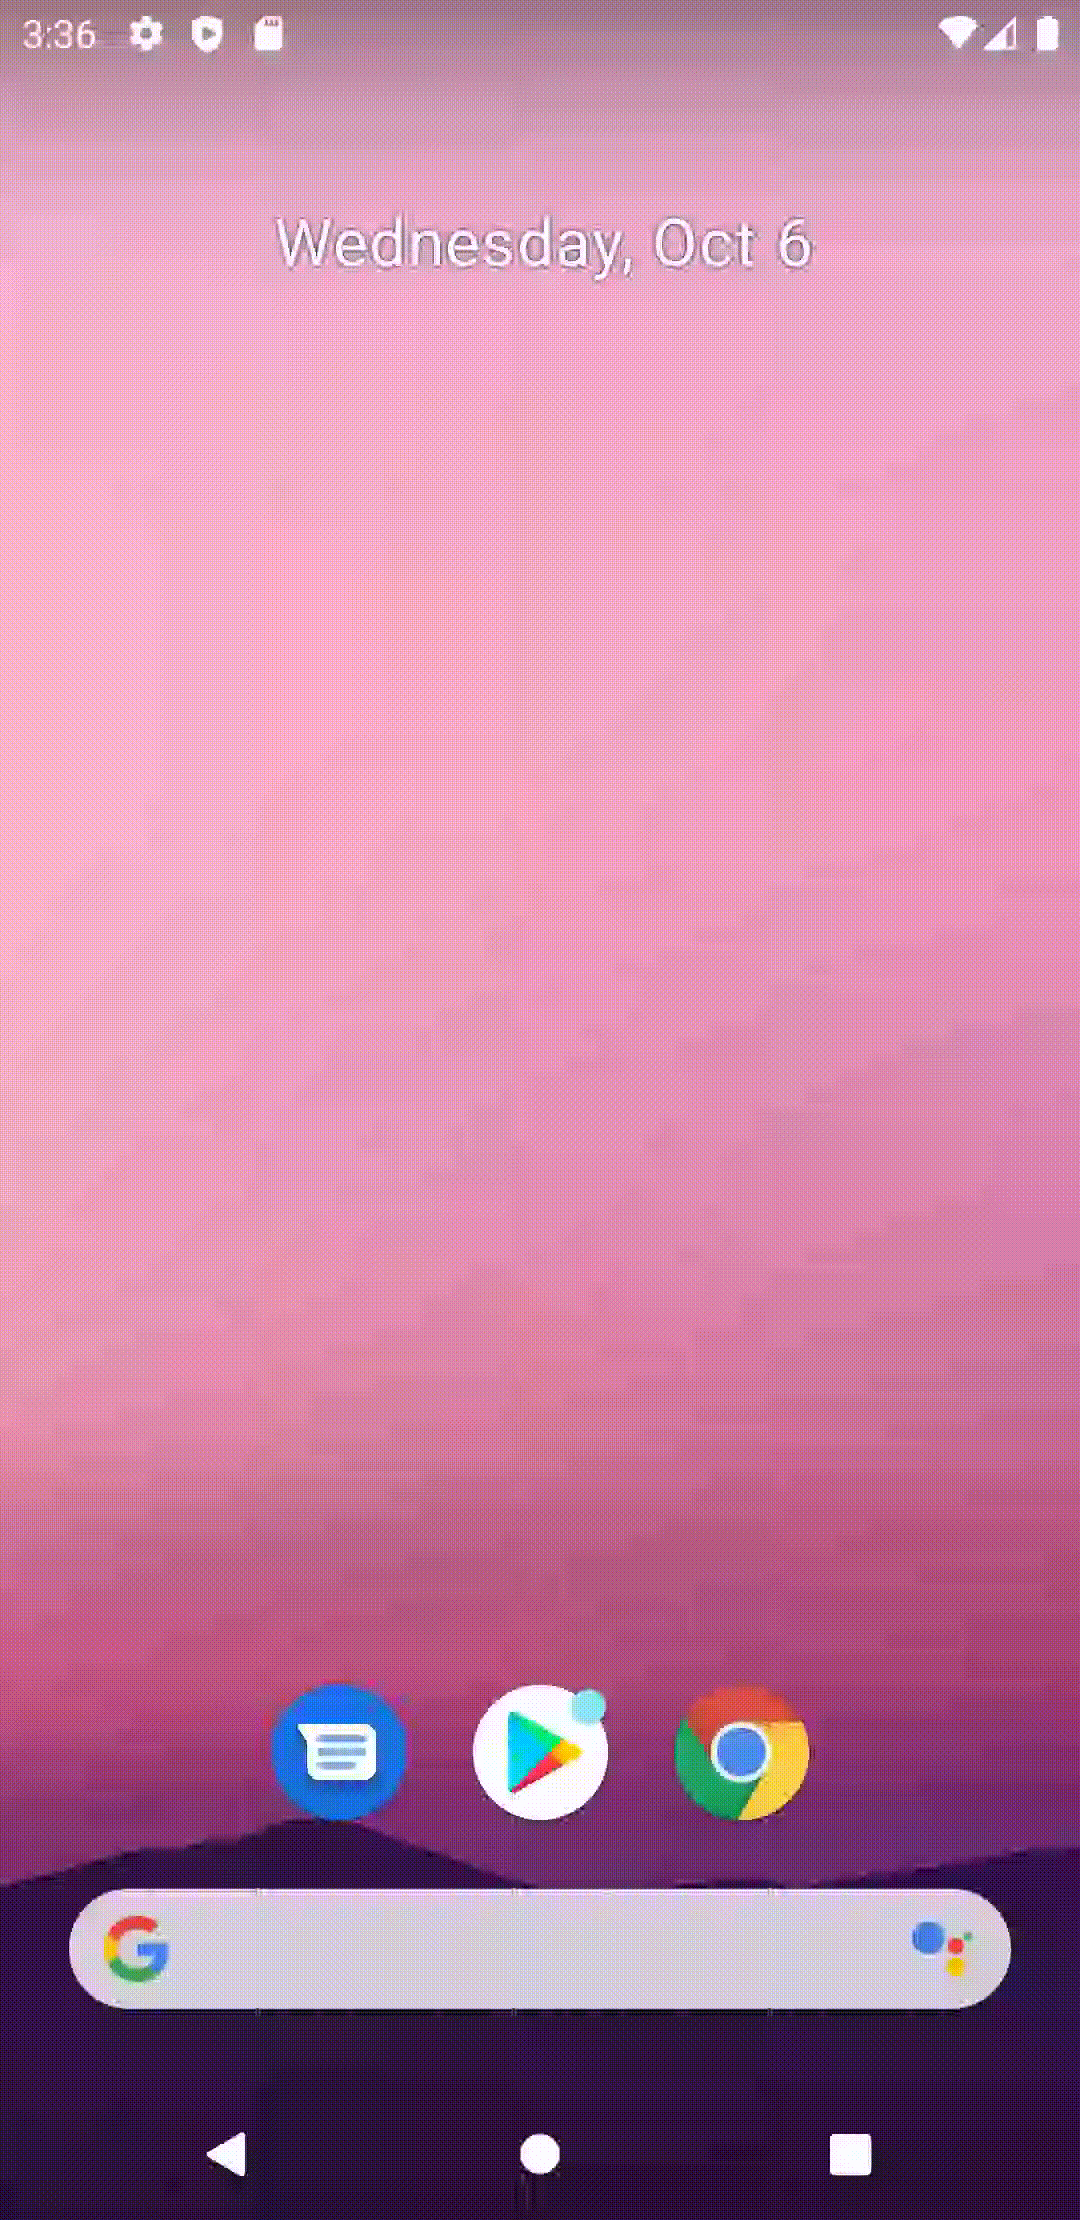
With SplashScreen support library, this is how our splash screen looks like. It will be similar in all android versions.
Splash screen is like any other screen in app so that you can associate your branding to splash screen as well and it goes well with your app’s overall design. We’ll discuss more about customising splash screen in upcoming blogs.
Thanks for reading! Share your thoughts and experience in the comments. Let’s learn together !!
Happy learning and happy coding! 🙂
Thanks to Andy Dyer.


