

With the first official release of the androidx.core.splashscreen library, there is no better time to jump into Android’s latest opinionated trend which is making the splash screen not only mandatory but semi-uniform across apps.
A Day in History
Starting with Android 12, a new feature was added where all applications would now have a splash screen upon launch. This new feature is mainly controlled by the operating system, but it allows for a few customizations.
In parallel, they also introduced the SplashScreen API that enables developers to take control of this new process.
As the official documentation explains, this experience brings standard design elements to every app launch, but it’s also customizable so your app can maintain its unique branding.
How it Works
The splash screen consists of two main steps that happen on either a cold start (when the app process is not running) or a warm start (the Activity has not been created):
- The system shows the splash screen using themes and any animations that you’ve defined
- When the app is ready, the splash screen is dismissed and the app is displayed
Basic Setup
Starting off at the app-level build.gradle, we need to make sure that we’re targeting an API of 31 or higher. Additionally, we need to integrate the new core-splashscreen library into our project first.
android {
    compileSdk = 31
    ...
}

dependencies {
    ...

    implementation("androidx.core:core-splashscreen:$1.0.0")
}
With the compile SDK level set up and the library integrated, the new splash screen APIs can be implemented by adding the following style definition into either thestyles.xml or themes.xml file.
<!-- styles.xml or themes.xml -->
<style name="Theme.MyApp.Starting" parent="Theme.SplashScreen">
  <item name="windowSplashScreenBackground">@color/bg_splashscreen</item>
  <item name="windowSplashScreenAnimatedIcon">@drawable/ic_mark</item>
  <item name="postSplashScreenTheme">@style/Theme.MyApp</item>
</style>
There are three main elements in this initial setup for a splash screen:
windowSplashScreenBackground— Defines the solid color that will be used for a background, with white as default.windowSplashScreenAnimationIcon— Overrides the icon resource to use, where the default is the launcher icon.postSplashScreenTheme— This option defines the theme that will be automatically applied after the splash screen is finished transitioning.
Next up, the project’s Manifest will also need to be updated in order for it to know that the application should boot using the new splash screen style instead of the regular theme.
<application
     ...
     android:theme="@style/Theme.MyApp.Starting">
   <activity
       android:name=".ui.main.MainActivity"
       ...
    </activity>
</application>
Last but not least, your launching Activity should trigger the custom splash screen implementation by calling the Kotlin extension installSplashScreen() directly from it’s onCreate() function to get everything going.
class MainActivity : AppCompatActivity() {
    override fun onCreate(savedInstanceState: Bundle?) {
        super.onCreate(savedInstanceState)
        // Enable support for
        // Splash Screen API for proper Android 12+ support
        installSplashScreen()
        ...
    }
    ...
}
OUR VIDEO RECOMMENDATION


Jobs
Further Customization
As it was briefly mentioned in the last section, the field windowSplashScreenAnimatedIcon has to be overridden in order to use an icon different from the launcher icon. Additionally, we can set an optional icon background that is meant to be used when more contrast is needed between the icon and the splash screen background.
<item name="android:windowSplashScreenIconBackgroundColor">@color/...</item>
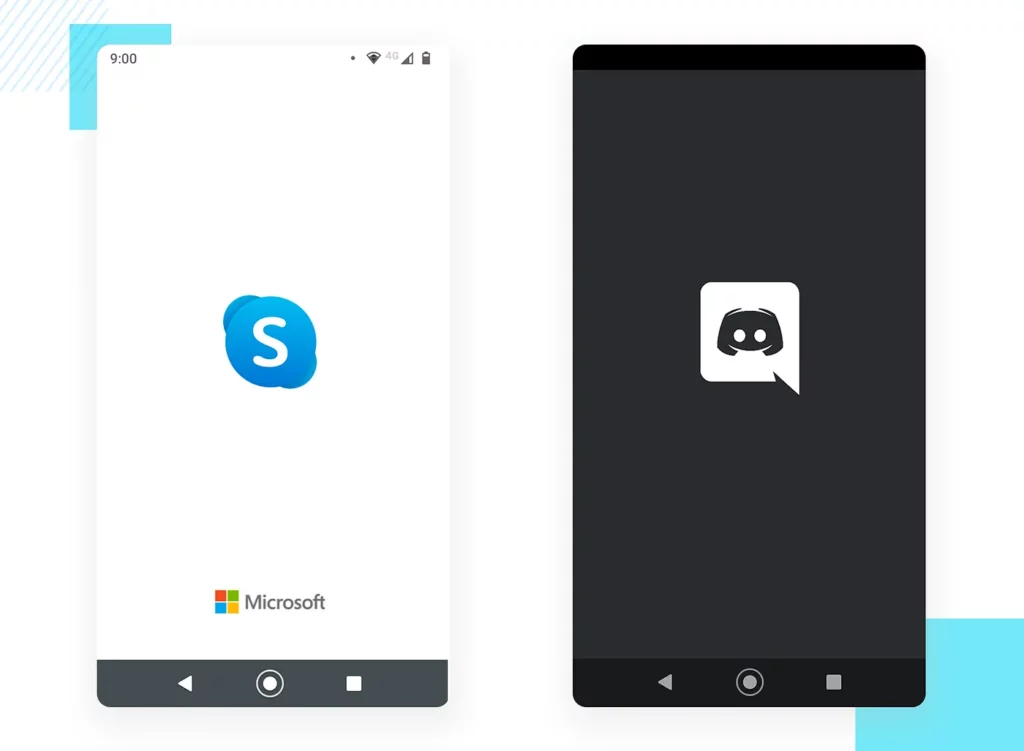
Moreover, we can also add a branding image at the bottom of the splash screen. This pattern is not particularly recommended by Google, but is supported nonetheless and can be accessed as follows.
<item name="android:windowSplashScreenBrandingImage">@drawable/img_branding</item>
Animating the Icon
Moving on to more advanced uses of the new SplashScreen APIs, the icon may be overwritten with an animated vector drawable instead, something that would enable the splash screen to showcase an animation as part of the startup sequence.
<item name="android:windowSplashScreenAnimatedIcon">@drawable/anim_mark</item>
<item name="android:windowSplashScreenAnimationDuration">1000</item>
Note that the field windowSplashScreenAnimationDurationhas been added to define how long the splash screen animation will be going for. This option is used by Android 12, but starting with Android 13 the animation duration can be inferred directly from the AnimatedVectorDrawable.
If you’re interested in learning how to create these AnimatedVectorDrawables and how to further use, check out my other article where I go over this topic and showcase a tool that helps build these assets altogether.
Going Dark
Another cool feature that the new SplashScreen API enables is the ability to have an alternative splash screen implementation for night/dark mode.
Getting the alternative splash screen up and running for night mode is not very dissimilar to what we went over on the initial setup. Assuming your application already has the values-night resource directory, find the night-mode version of the themes.xml file, and add the exact same code as before, but pointing to your night-mode assets instead.
<!-- values-night directory -->
<style name="Theme.MyApp.Starting" parent="Theme.SplashScreen">
  <item name="windowSplashScreenBackground">@color/bg_splashscreen_night</item>
  <item name="windowSplashScreenAnimatedIcon">@drawable/ic_mark_night</item>
  <item name="postSplashScreenTheme">@style/Theme.MyApp</item>
</style>
After adding this block of code, setting your device in dark mode and running the application should now display the night mode version of the splash screen instead. Similarly, setting your device back into light mode would showcase the ‘regular’ splash screen that we had before.

Afterthought
There are a few more options we can play around with that we haven’t covered in this article. For more information on what those are and how to use them, check out the official documentation for reference.
Please clap and follow if you find this interesting, and make sure to check out some of my other inquiries into the particulars of the world of Android!
This article was previously published on proandroiddev.com


