

Posted by: Yahor Urbanovich

Every developer who has an application in Play Store worries about user engagement before the application install. This metric can be simply improved by adding beautiful and informative screenshots. I want to share my own experience of how I made it for my pet project.
Let’s begin.
Originally I prepared screenshots for Google Play using a simple approach:
- Make a screenshot of the application
- Add it into Device Mockup to make it more natural
- Publish to Google Play
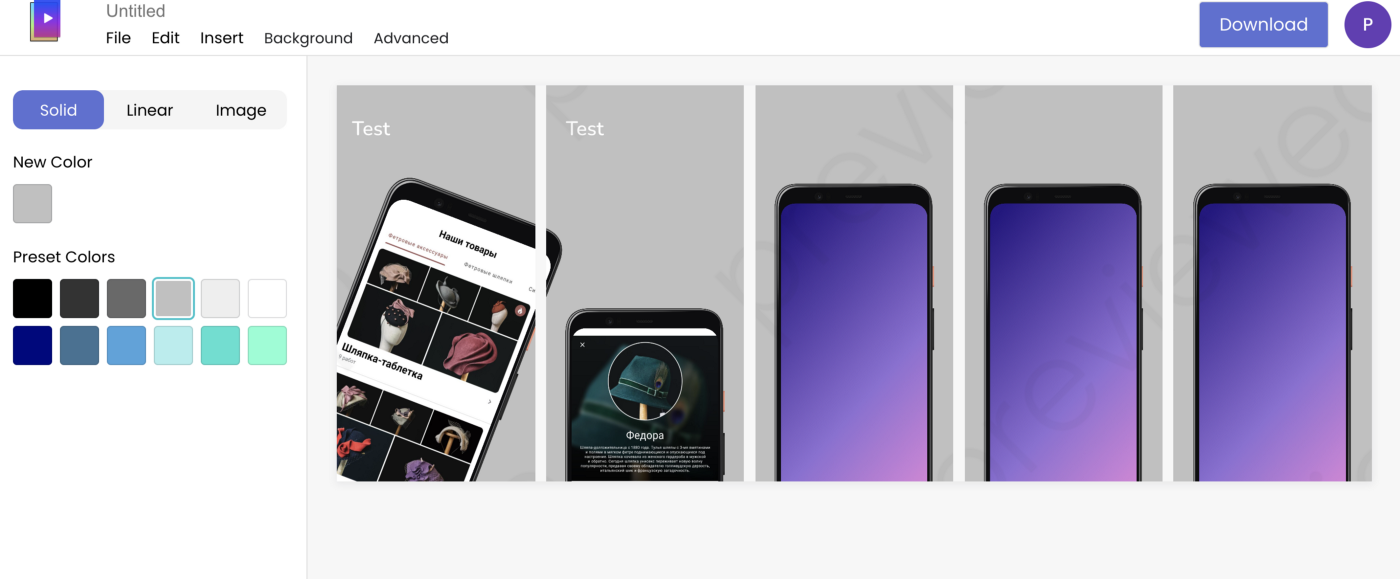
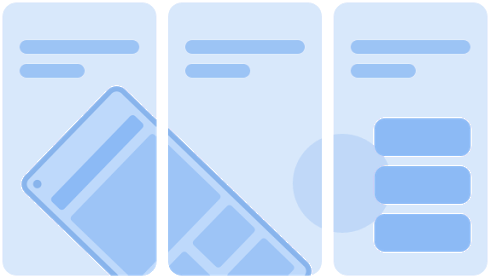
For this purpose, I used Screener:
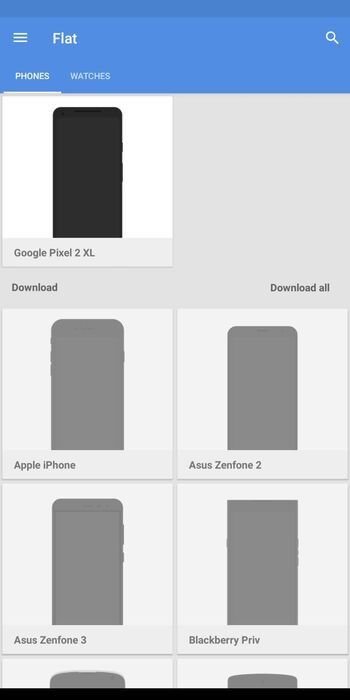
The tool is useful, contains a different amount of phone frames and manufacturers, and fully customizable.
The main lack for me that the application didn’t update since 2018 and doesn’t contain new Android devices, especially Google Pixel’s latest model.
Find the other solutions.
If you are lazy and don’t want to spend your free time, the best way to organize screenshots is through online services.
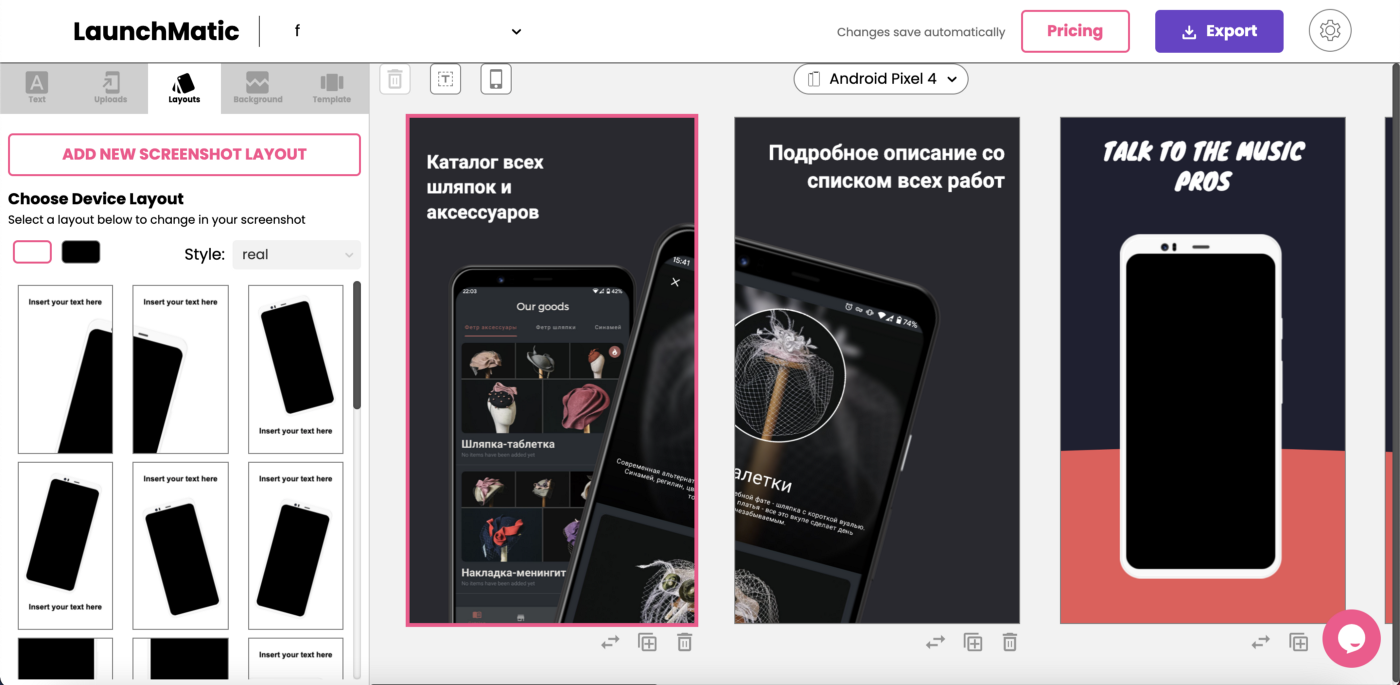
Few of them, which I have tried:
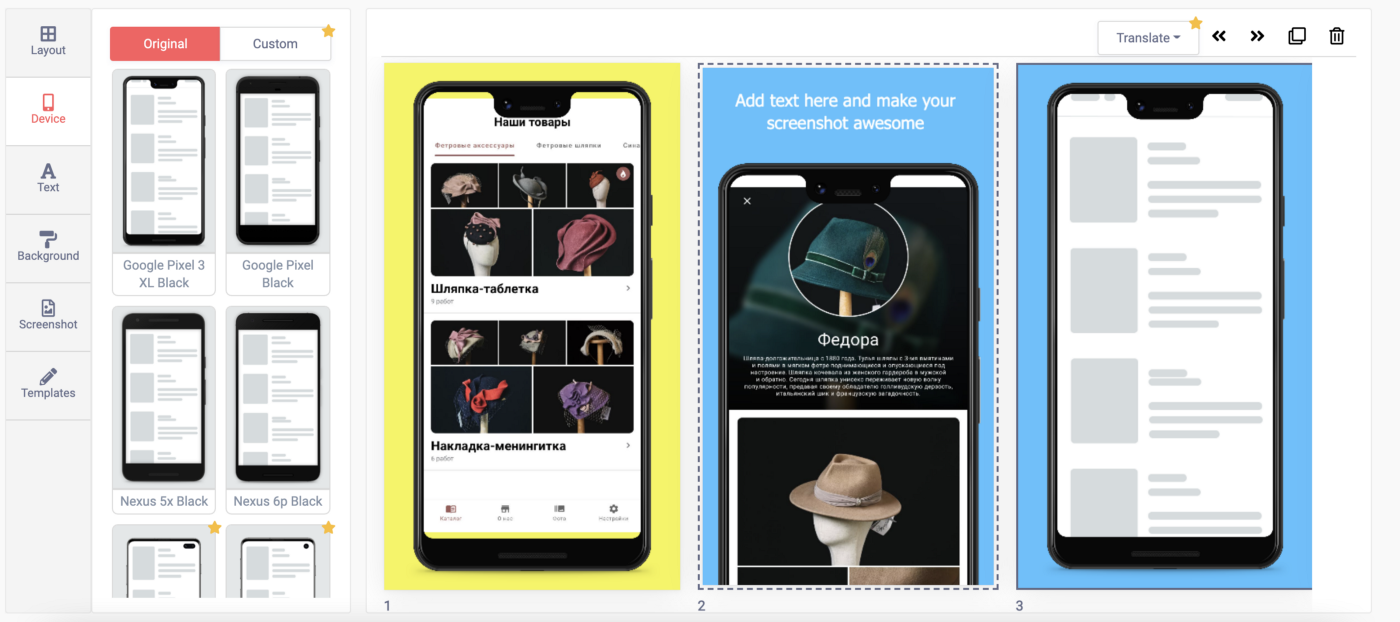
The main drawbacks of online services for me:
- To unlock more themes and functionalities you need to have paid subscription
- Limited customization
- Can’t adjust the screenshot for mockup, the content cropped unexpectedly from different sides
- Some services focus only on iPhone or several Android devices
How to deal with a problem?
Do It Yourself!
What we need:
- Official guidelines
- Adobe Photoshop and basic editing skills
- Creativity and inspiration
Official Google Play guidelines: https://support.google.com/googleplay/android-developer/answer/9866151?hl=en
The most important for us from the Screenshots section:
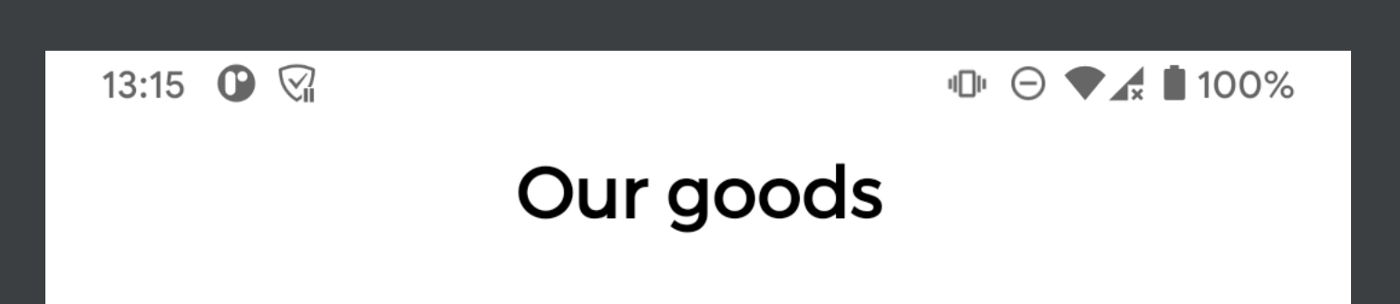
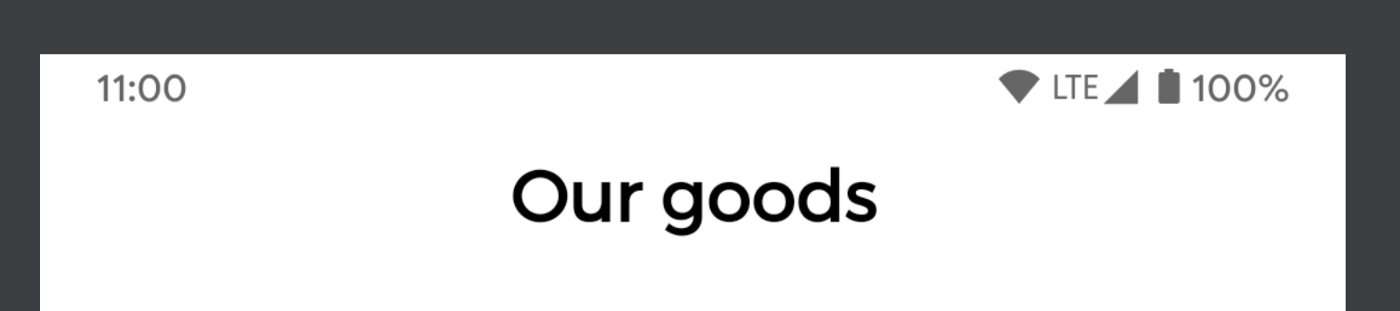
Edit excess elements in the notification bar before submitting. Do not show service providers or notifications. The battery, WiFi, and cell service logos should be full.
Preparing screenshots like a pro ?
Using mobile device only:
- Use the “Screenshot” feature from the context menu
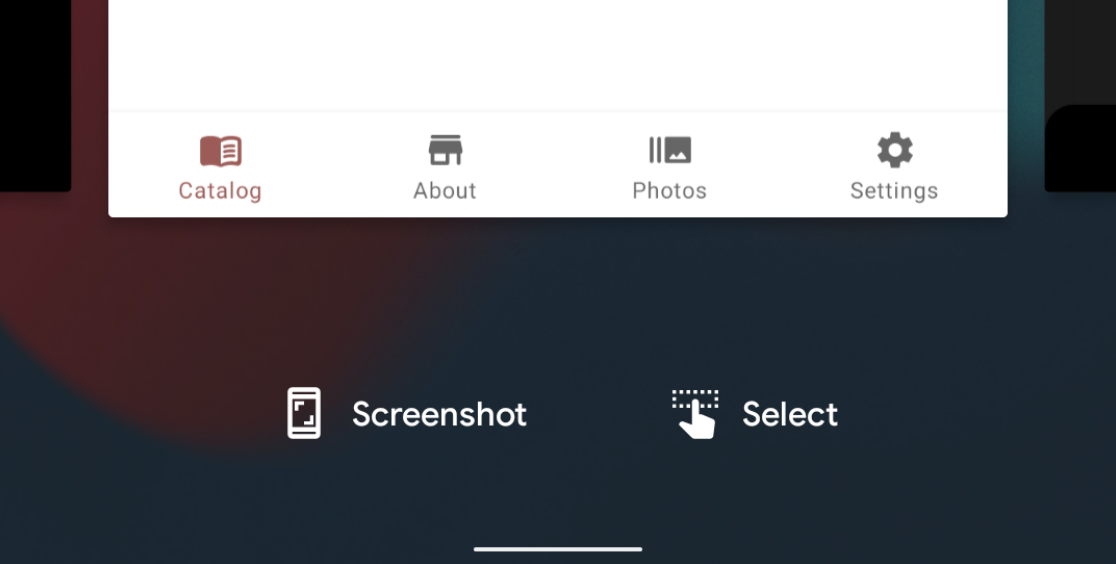
Using this approach we can take a screenshot without any icons in the status bar at all.
Jobs

- Use the System UI demo mode from Developer options
A simple approach to remove annoying notification icons and other information.
Using Android Studio + System UI demo mode:
This embedded tool able to make basic capture things and can put them into the device frame. But the functionality is slightly stripped down ?
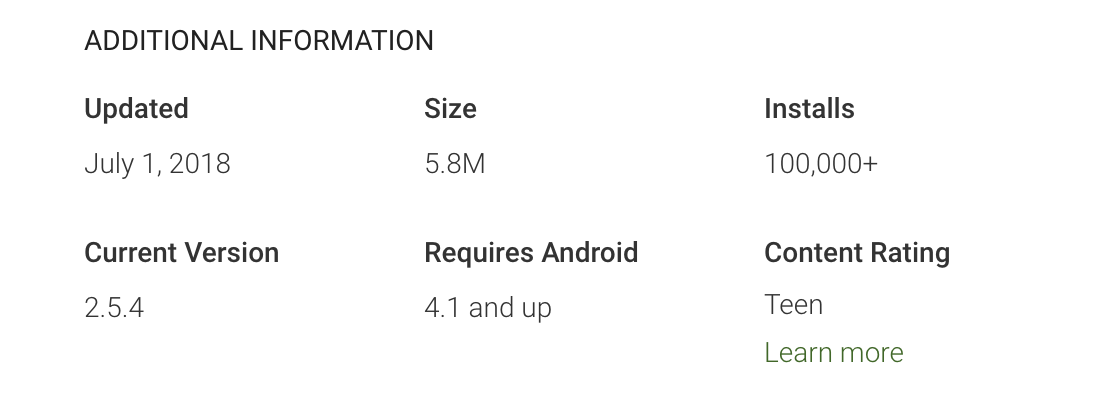
Also important for us from guidelines page info about image size and resolution.
For apps, you must provide at least four screenshots with minimum 1080px resolution. These should be 9:16 for portrait screenshots (minimum 1080x1920px).
Stylized screenshots that break UI across multiple uploaded images are allowed, but prioritize UI in the first three screenshots as much as possible.
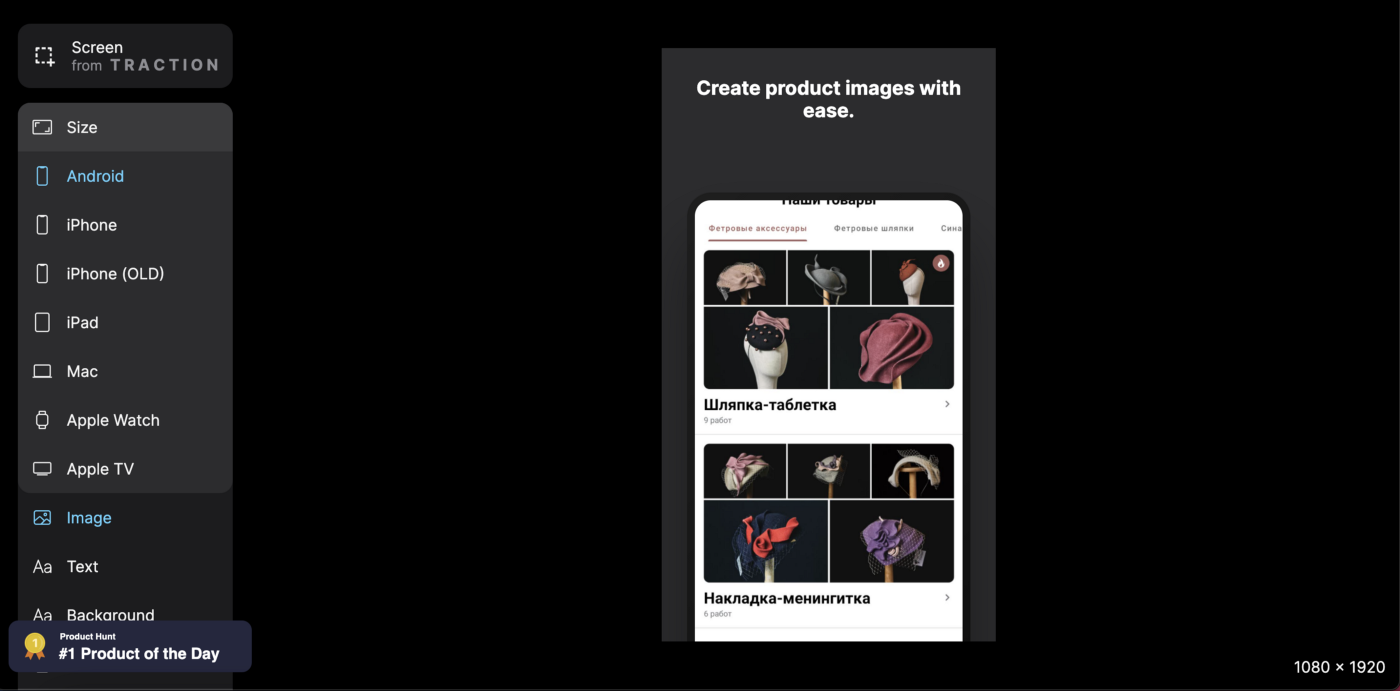
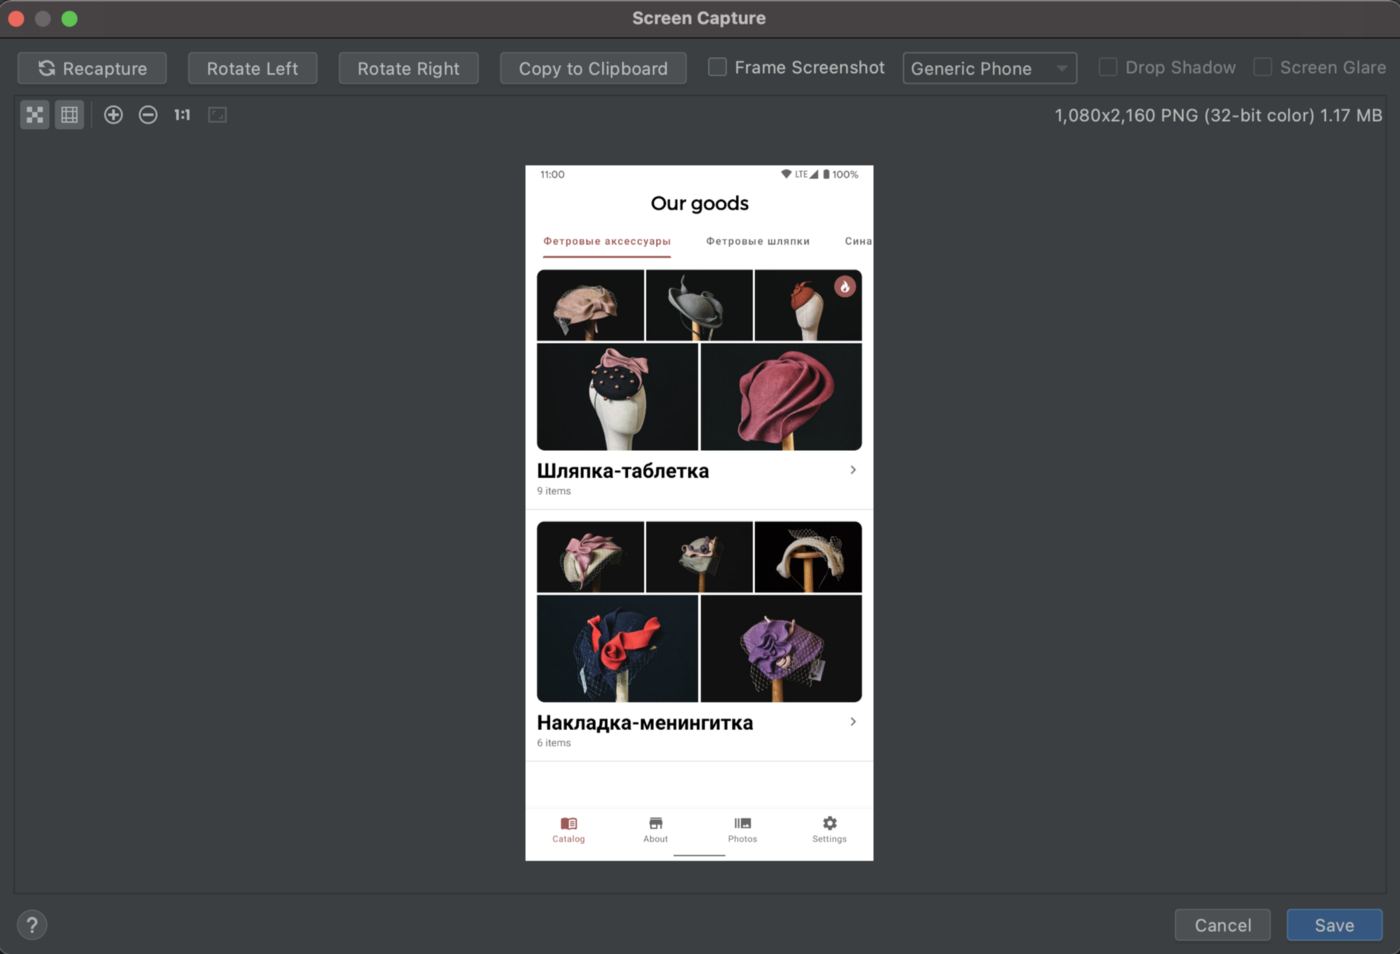
And small image example.
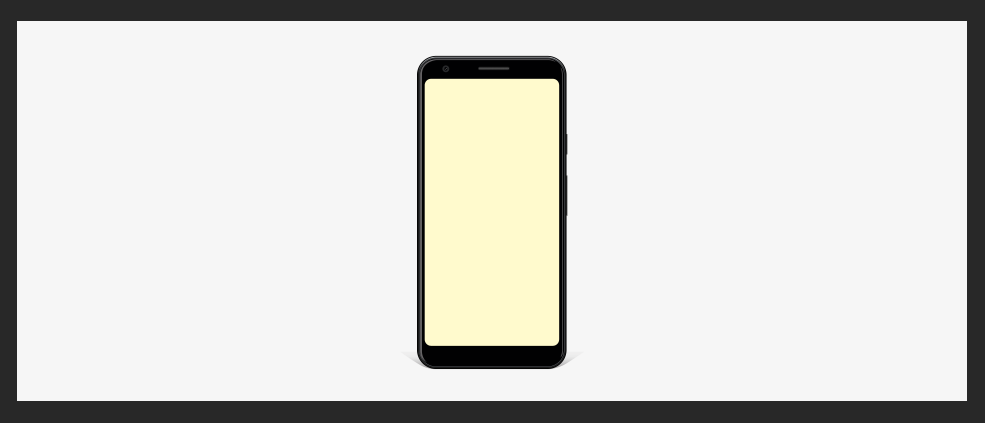
According to this information, let’s create a new PSD document and put a preferred device mockup. In my case Google Pixel 3a (source will be at the end of the post).
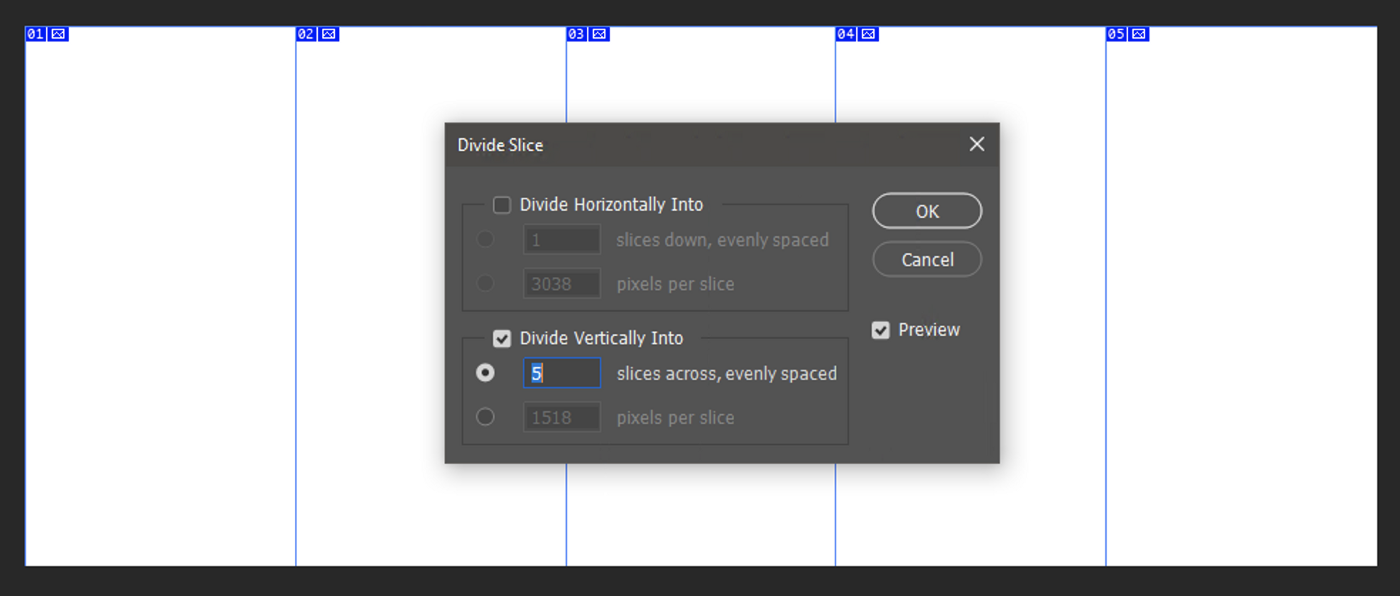
Then, we will use Slice Tool to simplify the future collage and export.
Choose an instrument from the panel, then open the menu and select Divide Slice.

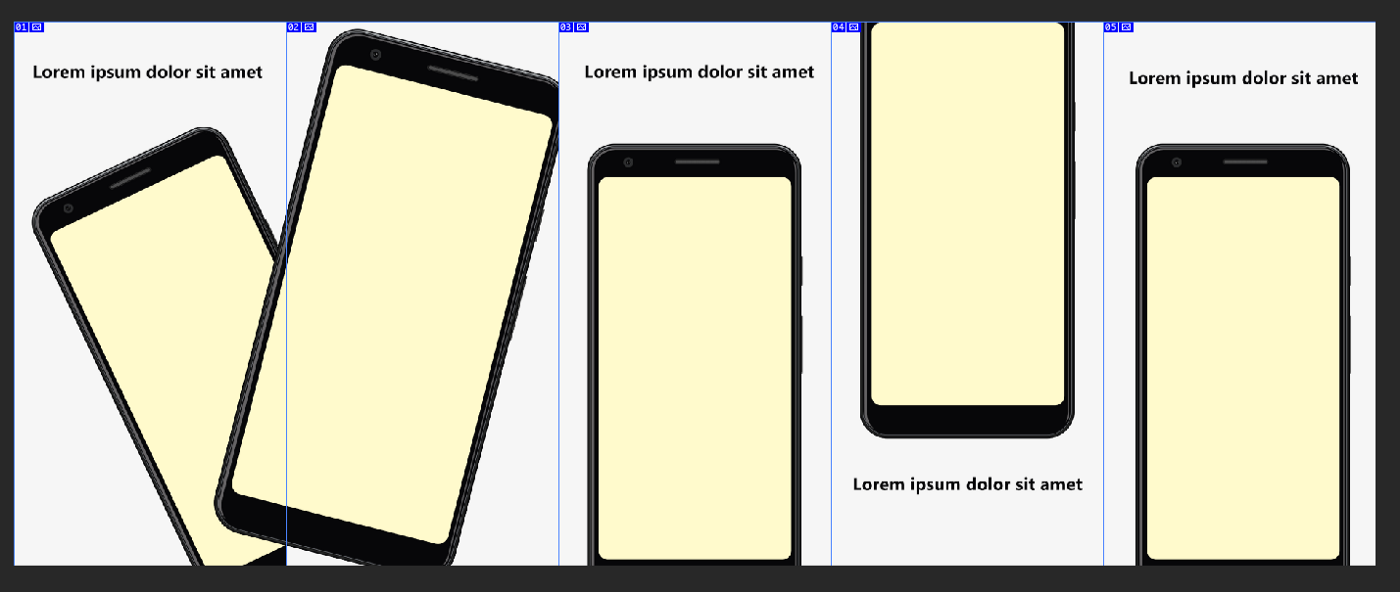
For my purpose, I decided to make 5 screenshots. In this case, we need to divide the canvas into 5 identical vertical layouts.
Then duplicate the device frame several times, arrange as you like, and add a short description about each screen.
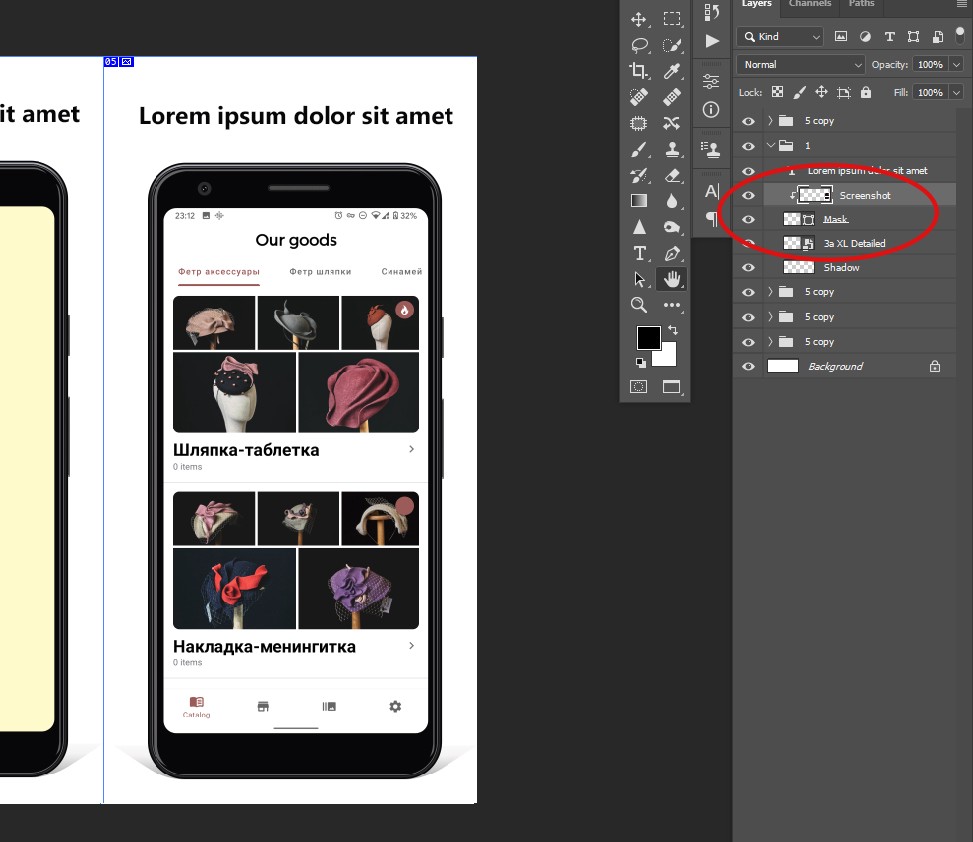
To make your screenshots inside a phone put the image below the Mask layer and apply it as a Clipping mask.
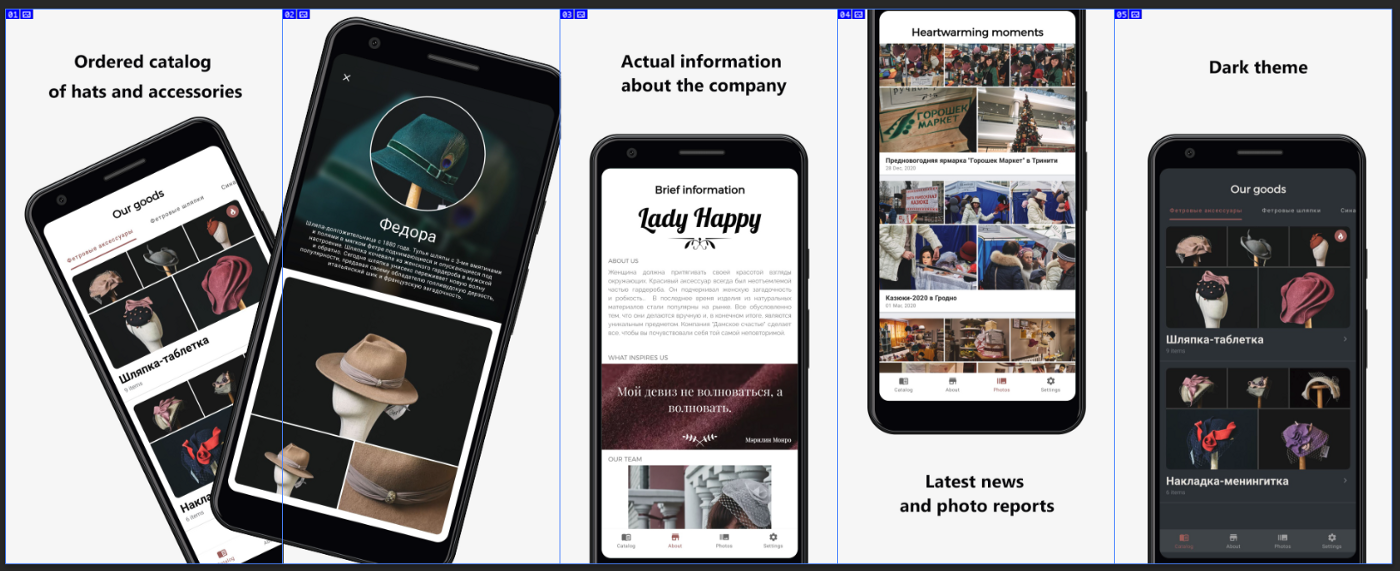
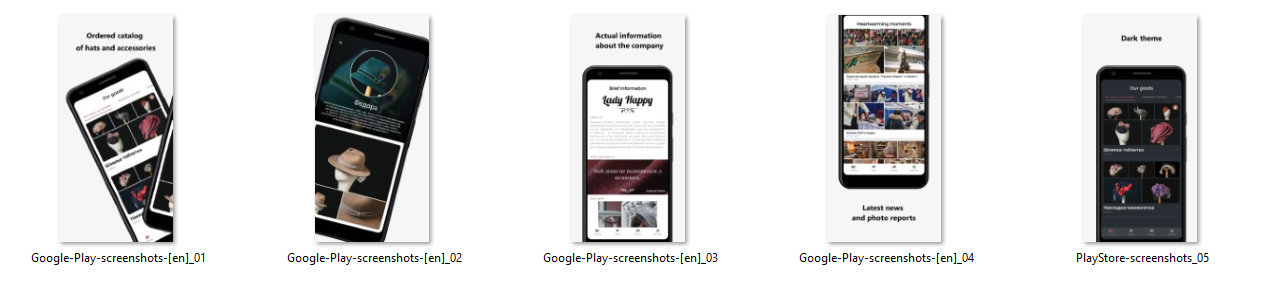
The final result after all manipulations will look like this
Now, it only remains to export screenshots.
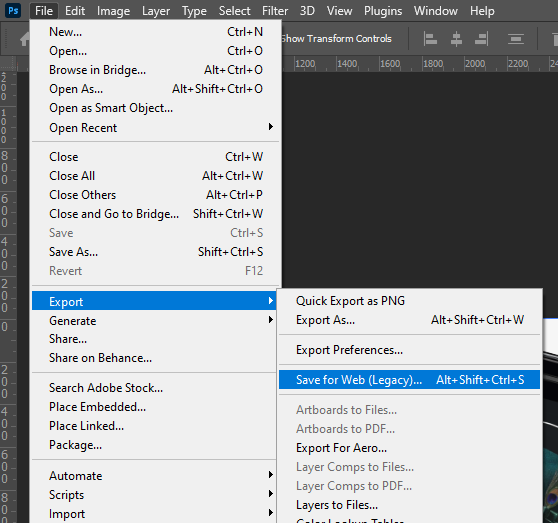
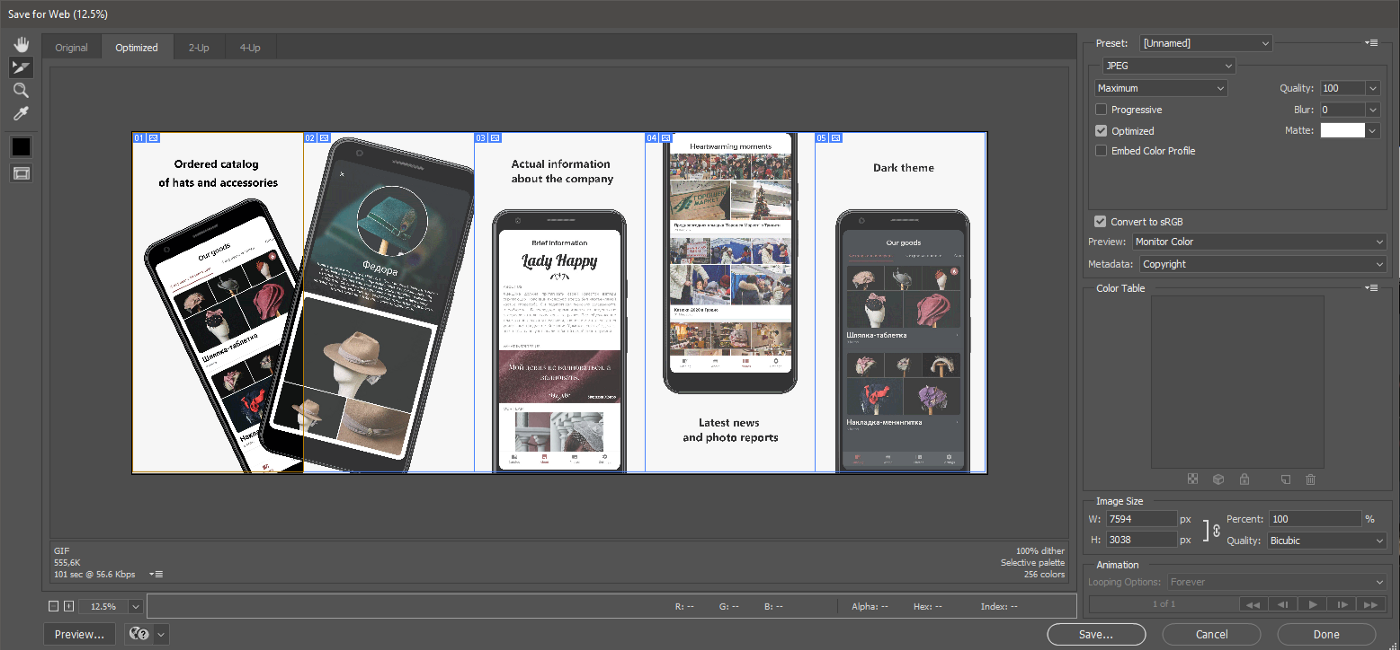
Slice tool automatically split PSD into separate image files, which are ready to publish on the Google Play console.
Summary
- Own solution allows you to be independent of online services
- Completely free
- Fully customizable any time, you are limited only by imagination
I suppose this post can help other developers don’t be afraid to experiment with the Google Play application page and encourage them constantly increase the quality.
Useful links and PSD
Lady Happy app: https://play.google.com/store/apps/details?id=com.egoriku.ladyhappy&hl=en
Source code: https://github.com/egorikftp/Lady-happy-Android
Template PSD file: assets folder on Github
Tags: Android, Play Store, Personal Experience, Screenshots, Photoshop
View original article at:

Originally published: July 10, 2021

