

Build and distribute apps with different flavours using Fastlane and Github actions.
One of the biggest pain points in the life of an Android Developer is sharing builds with different teams either a QA team UAT or sharing with some other devs. Building and sharing build on Average take more than 10 minutes and during that time you can not do anything.
In this article, we will be automating this tedious workflow using Fastlane to build and share apks/aabs to Firebase App Distribution. We can use Fastlane both locally and using Github actions.
Let’s get started.
Ruby:
First of all please make sure you have ruby installed on your system. However, on most of the systems ruby is pre-installed. You can check using the following command
ruby -v
if ruby is not installed refer to this link: How to install ruby
Moving on let us start building some Fast-lanes 🚀🚀
So, What is FastLane?
- FastLane is an open-source platform built to automate the deployment of both IOS and Android apps.
- Fastlane lets you choose flavours, build types and different parameters thus making it super easy for you to automate your deployments.
- Fastlane can work locally on your machine and can integrate with different CI services.
- Fastlane can also help you run tests when generating builds, take screenshots etc.
- Fastlane integrates well with Firebase app distribution and Testflight thus making the dev’s life easier.
Hence, making it the tool of choice for automating workflows.
Setting up Fastlane:
In order to install Fastlane go to the root project of your app. The first thing that we need to install is Bundler. Bundler helps us to manage FastLane dependencies such as Plugins.
Open your terminal and go to the root of your android project and run this command
sudo gem install bundler
In my case, it goes something like this
 Example of how to run commands.
Once the bundler is installed, it’s time to install Fastlane. In order to do so, we need to create a so-called Gemfile.
The Gemfile will have no extension such as .txt or .doc this will tell the bundler which gem to install. As we need Fastlane we will tell the bundler about the source and then our gem to install Fastlane. Add this content to our Gemfile.
source “https://rubygems.org”
gem “fastlane”
The easiest way to do this is Once you are at the root of your project on the terminal run
touch Gemfile
this will create the Gemfile then run
open -e Gemfile
This will open the Gemfile in Textedit. Now, copy and paste the above content into the Gemfile press Ctrl + S and save the file then close.
Now to install Fastlane run
sudo gem install fastlane -NV
This will install Fastlane in our project. Your commands should look something like this.
 Command for installing Fastlane
Now last thing here, We need to initialize Fastlane run the following command.
fastlane init
It will ask you for the package name and JSON secret skip that for now, we will take care of that later.
Your output should be something like this

Congratulations!! we have successfully installed Fastlane 🚀🚀🚀🚀🚀🚀
Firebase Configuration:
For distributing builds to firebase app distribution we need to enable firebase app distribution API and a Firebase credentials file to authenticate Fastlane with firebase app distribution.
Go to the firebase project connected to your app.
- Click on the gear icon next to the project overview and then click on the project setting.

2. Copy the APP ID and save it we will need it later on
 APP ID
3. Now go to users and permissions and click on Advanced permission settings. you will be redirected to google cloud console from where we need to get to firebase-app distribution key.

4. Now go to the service accounts tab.

5. Now click on create new service account button on top

it is a good practice to create a new account only for this purpose with limited access rather than using your own service account.
6. Now we need to create a new service account you can name it anything but I will name it as firebase-app-distributor.

Fill in all the fields and click on create and continue. skip the second part as it’s optional and go to the third part. Give this account role of Firebase App Distribution Admin and crate the account.

7. You will be redirected to the service accounts page. You can now see our newly created service account.

8. Click on the newly created account and then click on the keys tab and then click on Add key and then create new key.

OUR VIDEO RECOMMENDATION


Jobs
You will be presented with this dialogue, click on JSON and create the key and save it.

We now have our Firebase App Id and Firebase-App-Distribution key.
We can export the Firebase app id as an environment variable to use
export APP_ID = <Your app id>
if you have multiple flavours in your app you have to use their app ids for generating builds and deploying to specific app flavours to firebase app distribution.
export APP_ID_QA =<Your app id>
export APP_ID_DEV=<Your app id>
different app ids are needed to deploy to different app distribution apps.
Setting up lanes:
If you do an ls or go to the root folder of your project you will see a folder named Fastlane containing two files App file and fastfile.
Appfilewhich defines configuration information that is global to your appFastfilewhich defines the “lanes” that drive the behaviour of Fastlane
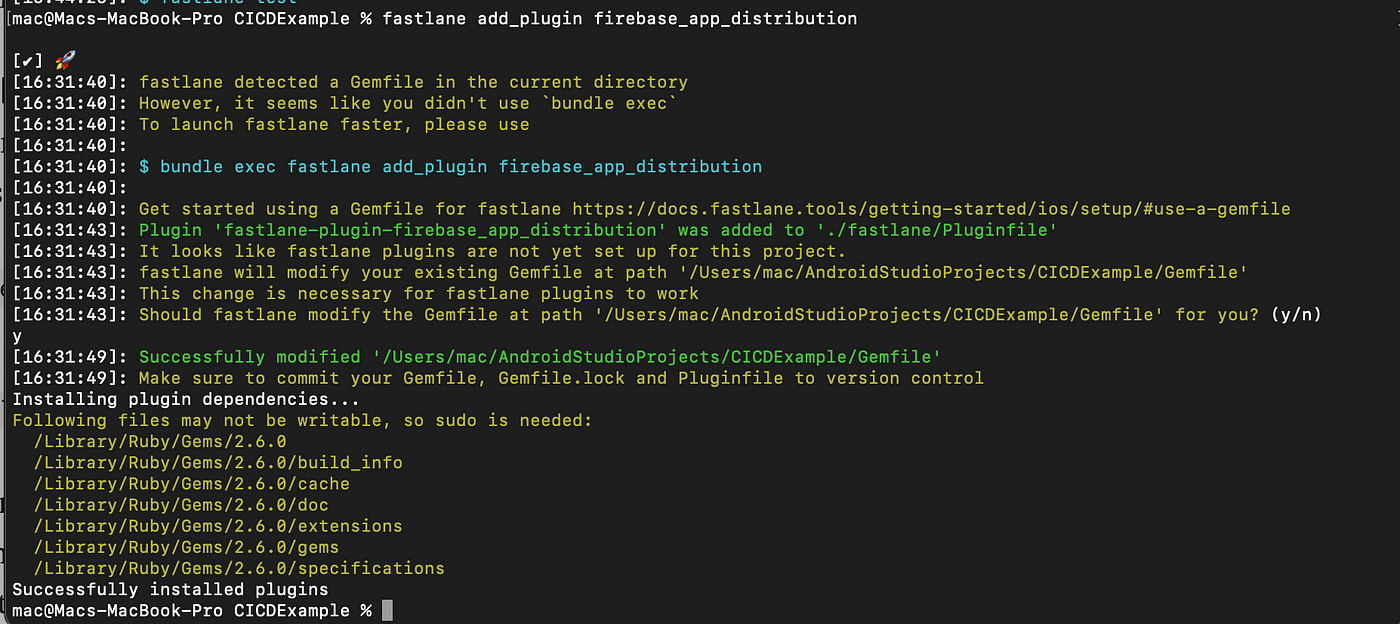
We need another file called Plugin file where we will add the required plugins for the bundler to install. For now, we only need the firebase app distribution plugin that will help us upload builds
fastlane add_plugin firebase_app_distribution
Now let’s start building some lanes to drive 🚀🚀🚀🚀🚀🚀
Building lanes:
A lane is a workflow that Fastlane can complete. If you open your Fast file it already contains some default lanes. The syntax is self-explanatory and will give you an idea of what we are going to do.
1 . First we need to set the default platform that can be ios or android that our lane will be using we can define it using
| default_platform(:android) | |
| end |
as you can see the syntax is self-explanatory.
2. Next we need to tell Fastlane on which platform it needs to drive the lane. Inside default_platform add the following code
| platform :android do | |
| end |
3. Now we need to give a name and description to our lane. Using the desckeyword we can give a description of our lane and using the lane keyword we can give a name to our lane
| desc "This lane uploads QA build to app tester" | |
| lane :uploadQA do |
4. Now we have different options for building our app using the following commands
| 1. gradle(task: "clean assembleRelease") will create a Release Apk | |
| 2. gradle( task: "assemble", // assemble is used for building apks | |
| flavor: "qa", // define your flavours here | |
| build_type: "Release" ) will create a relase apk | |
| 3. gradle( task: "bundle", //for generating AAB | |
| flavor: "qa", //your app flavour | |
| build_type: "Debug" ) // will create a debug version of your app bundle |
Now your code should be looking something like this
| default_platform(:android) | |
| platform :android do | |
| desc "this lane uploads QA build to app testers" | |
| lane :distributeQA do | |
| gradle( | |
| task: "clean assemble", | |
| flavor: "qa", | |
| build_type: "Debug" | |
| ) | |
| end | |
| end |
Most of the work is now done if you don’t have a flavour you can skip the flavour part.
4. If you remember we added our app id to our environment variables and downloaded the secret key file. Move the file to the root of your project and rename it to firebase-distribution-key and now your fast file code will become
| default_platform(:android) | |
| platform :android do | |
| desc "this lane uploads QA build to app testers" | |
| lane :uploadQA do | |
| gradle( | |
| task: "clean assemble", | |
| flavor: "qa", | |
| build_type: "Debug" | |
| ) | |
| firebase_app_distribution( | |
| service_credentials_file: "firebase-distribution-key.json", | |
| app: ENV['APP_ID_QA'], | |
| release_notes: "Lots of amazing new features to test out!", | |
| groups: "qa" | |
| ) | |
| end | |
| end |
let us understand what we have done here
- We have used firebase_app_distribution plugin
- We have added the path of service_credentials_file
- We have added the APP Id from the environment variables
- Added release notes for our app
- Using the groups keyword we added the group we want to distribute the app to
Now let’s test our lane go to your terminal and run the following command
fastlane <name of your lane>
our test app is now uploaded to firebase app distribution.

Note: When adding your project to version control don’t forget to add all the folders and files related to Fastlane.
This is the end of this article in the next article we will explore GitHub actions and how can we use them for CI/CD in detail.
Bonus: if you want to run tests before publishing the build to the app tester you just need to add this to your lane
gradle(task: “test”)
Example Project can be found here:
This article was originally published on proandroiddev.com on April 27, 2022


