

Automation has become a necessity in the Dev-Sec-Ops world. Ideally, if a workflow can be automated, you should not be doing it manually. Although many automation tools are available, GitHub Actions is an elegant solution that offers the convenience of creating and managing CI and CD workflows from GitHub, the largest code-hosting platform in the world.
If you haven’t read the previous article then please read it here: CI/CD for Android Devs I | Deploy Flavoured apps to firebase with Fastlane
It is important to understand the basic concepts of CI and CD before creating and managing GitHub Actions workflows. It is also relevant to learn about some of the technologies that make GitHub Actions possible, such as GitHub — the platform where all GitHub Actions live — and YAML Ain’t Markup Language, commonly known as YAML — the markup language that powers GitHub Actions workflows.
The main idea behind CI is that automated processes should be in place to test and build software many times a day. This is important because bugs are commonly introduced at the intersection or integration of two different pieces of code. In other words, CI practices manage processes, which allows software engineers to focus on the code itself.
CD follows in the footsteps of CI. It focuses on gathering all changes to code — such as new features, bug fixes, and configuration changes — and sending them to users — or production — as safely, sustainably, and quickly as possible.
Many tools have been created to help software and operations engineers build a CI/CD pipeline. GitHub Actions is arguably the most popular one: it makes it easier to automate the building, testing, and deployment of code on any platform — including Linux, macOS, and Windows — without leaving the repository where the code lives. All of this can happen while GitHub manages the execution and provides rich feedback and security for every step in your workflow.
Because GitHub Actions happen within a repository hosted on GitHub, a GitHub account is needed. Basic knowledge of GitHub as a platform is also helpful.
Headfirst YAML
GitHub Actions use YAML to describe workflows. According to YAML.org, “YAML is a human-friendly data serialisation standard for all programming languages.” YAML is commonly used in configuration files, much like the files used to create GitHub Actions and workflows.
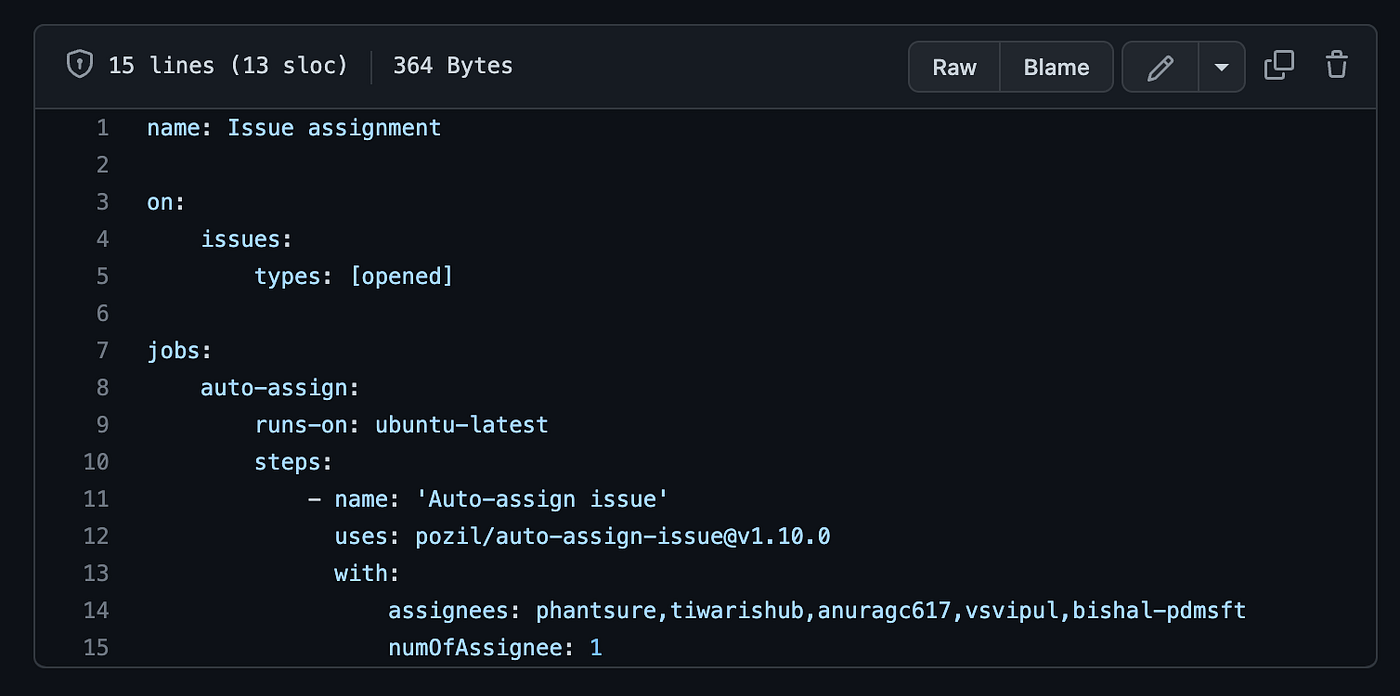
The following file shows how a YAML file is used to create a GitHub Actions workflow. This file is taken from Starter-Workflows open source project.

Example from https://github.com/actions/starter-workflows/blob/main/.github/workflows/auto-assign.yml
Understanding YAML syntax
Key-Value Pairs
Most elements in YAML are written in key-value pairs. As you can see in the above example
name: ‘Auto Assign’
One thing to notice here is the space between the key with“:” and the value. This syntax should be respected or you will get errors when running the YAML file/Workflow.
Another thing to remember here is that YAML is CASE SENSITIVE like many other languages. This means that if you write a key “My-Low-Key” and then you write “my-low-key” instead, “my-low-key” will be considered a new key and both “My-Low-Key” and “my-low-key” are valid keys.
Indentation
YAML like python uses indentation to differentiate code blocks, however, it does not use tabs but white space. Code on the same indentation is considered to be in one block and then a parent-child relationship can be created with different levels of indentation.
Example from https://github.com/actions/starter-workflows/blob/main/.github/workflows/auto-assign.yml
In this photo name: and on: are on the same level of indentation and thus considered siblings. After on: pull_request_target: is on the next level of indentation thus considered a child of on: and types: as a child of pull_request_target:
Comments
Comments can be written using the ‘#’ sign.
#This is a comment in YAML
YAML COMPONENTS
Scalars and Tags
In YAML you can create integers, floats, booleans and strings. Scalar content can be written in block notation, using a literal style (indicated by “|”) where all line breaks are significant. Alternatively, they can be written in the folded style (denoted by “>”) where each line break is folded to space unless it ends in an empty or a more-indented line. A simple example given below might give you an overview of how it works.
| #Scalar with multilines kept as multilines | |
| this-will-print-in-multiline: | this article is so awesome | |
| i cant stop reading it | |
| i have fallen in love with this article | |
| #Scalar with multilines printed as a signle line and new lines will become spaces | |
| this-scalar-goes-straight-in-line: > this is going multiline | |
| but it will be printed in a single | |
| line | |
| #Quoted Scalars | |
| unicode: "Sosa did fine.\u263A" | |
| control: "\b1998\t1999\t2000\n" | |
| hex esc: "\x0d\x0a is \r\n" | |
| single: '"Howdy!" he cried.' | |
| quoted: ' # Not a ''comment''.' | |
| tie-fighter: '|\-*-/|' | |
| #Multi-line Flow Scalars | |
| plain: | |
| This unquoted scalar | |
| spans many lines. | |
| quoted: "So does this a quoted scalar" | |
| #integer | |
| x: 10 | |
| #Booleans | |
| i-am-boolean: yes | |
| no-i-am-not-a-boolean: off | |
| boooolllleeaaaan: true | |
More on that here.
Sequences:
Sequences are lists of data and can be represented by ‘ — at the start.
here — name: represents a sequence block.
https://github.com/actions/starter-workflows/blob/main/.github/workflows/auto-assign-issues.yml
Enough with YAML.
Let us Get Started With GitHub Actions:
Getting started with GitHub Actions is as easy as it gets, you can find hundreds of tried and tested actions on the GitHub Actions marketplace and them to your workflows. However, if you want to completely customise your workflows or build your own it’s fairly easy. You can create an action in a few steps and using basic components of GitHub Actions.
Basic components of GitHub Action:
Before we dive into creating actions let’s first learn about the basics. An action is composed of the following components
- Event
GitHub actions are event-driven and need an event to be triggered to start a workflow. These events can be of the following types
a. Scheduled Event
Scheduled events are cron jobs that run at a specific time. The time is written in POSIX cron syntax you can learn about it here.
| #this workflow will run At 04:00 on Monday. | |
| on: | |
| schedule: | |
| - cron: '0 4 * * 1' |
Scheduled event
b. Web-hook Events
These types of events are triggered when a push to a branch happens, an issue is created, or deployment or update occurs.
| name: Upload to Firebase | |
| on: | |
| push: | |
| branches: | |
| - "QA/**" |
OUR VIDEO RECOMMENDATION


Jobs
In this example, an action name “Upload to firebase” is triggered on a push event in branch “QA” and as it’s a sequence block we can add more branches.
c. Manual Events
Manual events are used when you need to ensure that these workflows will only run with your approval or only you can run these workflows, such as deploying code to production on a Friday eve.
There are two types of manual events
i. workflow_dispatch
workflow_dispatch event can trigger specific workflows within a repository to trigger this workflow you need to be in the main branch. You can also add default and required inputs for this type of workflow. The inputs are recorded in the workflow log.
ii. repository_dispatch
The repository_dispatch event can be triggered from any repository even from outside of GitHub using a POST request but you will need GitHub access token to do so.
curl -X POST -H “Accept: application/vnd.github.v3+json”
https://api.github.com/repos/octocat/hello-world/dispatches -d
‘{“event_type”:”event_type”}’
on:
repository_dispatch:
more on these events can be learned from here.
2. Jobs
A job is a task that you want the workflow to complete. A workflow can run multiple jobs which run in parallel but can be sequential as well. A job runs on a runner which will be discussed shortly
example of a job
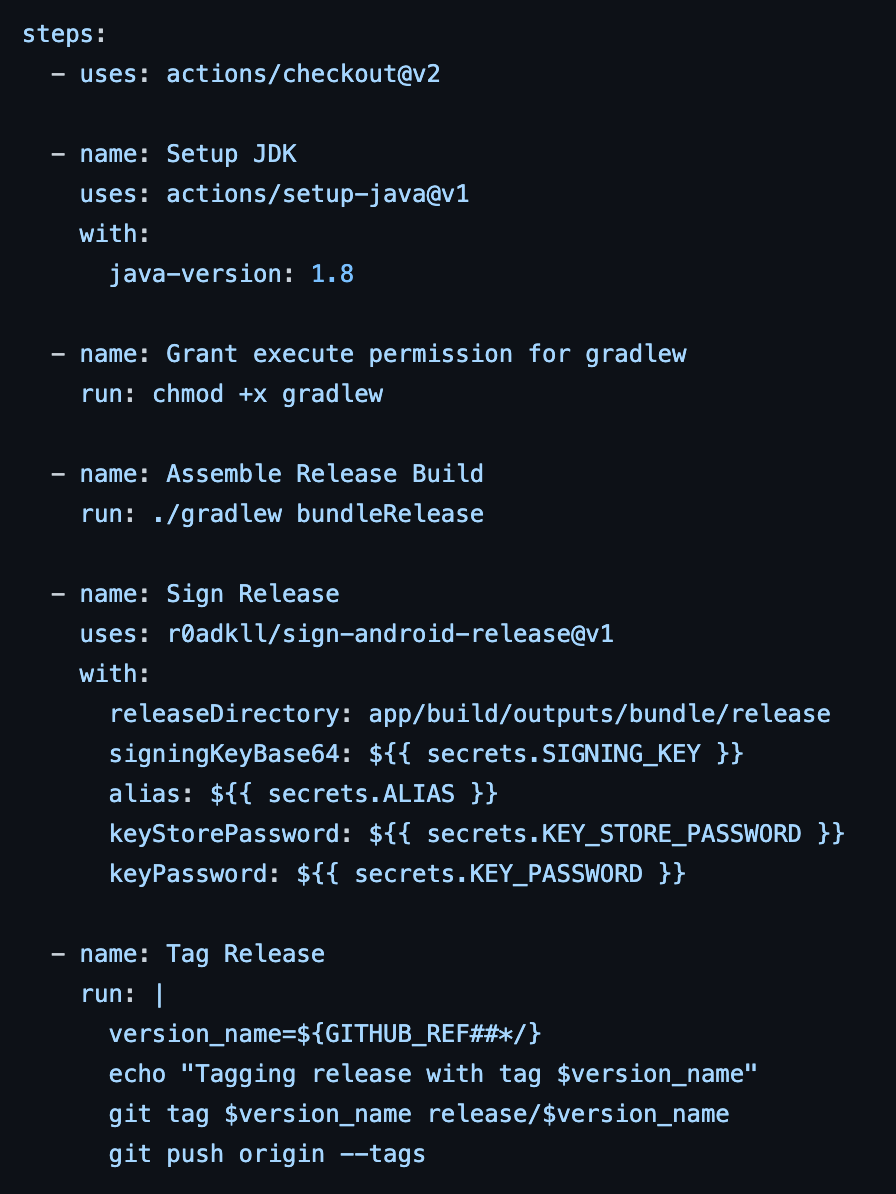
3. Steps
As the name suggests, these are the steps that need to be completed to complete a particular job. Steps are individual tasks that can run commands, such as a shell command or an action, in a job within a workflow. Steps can share data among themselves because each step in a given job runs on the same runner.
 example of steps
4. Actions
Actions are standalone commands that can be portable. They are combined into steps to create a job. You can create your actions and share them with the community, or you can use the actions that have already been created by the community. Here actions/checkout@v2 is an example of an action.
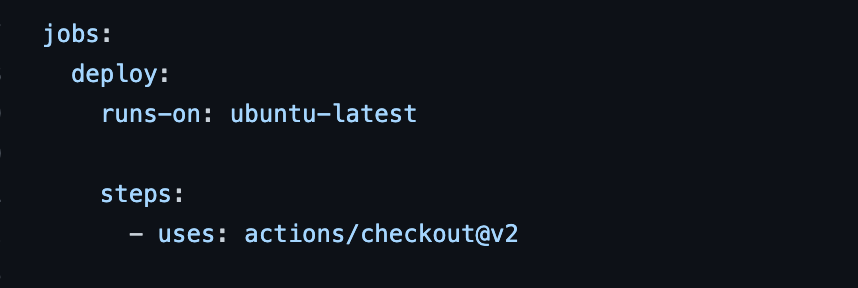
5. Runner
Runners is a server application, that runs a GitHub Actions workflow and updates the progress to GitHub. Runners are installed either on a virtual machine or a docker container. As it’s running on a virtual machine you can also access its file system. In this way, different actions running under one job can share information.
There are two types of runners.
i. Github Hosted Runners. (Everything from upgrades to maintenance is done by GitHub)
ii. Self-hosted runners. ( !GitHub Hosted Runners)
example of the runner.
here runner is ubuntu-latest.
Let’s build our first GitHub Action with the things we have learned so far.
Learning the basics of Workflow:
You can add workflows to your GitHub repository, A workflow consists of one or more jobs than may run in parallel or sequential. The workflow files live .github/workflows folder and files are needed to be in either .yml or .yaml extension. let’s explore these keys and build a workflow on the way…

Basic File syntax
The whole YAML file is based on Key: Value syntax. Any workflow can be created using this specific syntax but there are some special keys that you need to keep in mind when building a workflow.
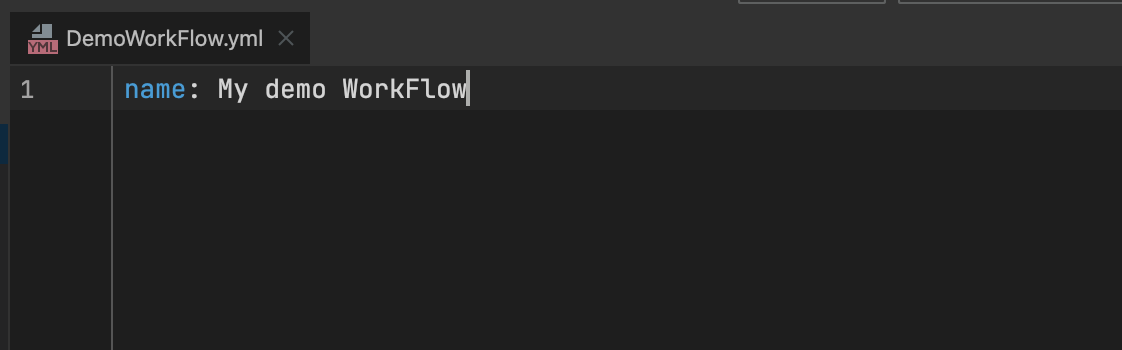
I. name
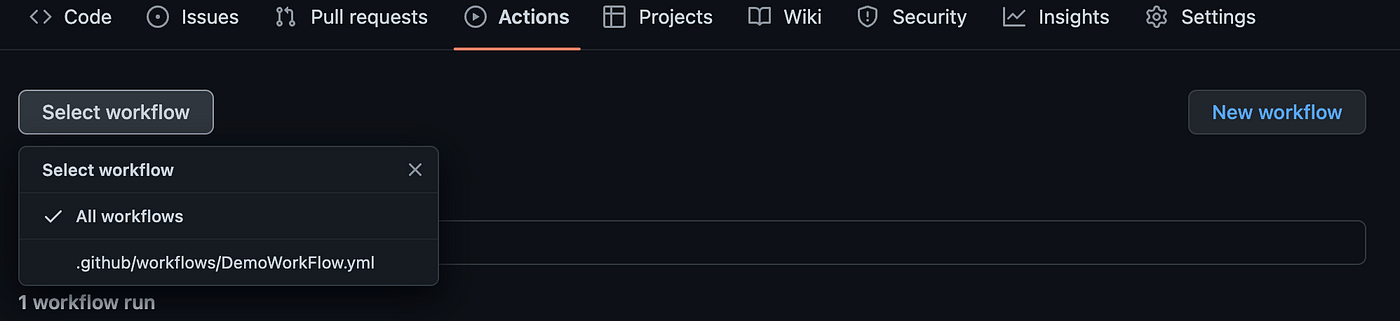
This key represents the name of the workflow. When you go to the actions tab in your GitHub repository this name will be visible there for running and identifying the workflow. However, this key is optional and if missed GitHub will set the file path as the name of the action.
II. on
As we discussed GitHub actions are event-driven, thus we need to specify which event triggers a certain workflow using on key. You can either pass a single or an array of events which trigger a workflow. Events such as push, or pull requests can be added. We will use a push event and will specify a branch to limit the workflow to a certain branch.

Here we have specified the event to be push and branch master. keep in mind that on: is a mandatory key.
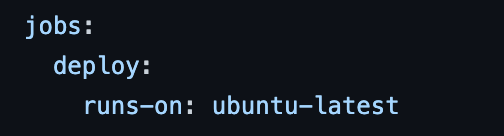
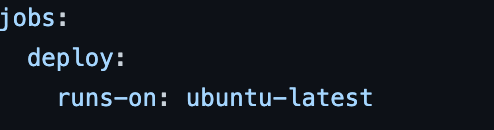
iii. jobs and runs-on
A workflow as discussed can have one or more jobs. let’s create a simple job that will print hello world and add a runner on which the job will run.
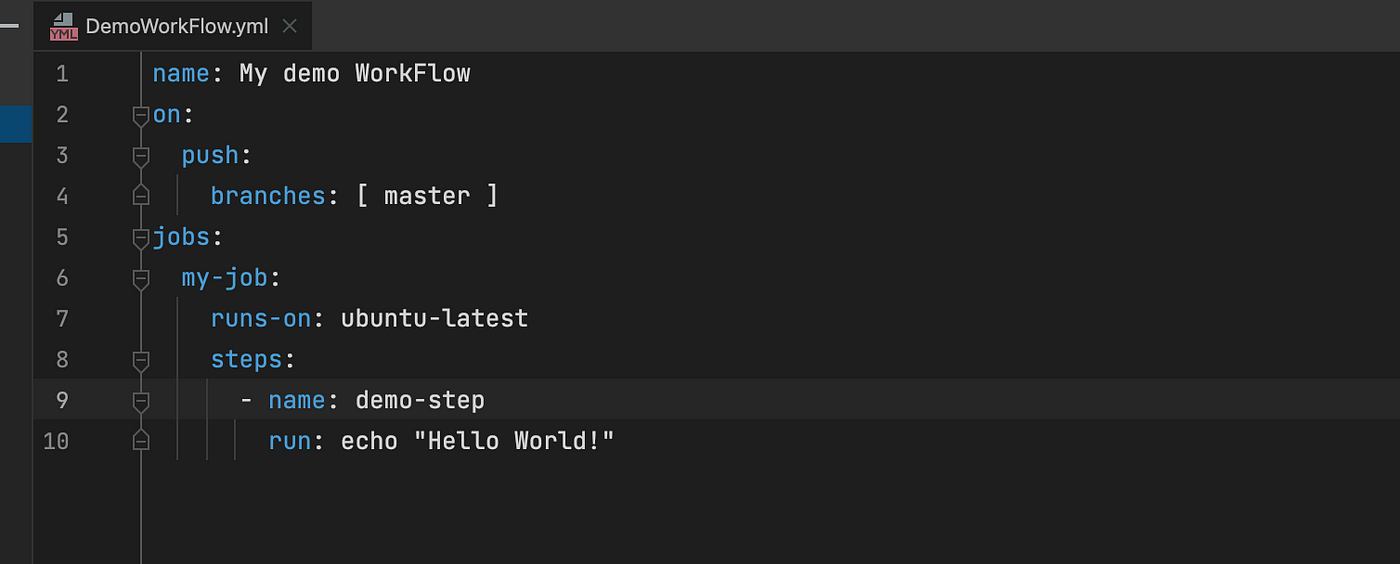 Demo Workflow
here you can see in jobs: key we specified a name for our job then specified a runner using runs-on and then we added some steps so our workflow can dance. Then we added a sequence with the name: as the name of the step.
iv. run
using run: we used the shell that’s available on the current runner’s operating system and echoed hello world.
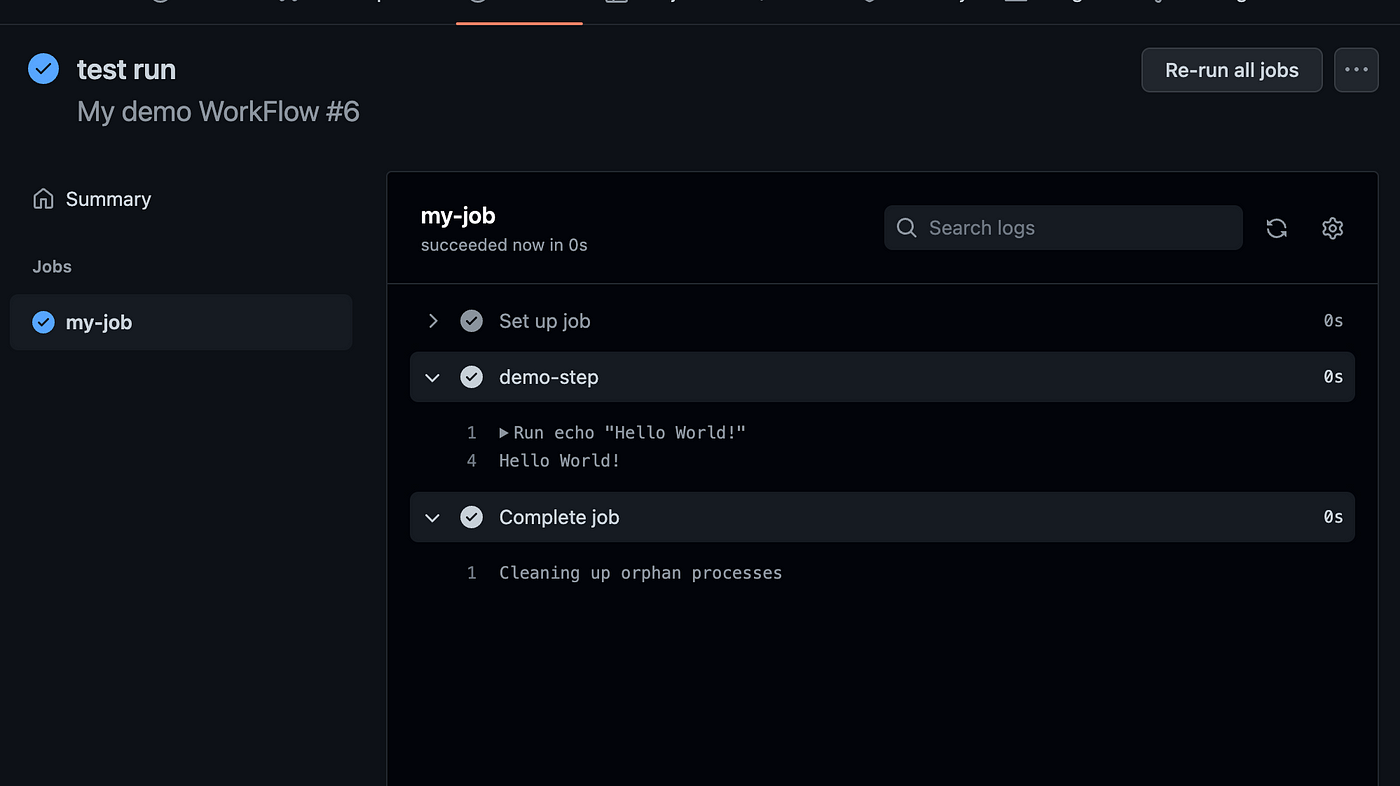 Demo workflow on GitHub.
This is a very simple workflow and it will run every time a push event occurs in the master branch.
Enough for now, Now that you have a complete understanding of GitHub Actions in the next part we shall start building complex workflows to automate different aspects of android development from development to release.
Till then happy coding.
You can check this repo for this simple workflow.
Connect with me on Twitter and Linkedin
https://www.linkedin.com/in/kashif-mehmood-km/
This article was originally published on proandroiddev.com on September 18, 2022


