

In this article, we explore the step-by-step process of configuring our server, as well as pushing our Ktor project to DockerHub. We look at setting the necessary Docker configurations to push the image to the DockerHub. Subsequently, we detail the process of pulling the latest image from DockerHub onto our server and initializing the Ktor server. By following this comprehensive guide, you’ll be equipped to deploy your Ktor project with ease and efficiency.
Server setup:
Let’s begin by establishing a connection to our Virtual Private Server (VPS) using SSH. For Mac users, follow these steps: Navigate to your user’s folder and locate the .ssh folder. Once there, open the terminal and enter the following command:
ssh-keygen -m PEM -t rsa
This will prompt you to enter a filename; provide any relevant file name of your choice. When prompted for a passphrase, simply press “Enter” to proceed without setting a password. Finally, you’ll end up with two files: one with a .pub extension and another without it. Next, copy the content of the .pub file and paste it into your VPS SSH configuration:
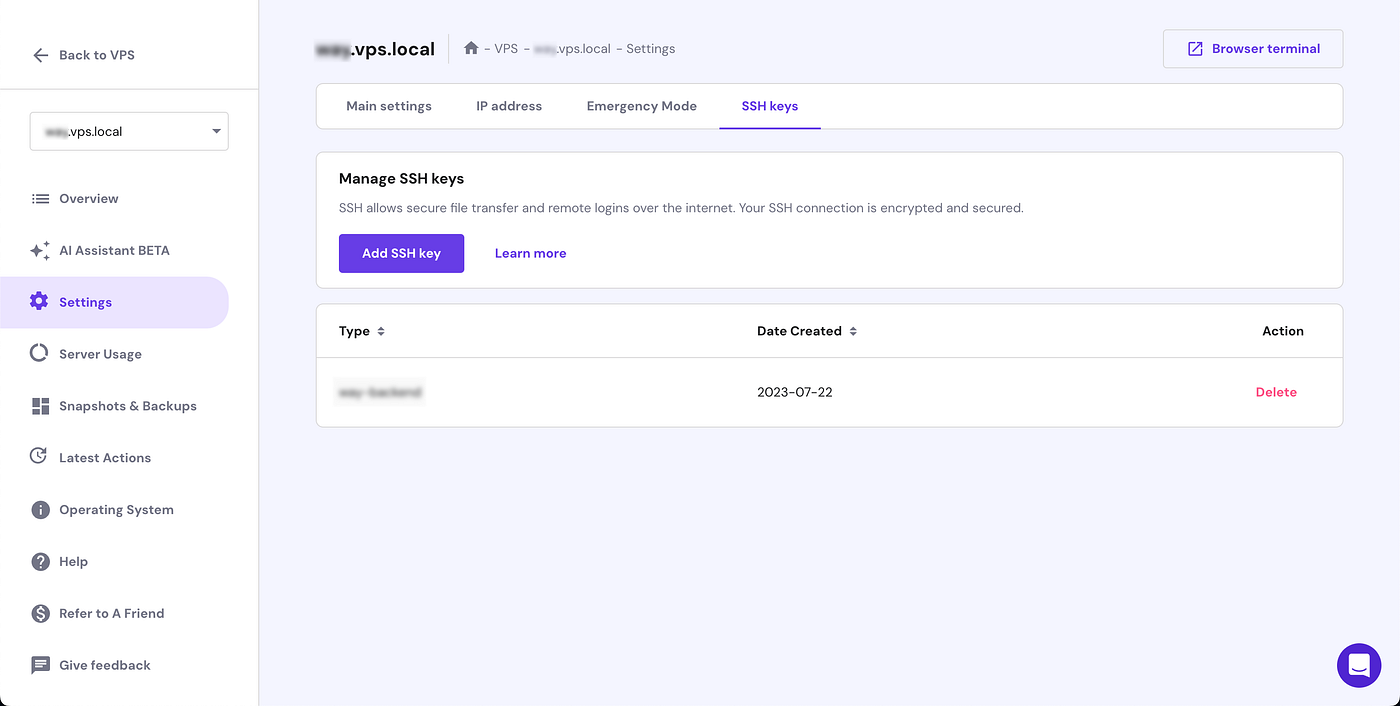 SSH keys for VPS
Now, you should be able to connect to the VPS with your terminal using the ssh -i <keyname> <username>@<host> command, where <keyname> represents the filename of the generated file without the .pub extension, commonly known as the private key.
Once connected to the server, the first task is to update all dependencies using the apt update command. Following this, we proceed to install JAVA with the apt-get install default-jdk command. The subsequent step involves installing Docker on our server, facilitating seamless containerization and deployment.
Install docker following these instructions: https://docs.docker.com/engine/install/
Let’s begin by creating an empty private repository in Docker Hub to facilitate pushing our ktor images and pulling the latest image onto our server.
Next, let’s create a dedicated directory for our project using the mkdir command. For instance, mkdir app will create a directory named “app,” which we will navigate into for our setup.
Within this project directory, we need to create three essential files: Dockerfile, docker-compose.yml, and postgres.env. We start using the nano Dockerfile command, which will open a text editor. Paste the following content into the editor, keeping in mind that the SERVER_DIR represents the directory created earlier, which is “app” in this case. Save the file with Ctrl+S and exit the editor with Ctrl+X.
FROM openjdk:11
EXPOSE 8080:8080
RUN mkdir /{SERVER_DIR}
ENTRYPOINT ["java", "-jar", "/{SERVER_DIR}/{SERVER_NAME}.jar"]
Next, let’s create the docker-compose file using the nano docker-compose.yml command and insert the following content. It mirrors the structure of our local docker-compose file, with the only difference being the ktor image version, where we specify the our DockerHub username and the repository name we created earlier.
services:
  db:
    image: postgres
    restart: always
    container_name: backend-db
    volumes:
      - pg-volume:/var/lib/postgresql/data
    env_file:
      - postgres.env
    ports:
      - "5432:5432"
    healthcheck:
      test: [ "CMD-SHELL", "pg_isready -U $$POSTGRES_USER -d $$POSTGRES_DB" ]
      interval: 5s

  ktor:
    build: .
    image: {DOCKER_HUB_USERNAME}/{DOCKER_HUB_REPO}:{LATEST_VERSION}
    container_name: backend-ktor
    restart: always
    ports:
      - "8080:8080"
    env_file:
      - postgres.env
    depends_on:
      db:
        condition: service_healthy

volumes:
  pg-volume: {}
Now, let’s create the final file, postgres.env, using the nano postgres.env command. In this file, add your database credentials, which might be different from your local database credentials. It’s essential to ensure a more secure password for the database on the server. Input the required details to establish a secure connection. Once done, save the file with Ctrl+S and exit the editor with Ctrl+X.
POSTGRES_DB={DATABASE_NAME}
POSTGRES_USER={DATABASE_USER_NAME}
POSTGRES_PASSWORD={DATABASE_PASSWORD}
OUR VIDEO RECOMMENDATION


Jobs
Now, to enable the pulling of private repositories from Docker Hub, we must log in to Docker using the docker login command. This step ensures that we have the necessary access to retrieve private images for our server setup.
With our server fully prepared, the next step is to pull our Docker image. Upon doing so, the Ktor server should be up and running. However, before we execute the pull, we need to ensure our image is available in a suitable repository, which, in this case, will be the one we created earlier on Docker Hub.
Configuring the Ktor Project:
To configure Docker for pushing our Ktor project to Docker Hub, we need to make adjustments to our build.gradle.kts file with the following configurations under the ktor block:
ktor {
    fatJar {
        archiveFileName.set("{PROJECT_NAME}-$version-all.jar")
    }
    docker {
        jreVersion.set(io.ktor.plugin.features.JreVersion.JRE_17)
        imageTag.set("${project.version}")
        externalRegistry.set(
            io.ktor.plugin.features.DockerImageRegistry.dockerHub(
                appName = provider { "{DOCKER_HUB_REPO}" },
                username = providers.environmentVariable("DOCKER_HUB_USERNAME"),
                password = providers.environmentVariable("DOCKER_HUB_PASSWORD")
            )
        )
    }
}
Note: Ensure that the {DOCKER_HUB_REPO} matches the repository name on DockerHub.
These configurations enable Docker to push our Ktor project’s Docker image to the specified private repository on DockerHub. Also, it allows the version of the image to be tagged appropriately for version control. With our Docker configurations in place, pushing our Ktor project to DockerHub becomes a breeze. The publishImage Gradle task handles the entire process with a single click.

Deploying Ktor Project to the Server:
Let’s return to our server via SSH, navigate to the previously created project directory. Run the following command to pull the latest image from your Docker Hub repository into the server:
docker pull {DOCKER_HUB_USERNAME}/{DOCKER_HUB_REPO}
This ensures that the server has the most up-to-date image available for our project. Now, we can initiate our Ktor server using the following command:
docker compose up -d
With the -d flag, Docker Compose runs the process in the background, allowing our server to operate smoothly without terminal interference. This command will create the PostgreSQL database, initialize our Ktor server, and then execute database table creation using Flyway.
Finally! our server is now up and running, fully equipped to handle requests efficiently and effectively.
#kotlinmultiplatform #ktor #kotlin
This article was previously published on proandroiddev.com


