

Ktor is an asynchronous framework used in development of microservices and web applications. Kotlin is the language used in Ktor.
As we know Kotlin is getting more and more attention in development of applications for both web and mobile, at the same time it is being in use for the backend development for sometime now. As this tutorial series is focussed on REST API development, it would be worth having a sneak peak into it using the Ktor framework.
The series assumes the IDE in use as IntelliJ and contains the tutorials on following
I. Setting up an Ktor project for development and understanding the project structure
II. Creating simple static apis for demonstration
III. Testing the apis using both test cases and Postman
Let’s begin with Part I which focusses on setting up and understanding the Ktor project.
Project Set up
To set up the Ktor project, we can either use the IntelliJ plugin for Ktor which is available in the IntelliJ Ultimate version or can set up manually on IntelliJ Community version. As most developers uses Community version, we’ll set it up manually here as well.
Step 1: Go to https://start.ktor.io and we would see the below

Ktor project generator image
After filling the details, select the Engine as Netty and Configuration in as HOCON file. The Engine and HOCON file are covered in next section of the tutorial.
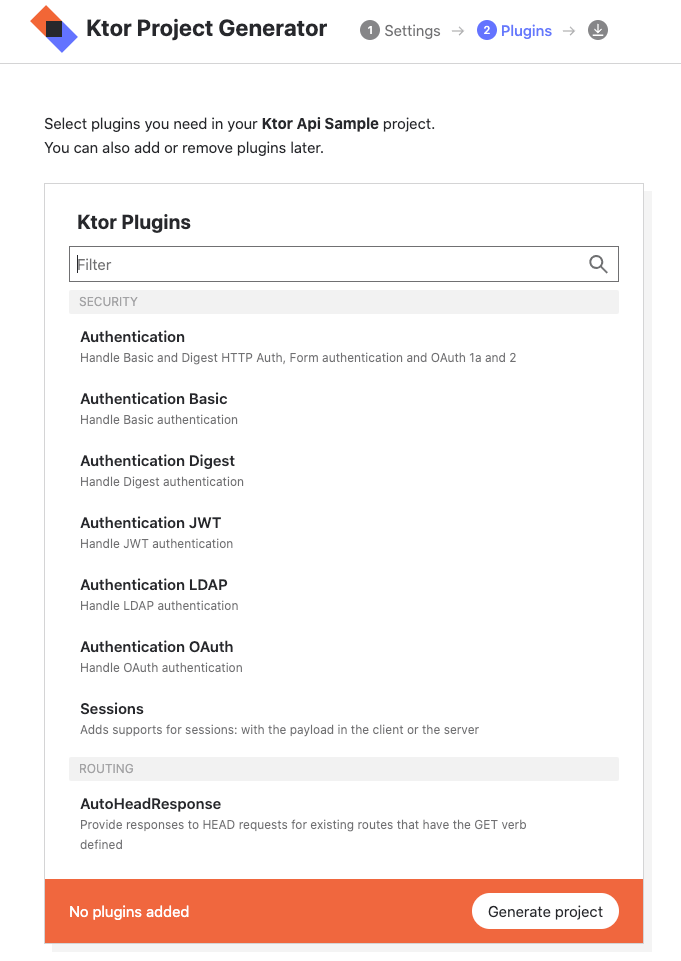
Step 2: Add plugins for our project. Click on Add plugins button and we would see the below
Plugins are features that are not in the scope of our application but have to be used for app logic. For example, serialization, headers, content encoding etc. These functionalities are provided by Ktor in form of Plugins.
OUR VIDEO RECOMMENDATION


Jobs
We can select any plugin based on our requirement but as per our use case, we need the following plugins to be added
Routing: Helps in setting our api end points called as Routes in our application.
ContentNegotiation: Helps in converting the content as per the Content-Type passed in headers.
Kotlinx.Serialization: For Json serialization as we’ll be using Content-Type as Json in our Content Negotiation.
CallLogging: To logs requests
Once we add the following plugins, click on Generate project button and it’ll download a project zip for us. Unwrap the zip file to a location we want our project on and then start IntelliJ.
Once IntelliJ starts, click on Open -> Navigate to your unwrapped project location -> Select the project folder.
Once the project is be built, it is ready to be worked on.

But before starting our APIs, we need to understand our project structure and few of its terms to get started well.
Project Structure Understanding
build.gradle.kts: This is kotlin version of build gradle file.It contains the dependencies we need. If you’ve worked on Android then you must be familiar with this pattern of build gradle.
application tag sets the main class as our EngineMain class from Netty. It indicates that we’re using Netty as our main engine to create and run our server.
plugins tag indicates that this is an application, uses kotlin and serialization version 1.5.31
| val ktor_version: String by project | |
| val kotlin_version: String by project | |
| val logback_version: String by project | |
| plugins { | |
| application | |
| kotlin("jvm") version "1.5.31" | |
| id("org.jetbrains.kotlin.plugin.serialization") version "1.5.31" | |
| } | |
| group = "com.aqua30" | |
| version = "0.0.1" | |
| application { | |
| mainClass.set("io.ktor.server.netty.EngineMain") | |
| } | |
| repositories { | |
| mavenCentral() | |
| } | |
| dependencies { | |
| implementation("io.ktor:ktor-server-core:$ktor_version") | |
| implementation("io.ktor:ktor-serialization:$ktor_version") | |
| implementation("io.ktor:ktor-server-host-common:$ktor_version") | |
| implementation("io.ktor:ktor-server-netty:$ktor_version") | |
| implementation("ch.qos.logback:logback-classic:$logback_version") | |
| testImplementation("io.ktor:ktor-server-tests:$ktor_version") | |
| testImplementation("org.jetbrains.kotlin:kotlin-test:$kotlin_version") | |
| } |
application.conf is the configuration file for our EngineMain which is from Netty in our case. We define the server configuration parameters in this file. The key point to note in this file is the modules we set for our application which becomes the entry point(s) for our engine to look into and set up the application from. We set the ApplicationKt.module as our main entry point.
| ktor { | |
| deployment { | |
| port = 8080 | |
| port = ${?PORT} | |
| } | |
| application { | |
| modules = [ com.aqua30.ApplicationKt.module ] | |
| } | |
| } |
Application.kt is the main class which our server gets the entry from.
The main function of the Application class passes the controls to EngineMain.main function so as to let Netty engine set up the rest for us.
| fun main(args: Array<String>): Unit = | |
| io.ktor.server.netty.EngineMain.main(args) | |
| @Suppress("unused") // application.conf references the main function. This annotation prevents the IDE from marking it as unused. | |
| fun Application.module() { | |
| configureSerialization() | |
| configureMonitoring() | |
| registerDogsRoute() | |
| } |
So, we declare EngineMain class as our main class in build gradle file under application tag. Then we set the entry point from the Application module file in config file and then we finally pass our control to set up in the main function in the Application class itself.
Routes: They define the end points for our application. In our case, under the Application module, we can see three more modules which serves specific purpose. The module registerDogsRoute contains routes to our API end points. We’ll see them in action in our following tutorials.
resources folder contains any static content that we want to keep in our application. It also contains our application.conf file and logback.xml.
logback.xml contains the format for logging the requests.
But Hey! We’re now ready with our Ktor project for development and also understood the structure and terms associated with it.
Hope you would find it helpful. Do mention any feedback you have.
Cheers!


