

Animations rarely change the core functionally of an app but you can’t deny they make a big difference for the user. When an app has great animations everything looks more fluid, it’s easier to understand how things fit together.
Transitions are used when you’re moving from one screen to another and you want to apply animations to one or multiple elements. In this article I’ll show you how to implement them in your app.
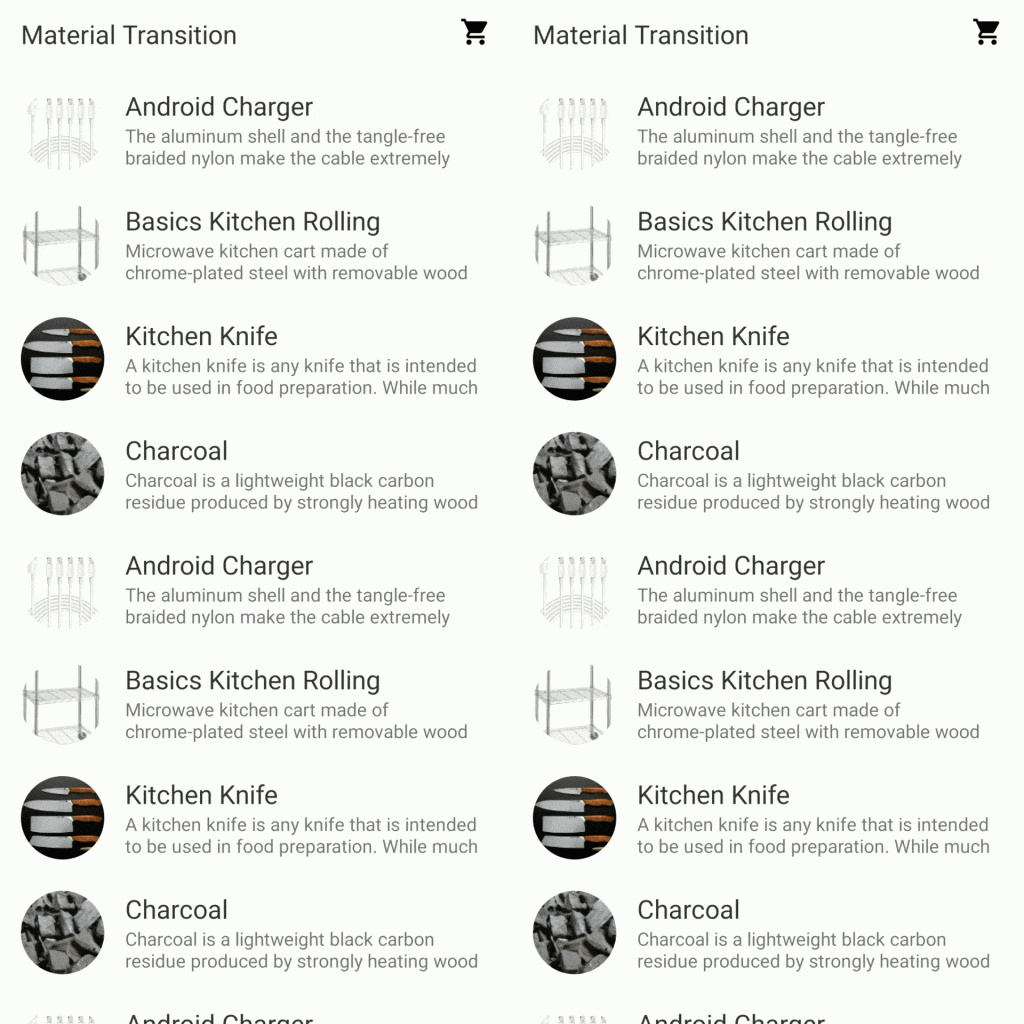
We’ll start with an app that has no animations and add the needed ones to improve it.
Preparation
Before we start, make sure you’re not using the wrong library version.
If you’re using androidx.appcompat:appcompat:1.3.0 you’ll have to manually specify androidx.fragment:fragment-ktx:1.3.5 because appcompat:1.3.0depends on fragment:1.3.4 that introduced a bug related to fragment transitions.
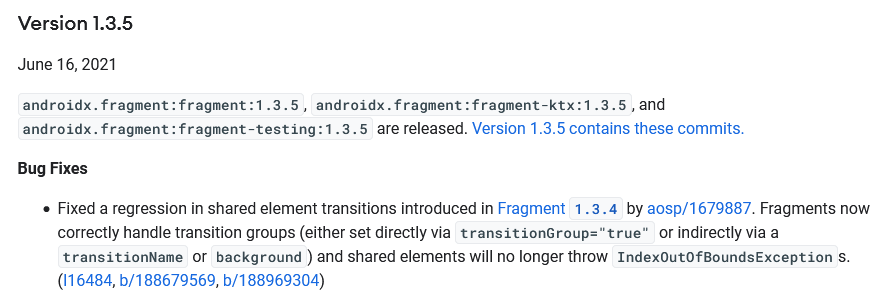
I was getting an IndexOutOfBoundsException exception when messing around with shared transitions and I took me a while to discover that the fragment library was the problem.
java.lang.IndexOutOfBoundsException: Index: 5, Size: 5 at java.util.ArrayList.get(ArrayList.java:437) at androidx.fragment.app.FragmentTransitionImpl.setNameOverridesReordered(FragmentTransitionImpl.java:183) at androidx.fragment.app.DefaultSpecialEffectsController.startTransitions(DefaultSpecialEffectsController.java:665)
Now let’s get started
Basic Knowledge
If no return transition is set, the transition system will automatically reverse the enter transition when navigating back.
By default, transitions run on all child views within their scene root hierarchy. For example, if you have a RecyclerView, the animation will be applied to it and to its children. If that’s not the behavior you expect, set android:transitionGroup="true" on the view group to disable that. You can also apply it to the out most view in your layout to make the fragment animate as a whole.
If you have views that are populated after the fragment is created (a RecyclerView for example) you need to tell the transition system to wait before starting the transitions. To do that you need to call postponeEnterTransition to postpone the transitions and call startPostponedEnterTransition when you’ve populated your views.
| override fun onViewCreated(view: View, savedInstanceState: Bundle?) { | |
| super.onViewCreated(view, savedInstanceState) | |
| postponeEnterTransition() | |
| view.doOnPreDraw { startPostponedEnterTransition() } | |
| } |
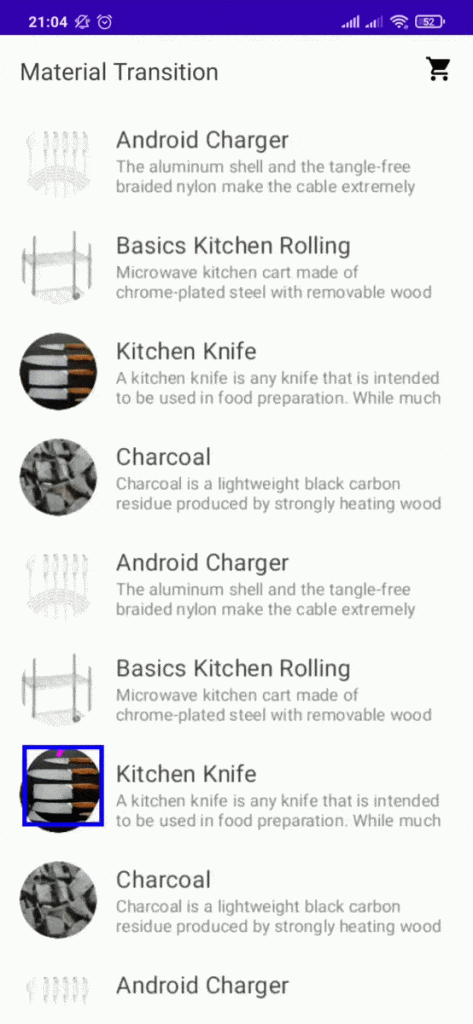
Fade Through
We’ll start with one of the simplest transitions, MaterialFadeThrough. The fade through pattern is used for transitions between UI elements that do not have a strong relationship to each other.

The transition here consists of going from the items fragment to the cart fragment. On the first fragment we define exitTransition and reenterTransition to MaterialFadeThrough.
| override fun onCreate(savedInstanceState: Bundle?) { | |
| super.onCreate(savedInstanceState) | |
| exitTransition = MaterialFadeThrough() | |
| reenterTransition = MaterialFadeThrough() | |
| } |
On the destination fragment we define the same transition but on enterTransition and returnTransition.
| override fun onCreate(savedInstanceState: Bundle?) { | |
| super.onCreate(savedInstanceState) | |
| enterTransition = MaterialFadeThrough() | |
| returnTransition = MaterialFadeThrough() | |
| } |
If you’re using a RecyclerView you might need to postpone the enter transition on the destination fragment. To learn how to do that, take a look at the Basic Knowledge section.
This transition is a good option for navigating between fragments when you have a bottom navigation bar. The fade is subtle but adds a nice touch to the navigation.
In a fade through transition, outgoing elements first fade out. Next, incoming elements fade in while scaling in overall size from 92% to 100%. The element scaling starts at 92%, rather than 0%, to avoid drawing excessive attention to the transition. The scale animation is applied only to incoming elements in order to emphasize new content over the old.
Fade
The fade transition is usually used with dialogs, menus, or things that fit within the bounds of the existing screen.
Implementing the MaterialFade transition is basically the same as implementing the MaterialFadeThrough transition, the only difference is the transition name.
| override fun onCreate(savedInstanceState: Bundle?) { | |
| super.onCreate(savedInstanceState) | |
| enterTransition = MaterialFade() | |
| returnTransition = MaterialFade() | |
| } |
When entering, elements use a fade and scale in overall size from 80% to 100%. The scale animation starts at 80%, rather than 0%, to avoid drawing excessive attention to the transition. When exiting, elements simply fade out. The scale animation is only applied to entering elements. This places emphasis on new content (entering elements) over old content (exiting elements).
What’s the difference between Fade and Fade Through?
They look very similar but by looking at the specification we can see one main difference.
Fade — Scales from 80% to 100%
FadeThrough — Scales from 92% to 100%
Shared Axis
The MaterialSharedAxis transition is well suited for cases when you want to represent some kind of spatial relationship. Opening a search page would be good example, when the user searches something, the content below is expected to change.
For this transition to look good you need a pair of fragments to animate simultaneously. Their transitions will run together to create a directional animation.
You can control the transition direction by specifying the forward property on MaterialSharedAxis. In the forward direction, targets of the transition will scale out.
| override fun onCreate(savedInstanceState: Bundle?) { | |
| super.onCreate(savedInstanceState) | |
| exitTransition = MaterialSharedAxis(MaterialSharedAxis.Z, true) | |
| reenterTransition = MaterialSharedAxis(MaterialSharedAxis.Z, false) | |
| } |
On this example we’re using the Z axis but you should give the X and Y axis a try to see what they look like.
| override fun onCreate(savedInstanceState: Bundle?) { | |
| super.onCreate(savedInstanceState) | |
| enterTransition = MaterialSharedAxis(MaterialSharedAxis.Z, true) | |
| returnTransition = MaterialSharedAxis(MaterialSharedAxis.Z, false) | |
| } |
For the transition to look great you need to specify the same forward value for exitTransition = enterTransition and reenterTransition = returnTransition.
OUR VIDEO RECOMMENDATION


Jobs
Container Transformation
This is the transition I love the most, MaterialContainerTransform is used as a shared element transition, that means it’s used to transition the view’s size, position, etc from the start state to the end state.
The Container Transformation is used a lot when you have a RecyclerViewthat’s already displaying some portion of the content that’ll be available at another screen. By using this transition you can animate the change from one place to another.

First we need to specify a transitionName on the view we wish to transition. Transition names have to be unique, that’s why I’m adding layoutPositionto the end of the transition name. If you’re using a RecyclerView, you should do this when binding your ViewHolder.
| binding.icon.transitionName = context.getString(R.string.item_icon_transition_name, layoutPosition) |
Now on the end layout file, add a transitionName to the view the animation will end on.
| <ImageView | |
| android:id="@+id/icon" | |
| android:layout_width="192dp" | |
| android:layout_height="192dp" | |
| android:transitionName="@string/item_detail_icon_transition_name" | |
| /> |
We want the transition to start when the item is clicked, on the item clicked handler we have to tell the transition system the views from the start state that will map to the end state. For example the icon that was clicked on the RecyclerView will transition to the view on the end layout that has R.string.item_detail_icon_transition_name as transitionName. The transitionName you specified on the ViewHolder is just used by android to keep track of things, you won’t use it anywhere else.
Finally we specify the MaterialContainerTransform on the destination fragment. drawingViewId is the view that’ll be used as a plane for the animation, if you’re using Navigation specify your NavController view.
| override fun onCreate(savedInstanceState: Bundle?) { | |
| super.onCreate(savedInstanceState) | |
| sharedElementEnterTransition = MaterialContainerTransform().apply { | |
| drawingViewId = R.id.navHostController | |
| scrimColor = Color.TRANSPARENT | |
| } | |
| } |
If you want your animation to follow an arced path, you also need to specify the path motion.
| sharedElementEnterTransition = MaterialContainerTransform().apply { | |
| drawingViewId = R.id.navHostController | |
| setPathMotion(ArcMotion()) | |
| scrimColor = Color.TRANSPARENT | |
| } |
There are many ways to customize your transitions, you can learn more about them here.
As I’ve said before, if you don’t specify a return transition, Android will automatically use the enter transition reversed.
Take a look at the last GIF again, the MaterialContainerTransform looks good but everything else uses a rough transition. Let’s learn how we can use many transitions together to achieve a better end result.
Debug mode
In some cases you might need some help to understand what’s happening behind the transition and there’s a simple thing that can help you with that. MaterialContainerTransform has a isDrawDebugEnabled property that adds visual information to the transition.
| MaterialContainerTransform().apply { | |
| isDrawDebugEnabled = true | |
| } |
Mixing transitions
We’ve learned about the four transitions provided by Material individually, now let me show you how I used three of them together to create an animation that is pleasing to the eyes.
First I started by using the MaterialSharedAxis transition on the list fragment, it works well because the views reduce size from 100% to 80%, that helps to focus on the icon animation. You can also use MaterialElevationScale.
| override fun onCreate(savedInstanceState: Bundle?) { | |
| super.onCreate(savedInstanceState) | |
| exitTransition = MaterialSharedAxis(MaterialSharedAxis.Z, false) | |
| reenterTransition = MaterialSharedAxis(MaterialSharedAxis.Z, true) | |
| } |
Then I added the MaterialFadeThrough transition to the destination fragment but I excluded the icon from that animation because it’s already being animated by MaterialContainerTransform.
| override fun onCreate(savedInstanceState: Bundle?) { | |
| super.onCreate(savedInstanceState) | |
| enterTransition = MaterialFadeThrough().apply { | |
| removeTarget(R.id.icon) | |
| } | |
| sharedElementEnterTransition = MaterialContainerTransform().apply { | |
| drawingViewId = R.id.navHostController | |
| setPathMotion(ArcMotion()) | |
| scrimColor = Color.TRANSPARENT | |
| } | |
| } |
By doing just that the end result is much better
If you have any doubts you can find the source code here or contact me.
The best way to learn is by doing, go and apply the knowledge you’ve acquired here to a concrete example. I’d enjoy seeing what you can accomplish. I hope this article was helpful for you.
Resources
- https://material.io/blog/android-material-motion
- https://blog.stylingandroid.com/category/animation/transition/
- https://codelabs.developers.google.com/codelabs/material-motion-android
- https://material.io/design/motion/the-motion-system.html
Photo by Julian Hochgesang on Unsplash
Originally published at https://victorbrandalise.com on June 24, 2021.
Tags: Android, Material Design, Animation, AndroidDev
View article at:

Published: June 24, 2021


