In this Article we are going to fly a plane or the screen
Path()
Path is an android class it is very useful or many time only choice in android for creating arbitrary shapes and drawings arbitrary figures , Path is also used in animations. But often times working with paths is very painful. If you don’t want to bear that pain anymore bear with me for rest of the article.
So we will fly a plane on a random path using path animations.
Taking a Random Path in Life
I am going to generate a random path on screen, our plane will fly on that path only.
| private fun initPlanePath() { | |
| planePath.reset() | |
| var startX = randomX() | |
| var startY = randomY() | |
| repeat(3) { | |
| planePath.moveTo(startX, startY) | |
| val controlX = randomX() | |
| val controlY = randomY() | |
| val endX = randomX() | |
| val endY = randomY() | |
| planePath.quadTo(controlX, controlY, endX, endY) | |
| startX = endX | |
| startY = endY | |
| } | |
| } | |
| //generate a random number between 0 and view width | |
| private fun randomX() = random.nextInt(0, width).toFloat() | |
| //generate a random number between 0 and view height | |
| private fun randomY() = random.nextInt(0, height).toFloat() |

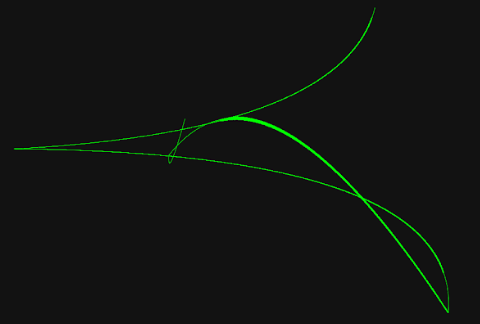
result of drawing random path for a random run of app
here the key method is quadTo() which is used to generate a quadratic bezier curve , I am creating multiple bezier curves which are connected to each other the starting point of each path (bezier curve) is called a contour in paths language, there is also a cubicTo() which is used to create a cubic bezier curve which has 2 control points.
I encourage you to learn more about bezier curve so that you understand what are control points and how above code works under the hood.
let’s Fly a plane
We want to fly a plane along a path to be able to do that we need to know about x and y co-ordinates of points which forms this path so that we can keep setting x and y or our plane on those co-ordinates to produce an animation to know about those co-ordinates we need to understand a really important class.
PathMeasure()
PathMeasure is best friend class of a Path class , a path is kind of shy it won’t directly tell you about its personal things like it’s length , tangent of a line at any point on it’s body , length of a segment between two points , whether or not it is closed etc.
To handle paths you’d like as much information as you can so you may want PathMeasure as common friend , I’ll familiarize you to it along the way.
getPosTan
getPosTan(float distance, float[] pos, float[] tan) this method is used to get co-ordinates of point on a path a given distance.
It takes three arguments
distancewe will get the co-ordinates at this distance
posthe x and y co-ordinates are written in this float array
tanthe tangent in radian is written in this array

nextContour
Our path is made of several quadTo() commands getposTan() or other methods of PathMeasure do not operate of entire path at once rather they operate on one command at a time in our case you can say a contour is one path which is created by one quadTo() call for moving to the next we call nextContour() this method returns true if there is a next path false if we are done with entire path.
So if we continuously keep getting these co-ordinates for subsequent distances on the path we can put an object at those co-ordinates and it will appear moving , that is what we are going to do now
| private fun flyPlane() { | |
| var distance = 0f | |
| val tan = floatArrayOf(0f,0f) | |
| val pos = floatArrayOf(0f, 0f) | |
| val valueAnimator = ValueAnimator.ofFloat(0f, 1f) | |
| valueAnimator.duration = (pathMeasure.length * 5).toLong() | |
| valueAnimator.interpolator = AccelerateDecelerateInterpolator() | |
| valueAnimator.addUpdateListener { | |
| distance = it.animatedValue as Float | |
| pathMeasure.getPosTan(distance * pathMeasure.length, pos, tan) | |
| } | |
| valueAnimator.doOnEnd { | |
| if (pathMeasure.nextContour()) { | |
| flyPlane() | |
| } | |
| } | |
| valueAnimator.start() | |
| } |
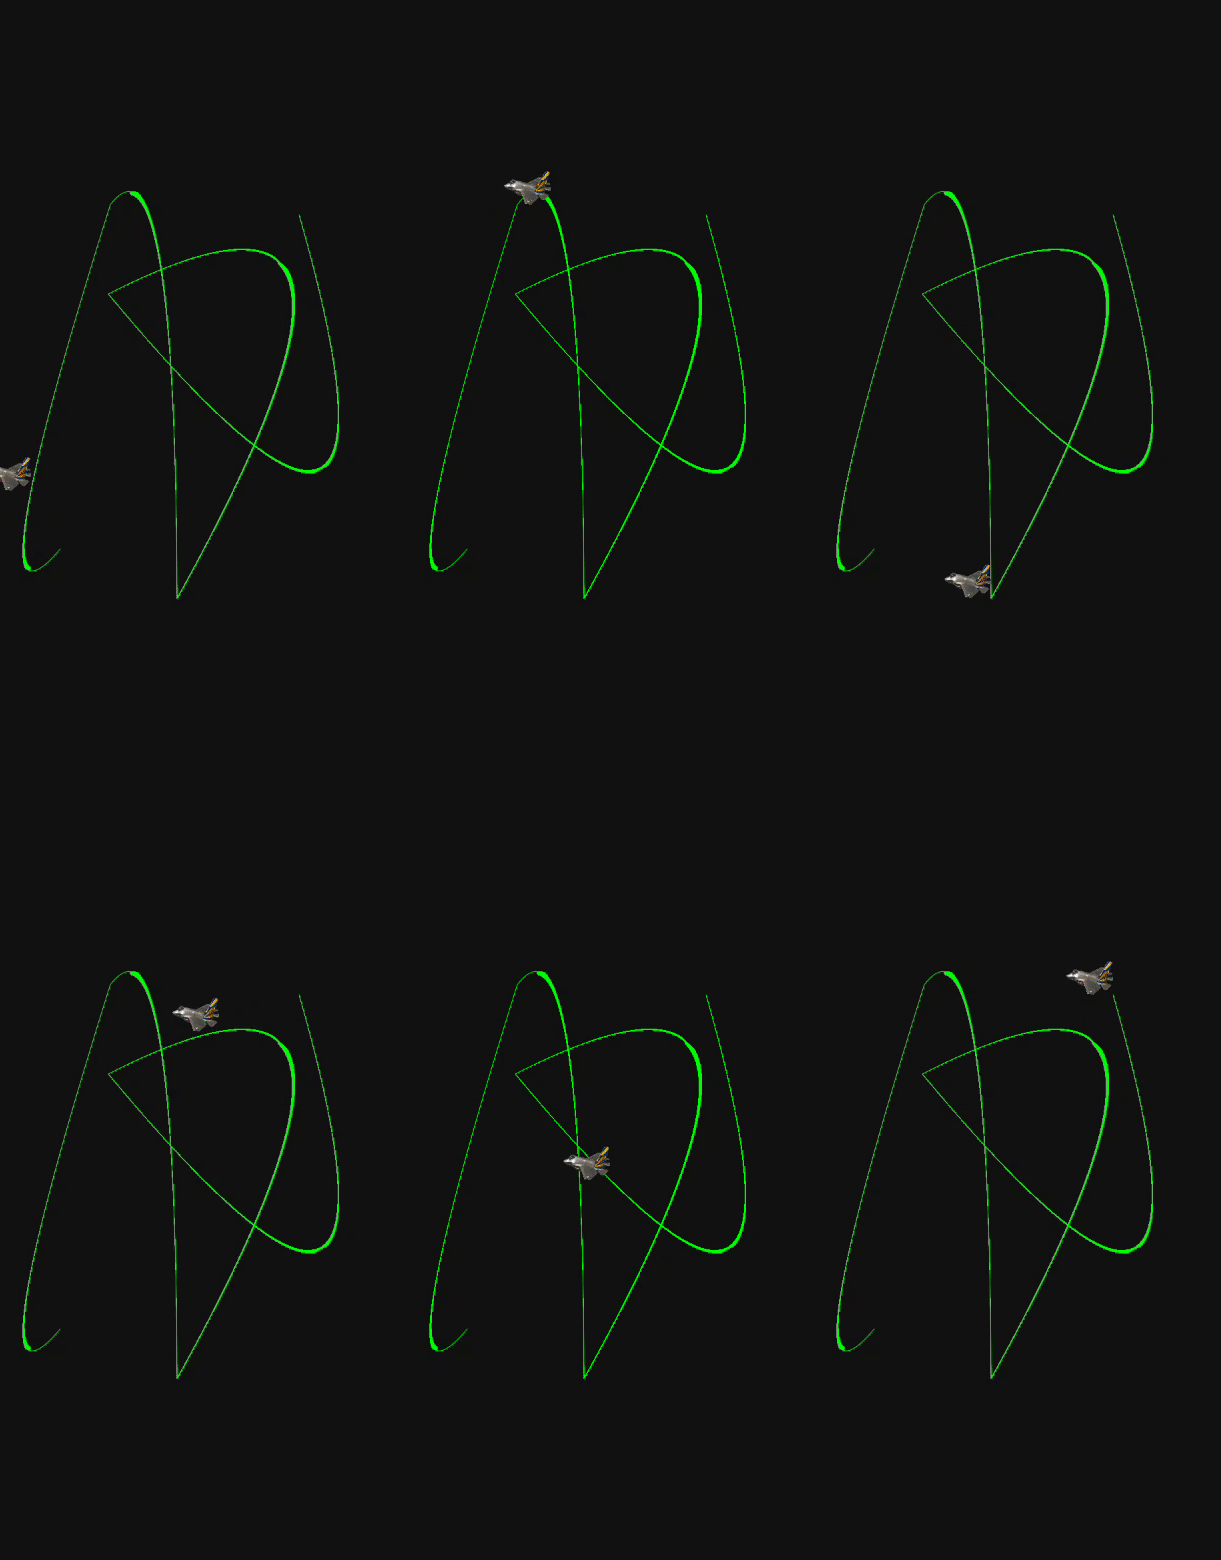
 explanation of above animation
here we are animating from 0f to 1fit will give us co-ordinates at different lengths which is tried to explain in image above after getting a co-ordinate we set the x and y of our plane at those co-ordinates when we are done with a contour on a curve we jump to the next one using nextContour() until the entire path is done.
| private fun flyPlane() { | |
| var distance = 0f | |
| val tan = floatArrayOf(0f,0f) | |
| val pos = floatArrayOf(0f, 0f) | |
| val valueAnimator = ValueAnimator.ofFloat(0f, 1f) | |
| valueAnimator.duration = (pathMeasure.length * 5).toLong() | |
| valueAnimator.interpolator = AccelerateDecelerateInterpolator() | |
| valueAnimator.addUpdateListener { | |
| distance = it.animatedValue as Float | |
| pathMeasure.getPosTan(distance * pathMeasure.length, pos,null) | |
| val planeX = pos[0] | |
| val planeY = pos[1] | |
| plane.x = planeX | |
| plane.y = planeY | |
| } | |
| valueAnimator.doOnEnd { | |
| if (pathMeasure.nextContour()) { | |
| flyPlane() | |
| } | |
| } | |
| valueAnimator.start() | |
| } |
Job Offers
now we just take the pos in which co-ordinates were written during animation and place our plane on these co-ordinates since we are invalidating in value animation on each animated value the animation will look smooth.

but hey planes do not fly backwards or sideways we can not go against nature and break the laws of physics we need to do something about this.
Taking a right direction in Life
Do you remember the third argument to getPostTan() which gives as tangent at any point on the curve also described in image above, it will help us to align the tip of the plane in the right direction.
| private fun flyPlane() { | |
| var distance = 0f | |
| val tan = floatArrayOf(0f,0f) | |
| val pos = floatArrayOf(0f, 0f) | |
| val valueAnimator = ValueAnimator.ofFloat(0f, 1f) | |
| valueAnimator.duration = (pathMeasure.length * 5).toLong() | |
| valueAnimator.interpolator = AccelerateDecelerateInterpolator() | |
| valueAnimator.addUpdateListener { | |
| distance = it.animatedValue as Float | |
| pathMeasure.getPosTan(distance * pathMeasure.length, pos, tan) | |
| val planeX = pos[0] | |
| val planeY = pos[1] | |
| plane.x = planeX | |
| plane.y = planeY | |
| val degrees = atan2(tan[1], tan[0]) * 180.0 / Math.PI | |
| plane.rotation = degrees.toFloat() - 180 | |
| } | |
| valueAnimator.doOnEnd { | |
| if (pathMeasure.nextContour()) { | |
| flyPlane() | |
| } | |
| } | |
| valueAnimator.start() | |
| } |
here we are getting tangent to pos then converting this angle to degrees are setting rotation of plane accordingly.

Flying Multiple Planes
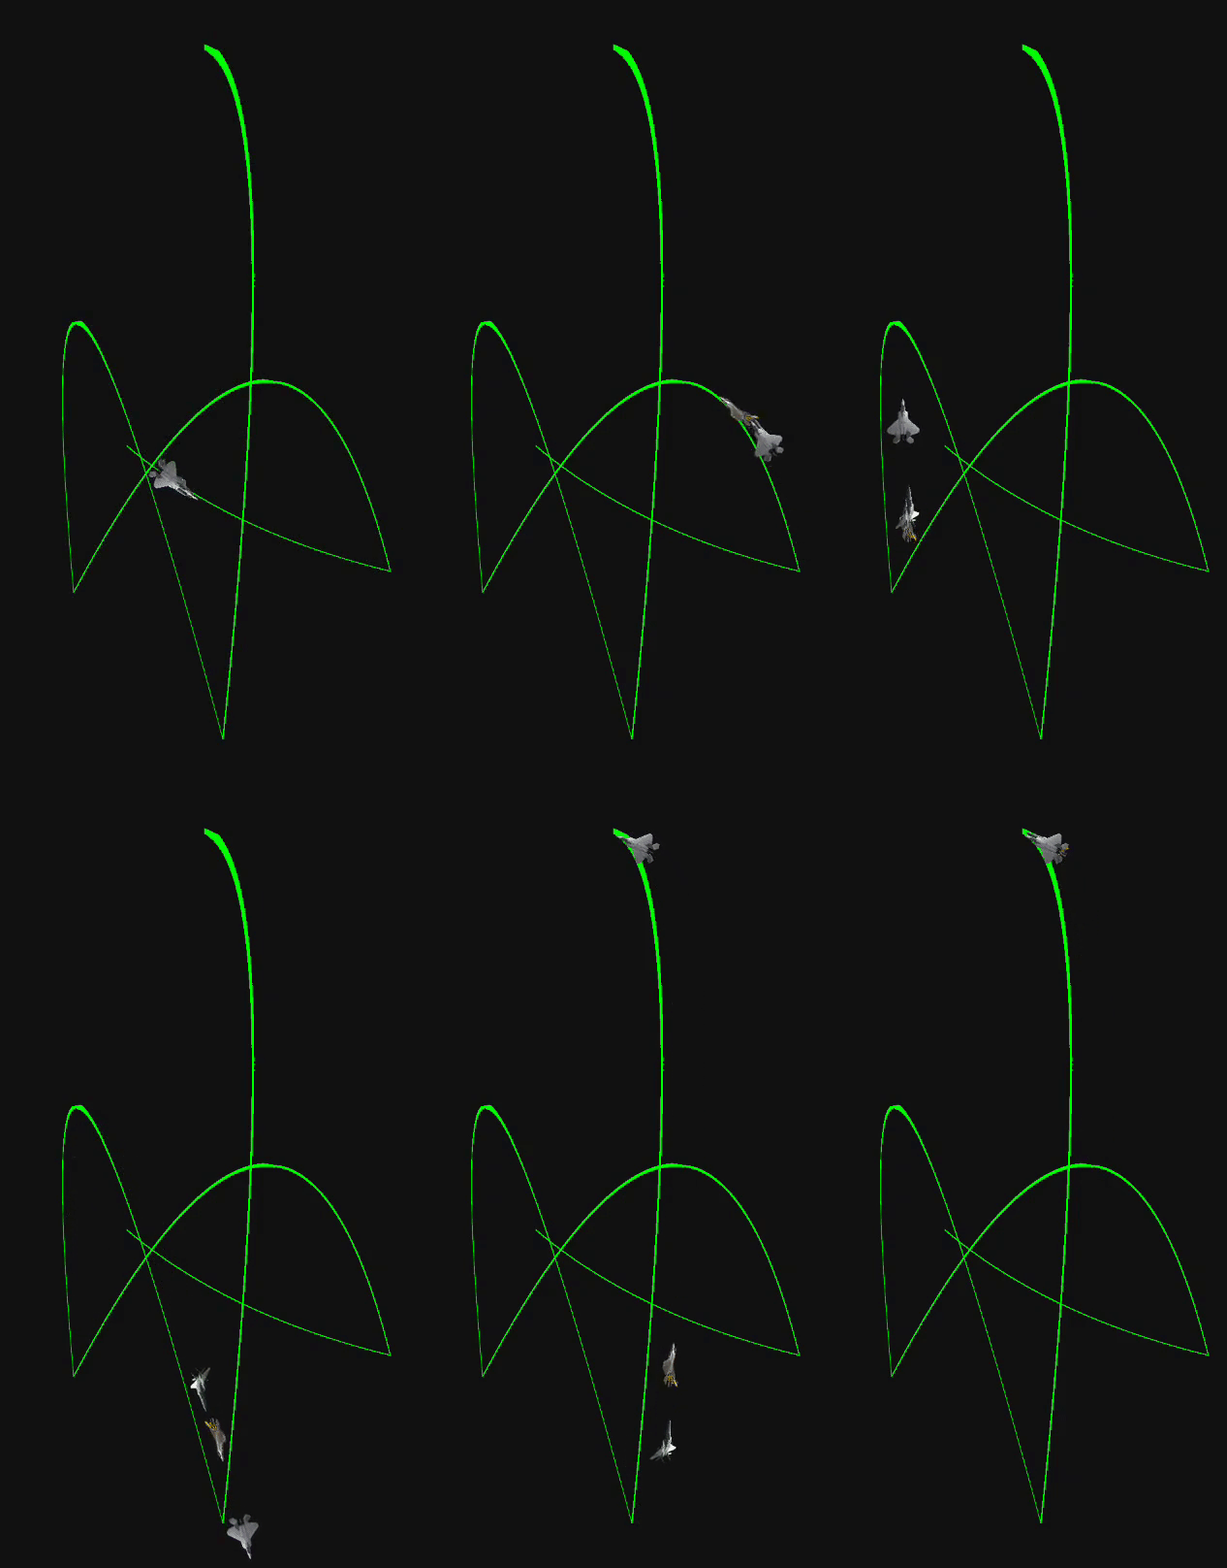
One Plane is not enough to defeat our enemy we need more fighters , I am just going to use and array of planes and and array of pathmeasures one path measure for each plane then just modify our fly plane function a bit to accept a plane and a pathmeasure.
| private fun flyPlane(plane: ImageView, pathMeasure: PathMeasure) { | |
| var distance = 0f | |
| val tan = floatArrayOf(0f,0f) | |
| val pos = floatArrayOf(0f, 0f) | |
| val valueAnimator = ValueAnimator.ofFloat(0f, 1f) | |
| // fly planes with different speed so that they look separately on the screen | |
| valueAnimator.duration = (pathMeasure.length * random.nextInt(3,8)).toLong() | |
| valueAnimator.interpolator = AccelerateDecelerateInterpolator() | |
| valueAnimator.addUpdateListener { | |
| distance = it.animatedValue as Float | |
| pathMeasure.getPosTan(distance * pathMeasure.length, pos, tan) | |
| val planeX = pos[0] | |
| val planeY = pos[1] | |
| plane.x = planeX | |
| plane.y = planeY | |
| val degrees = atan2(tan[1], tan[0]) * 180.0 / Math.PI | |
| plane.rotation = degrees.toFloat() - 180 | |
| } | |
| valueAnimator.doOnEnd { | |
| if (pathMeasure.nextContour()) { | |
| flyPlane(plane, pathMeasure) | |
| } | |
| } | |
| valueAnimator.start() | |
| } |

If you find it interesting you can find complete code on my Github
This article was originally published on proandroiddev.com on June 30, 2022


