

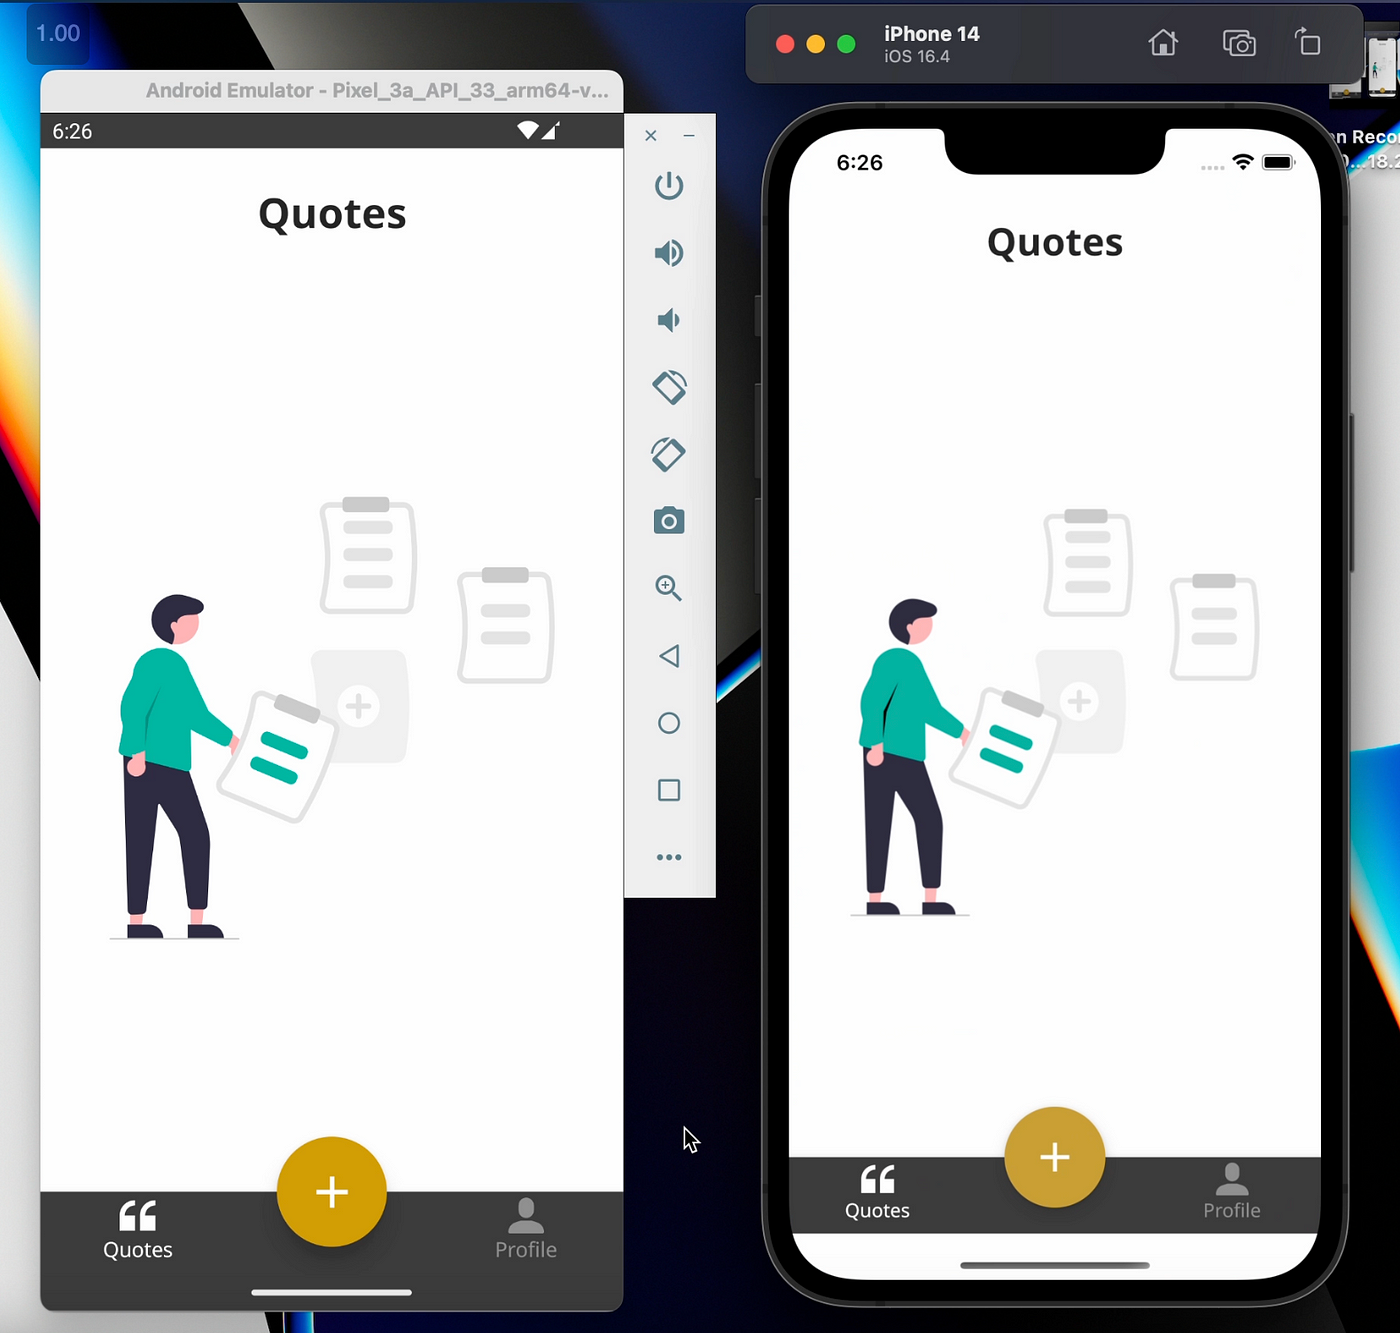
In this article, I will walk you through my personal experience and the strategies I followed to successfully make my Android Quotes app to work on iOS too without writing any Swift code using Kotlin Multiplatform and JetBrains Multiplatform Compose🚀. At the end of the migration process, the Quotes app became a MultiModular + KMM project.
You can check out the pull request of migration process: https://github.com/mirzemehdi/quotesapp/pull/8
Along the way, I encountered various challenges, but do not worry — I will also explain how I overcame those issues. So, if you’re curious about magic power of Kotlin Multiplatform and JetBrains Multiplatform Compose, keep reading to uncover the exciting journey of enabling cross-platform functionality for your app.
Before I began migrating, I had a few goals in my mind:
- Make my app work on multiple platforms without too much effort.
- Delay dealing with iOS-specific code or Swift code for as long as possible, and provide mocks instead
- Move my Android app to Kotlin Multiplatform and Multiplatform Compose completely, ensuring it runs smoothly on Android.
- Provide real implementations and solve any issues related to iOS compatibility at the final stage.
Since this is a small project, it was okay to focus on iOS compatibility later on. For larger projects, I would aim for incremental iOS results during the migration process for smoother transitions.
See the image below for a visual comparison of the app architecture before and after the migration process.
 App architecture
Since the project is developed using modularization, I was able to migrate each module individually. My main approach was to create an empty shared module and gradually migrate each submodule to this shared module one by one. As I migrated each module, I focused on addressing different challenges specific to each module. Here’s a simplified overview of the steps I followed:
- Core Module: I started with the core module, which was UI-independent. This helped me understand the basics of Kotlin Multiplatform development, such as initial setup, dependencies, and the usage of expect/actual declarations in .
- Profile Feature Module: Next, I migrated the profile feature module, which had static views and didn’t require ViewModels or data fetching. This allowed me to explore how JetBrains Compose Multiplatform works without getting into resource sharing complexities.
- UI Module: This stage involved focusing on resource sharing, including fonts, themes, and other UI-related components.
- Quotes Feature Module: The quotes feature module was more complex, involving ViewModels and Navigation. I tackled this module after gaining a better understanding of the multiplatform setup.
Now, let’s dive into the technical details and specifically discuss the issues I encountered during the migration process, along with the solutions I implemented to overcome them.
First step — Set up your environment, which involves installing Xcode and the Kotlin Multiplatform plugin. For detailed instructions, you can refer to the official guide https://kotlinlang.org/docs/multiplatform-mobile-setup.html#install-the-necessary-tools
Second step (MAIN STEP) — Add these to your gradle.properties file
kotlin.mpp.enableCInteropCommonization=true
kotlin.mpp.androidSourceSetLayoutVersion=2
kotlin.mpp.stability.nowarn=true
org.jetbrains.compose.experimental.uikit.enabled=true
kotlin.native.cacheKind=none
During the migration, I encountered different kinds of issues that were hard to solve through online searches as the technology is still new. Thankfully, the JetBrains team on the Kotlin Slack channel quickly provided helpful workarounds and most of the time it was related to gradle.properties. So make sure you add these to your gradle.properties file and you will save a lot of time.
OUR VIDEO RECOMMENDATION


Jobs
Third step — Creating empty shared multiplatform library module
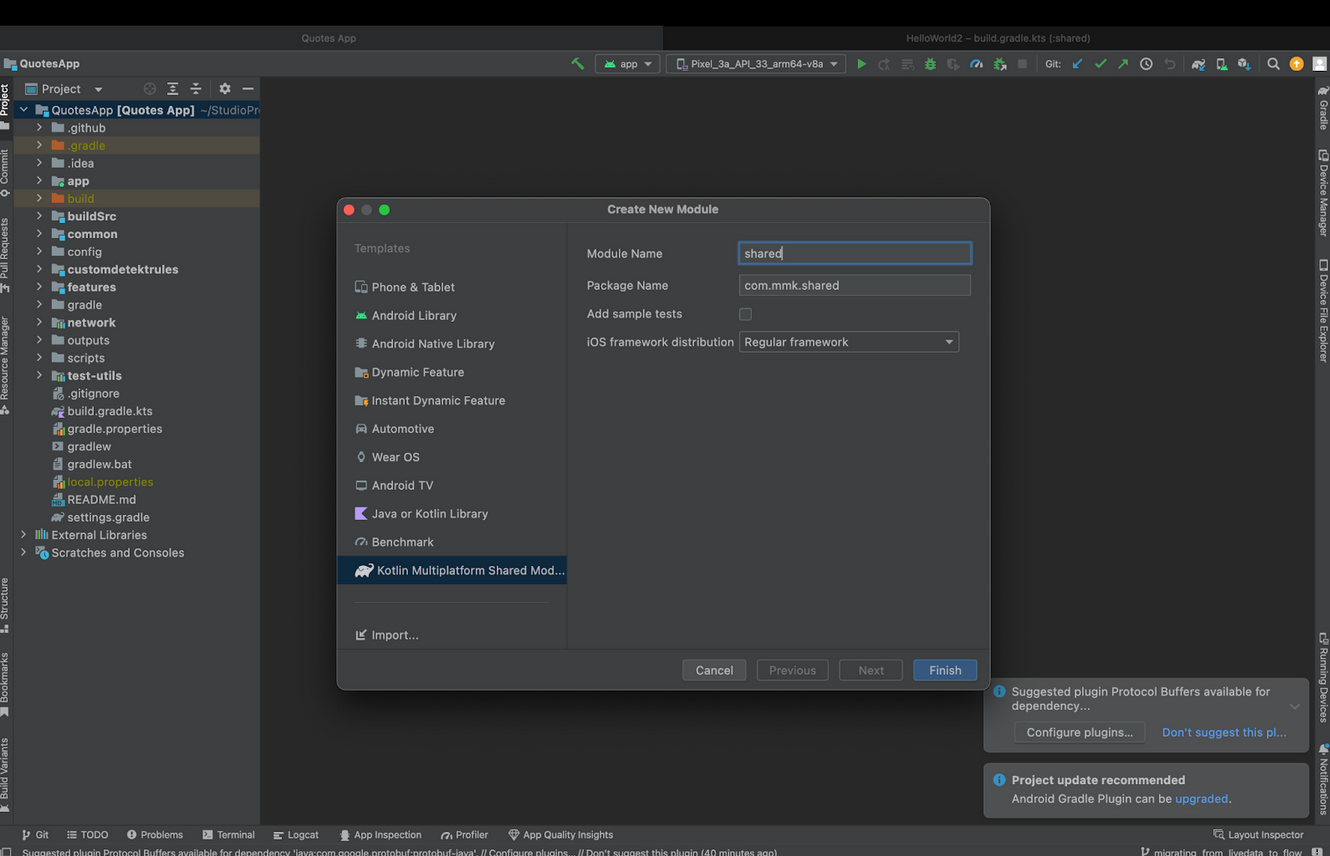 empty shared module
By default, the .gitignore file is not automatically generated by the plugin. You can manually create the .gitignore file and include the following entries:
/build
.gradle
Then each module will be created inside this shared module.
Fourth step — Migration of modules
Core module mainly consisted of pure Kotlin code, with the exception of the NetworkHandler class, which checked for internet connectivity. Other than that since the common:core module didn’t have any Android dependencies, I thought that copying and pasting the files to the commonMain source set in the :shared:common:core module would be enough to complete the migration process. However, I encountered a couple of issues:
1) The first issue was related to coroutines, the unavailability of Dispatcher.IO in the common source set. However, I was able to resolve this by updating the coroutine version to 1.7.1, which made Dispatcher.IO available for multiplatform in the latest version.
2) The second issue I faced was related to the logging library, Timber. Since Timber is not compatible with multiplatform, I had to search for an alternative multiplatform logging library (Napier logging library). The challenging part was replacing all instances of Timber with the new library implementation throughout the codebase. This experience taught me an important lesson: whenever I use a new library, it’s best to create a boundary, such as an interface, so that my app’s business logic remains independent of any specific library implementation. This approach leads to cleaner code and makes it easier to change libraries in the future. I have shared more detailed information about this in my blog, which you can find at https://medium.com/@mirzemehdi/create-boundaries-over-libraries-before-it-is-too-late-2ff2a3eb60b5
3) The next challenge I encountered was with the NetworkClass, which involved checking for internet connectivity. Since this functionality is platform-specific, I utilized the expect and actual concept in multiplatform development. And with the help of Koin, I was able to provide the necessary platform-specific implementation. Again, I have provided more detailed information about this in my article. https://medium.com/proandroiddev/achieving-platform-specific-implementations-with-koin-in-kmm-5cb029ba4f3b
4) Another issue I faced was related to a top-level file in the common module. The file had the same name(CoreModule) in both the Android and iOS modules, causing an error (Duplicate JVM class name).
There is also open issue related to this problem: https://youtrack.jetbrains.com/issue/KT-21186.
To solve this, I simply renamed the files using a naming convention. I added a prefix indicating the platform, such as AndroidCoreModule and IosCoreModule, and this resolved the conflict.
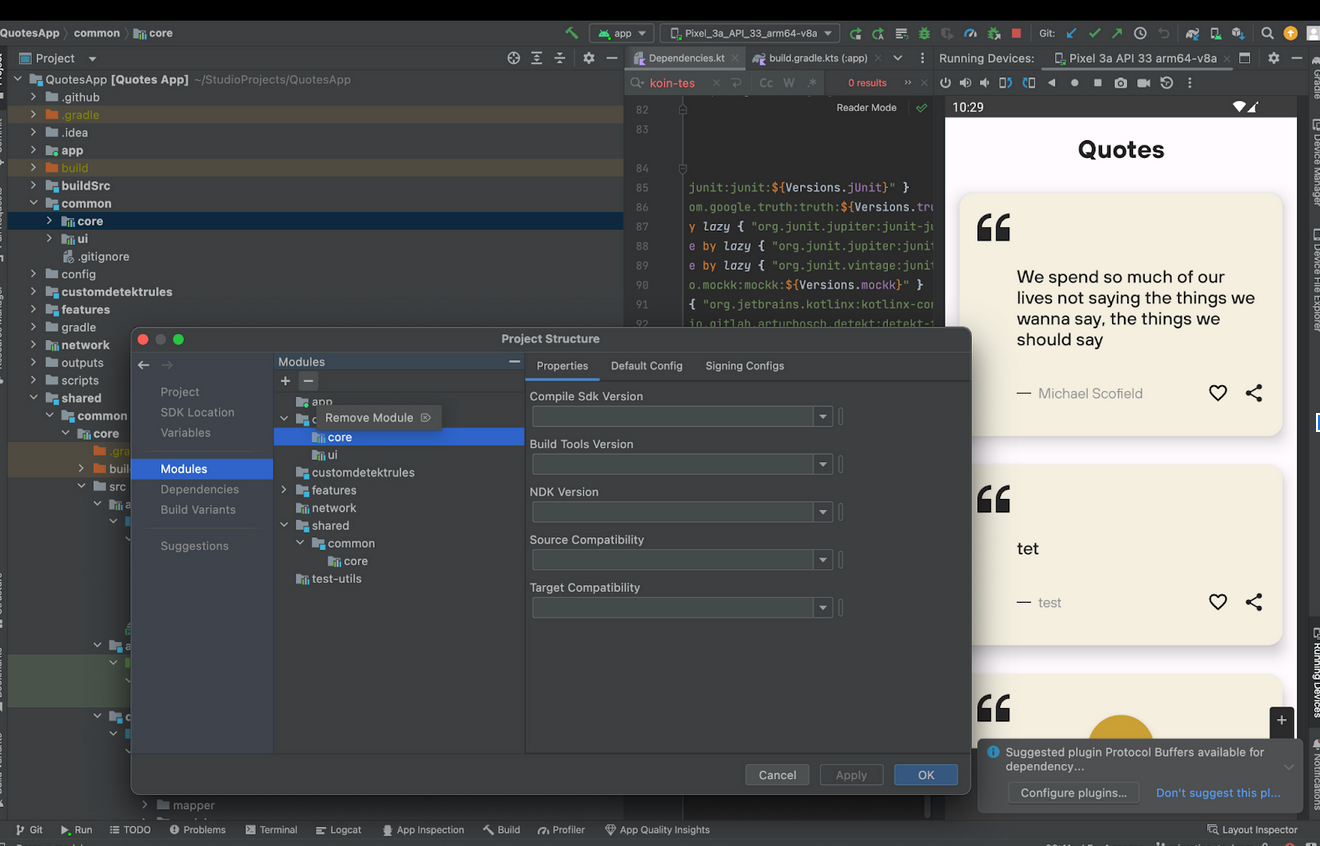
After making these changes, the core module became a fully KMM module. I could then remove the old core module, as it was no longer needed. To ensure progress, I tested the main application using the shared core module files. If everything worked as expected, it indicated that I was moving in the right direction. Removing the “old” core module was a great feeling 🙂
Yess, you can find my favorite quote on the right side 😀
The migration of the profile feature module was surprisingly straightforward since I had already addressed the multiplatform issues. For the view I was literally using the same Jetpack Compose ones as it was before. Finally, I removed the old profile feature module but kept the navigation part in the androidMain source set to ensure the Android application remained functional. I would say that the profile module caused me fewer headaches during the migration process.
In the common UI module, the main challenge I faced was resource sharing. To overcome this, I used the “moko-resources” library. This library helps for managing and sharing resources across different platforms.
When it came to the quotes feature module, the primary challenges I encountered revolved around Navigation and ViewModel implementation. These two aspects required careful consideration and research to ensure they functioned in the multiplatform environment.
During the migration process, I was checking the implementation of different projects from a modularization and multiplatform perspective in KMM. For the ViewModel aspect, I found KampKit’s approach to be the simplest and most convenient to implement.
- https://github.com/touchlab/KaMPKit (multiplatform perspective)
- https://github.com/JetBrains/compose-multiplatform/tree/master/examples/todoapp/ (modularization perspective)
And for navigation, I chose this library that was simple to implement and aligned well with the app’s existing architecture. (https://github.com/chRyNaN/navigation).
Later on, I discovered the Voyager navigation library for multiplatform (https://github.com/adrielcafe/voyager ), which seems promising. While I didn’t implement it during this migration process, I’m considering using it in the future for better navigation capabilities.
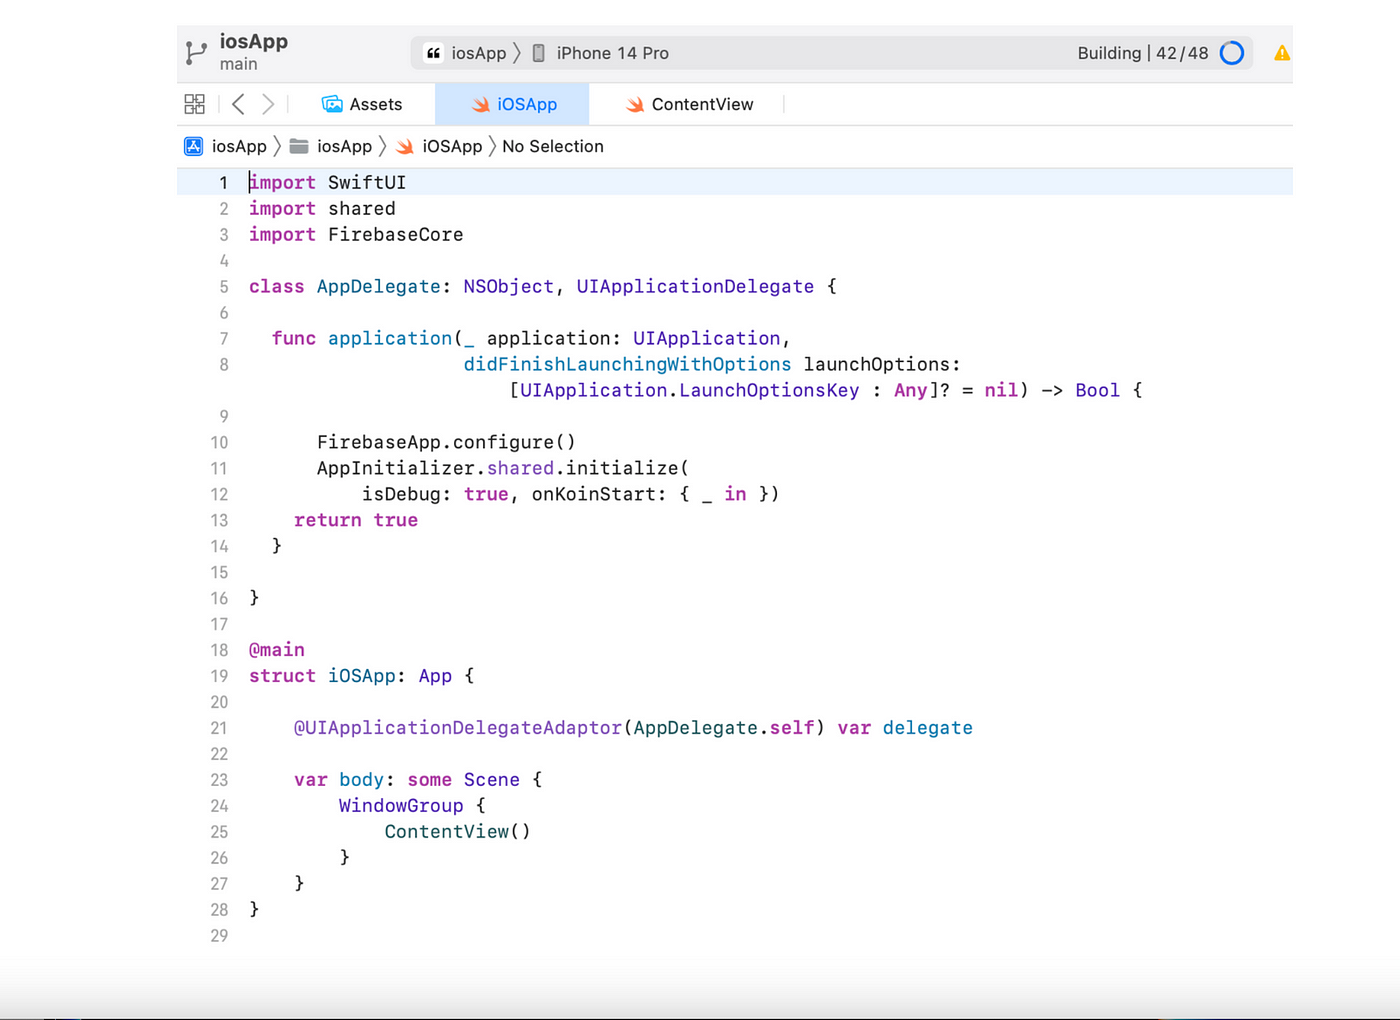
Finally, I created a root module that included all the necessary modules, and providing main root view for different platforms simplifying the integration process, especially for iOS, where a single framework was required. When it comes to the iOS part, there is a limitation that only Cocoapods framework can be used yet. However, this is not an issue, as you can simply copy and paste the framework from the project root build.gradle file. Additionally, for the iOS project, I used the iosApp folder from the official Jetbrains sample and made some minor modifications to suit my project’s needs.
https://github.com/JetBrains/compose-multiplatform-ios-android-template#readme
And finally, that is the only part of Swift code, and it was ChatGpt who wrote for me.
These were the challenges I encountered during the migration process. You can check out the latest code from the main branch: https://github.com/mirzemehdi/quotesapp
This article was previously published on proandroiddev.com


