

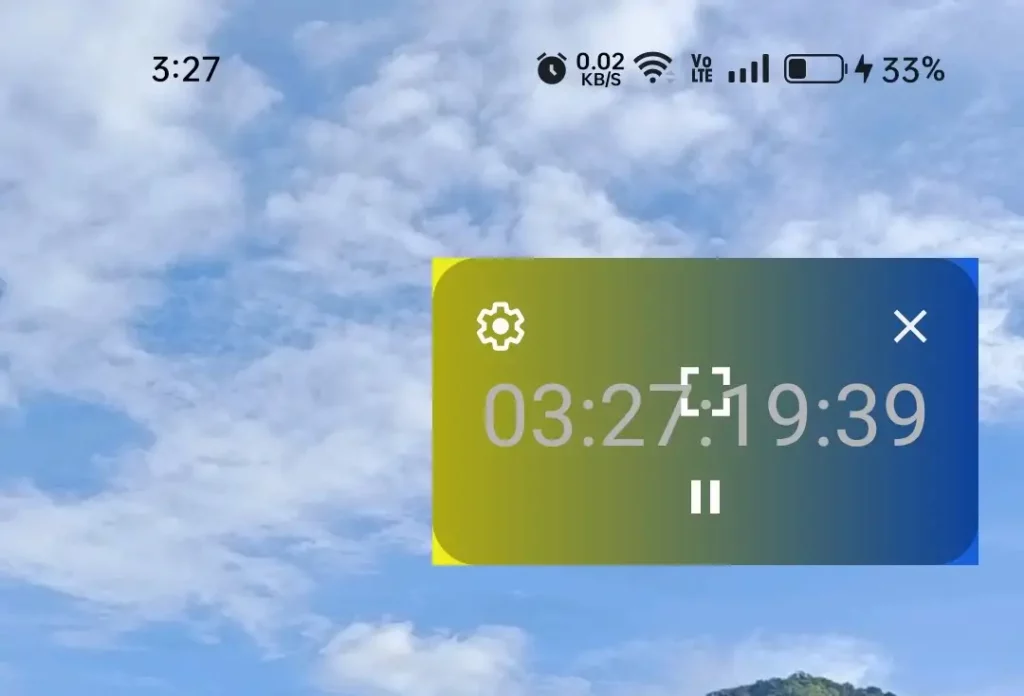
PiP is a special type of multi-window mode mostly used for video playback. It lets the user watch a video in a small window pinned to a corner of the screen while navigating between apps or browsing content on the main screen.
We can add Pip Support in a few steps by creating a simple time-showing app:
Checkout my repo link
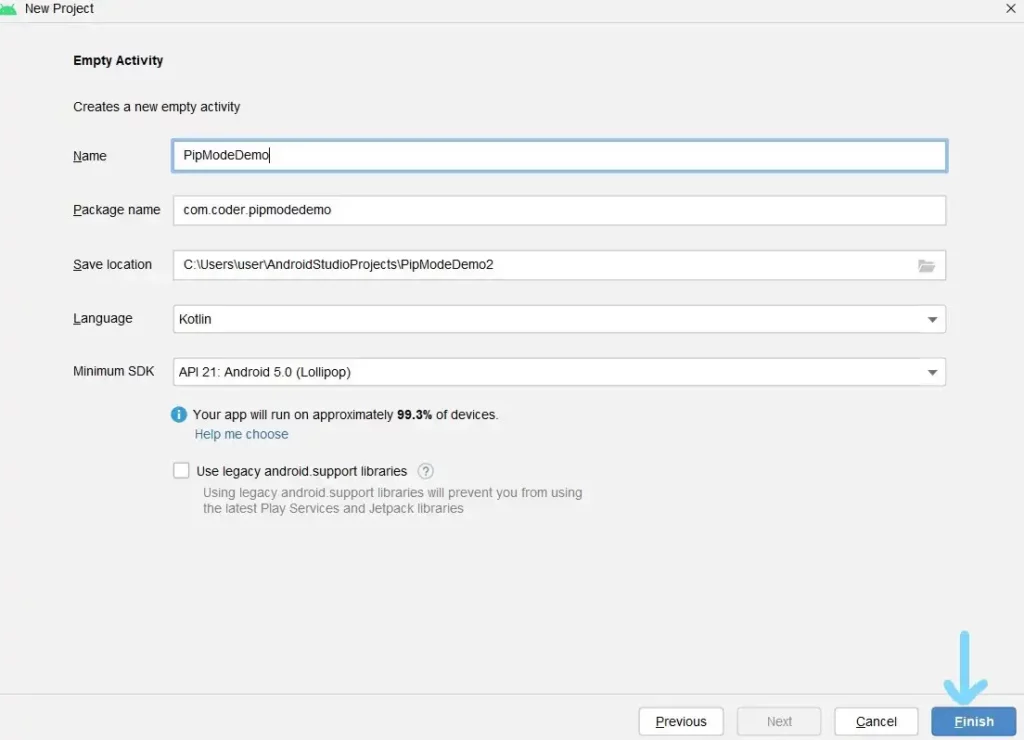
Step 1: create a new android project PipModeDemo
Step 2:
You need to enable pip mode in the desired activity. Also, specify that your activity handles layout configuration changes so that your activity doesn’t relaunch when layout changes occur during PiP mode transitions.
android:configChanges="screenSize|smallestScreenSize|screenLayout|orientation"
android:supportsPictureInPicture="true"
Step 3: Create the layout of your activity.
| <androidx.constraintlayout.widget.ConstraintLayout | |
| xmlns:android="http://schemas.android.com/apk/res/android" | |
| xmlns:app="http://schemas.android.com/apk/res-auto" | |
| xmlns:tools="http://schemas.android.com/tools" | |
| android:id="@+id/main" | |
| android:layout_width="match_parent" | |
| android:layout_height="match_parent" | |
| android:orientation="vertical"> | |
| <View | |
| android:id="@+id/stopwatch_background" | |
| android:layout_width="0dp" | |
| android:layout_height="0dp" | |
| android:background="@color/red" | |
| app:layout_constraintBottom_toBottomOf="parent" | |
| app:layout_constraintDimensionRatio="16:9" | |
| app:layout_constraintEnd_toEndOf="parent" | |
| app:layout_constraintStart_toStartOf="parent" | |
| app:layout_constraintTop_toTopOf="parent" | |
| app:layout_constraintVertical_bias="0" /> | |
| <ImageButton | |
| android:id="@+id/start_or_pause" | |
| android:layout_width="@dimen/button_size" | |
| android:layout_height="@dimen/button_size" | |
| android:layout_margin="@dimen/spacing_medium" | |
| android:background="?attr/selectableItemBackgroundBorderless" | |
| android:src="@drawable/ic_play_arrow_24dp" | |
| app:layout_constraintBottom_toBottomOf="@id/stopwatch_background" | |
| app:layout_constraintEnd_toEndOf="@id/stopwatch_background" | |
| app:layout_constraintTop_toTopOf="@id/stopwatch_background" | |
| app:tint="@android:color/white" /> | |
| <TextView | |
| android:id="@+id/time" | |
| android:layout_width="0dp" | |
| android:layout_height="0dp" | |
| android:layout_margin="@dimen/spacing_medium" | |
| android:autoSizeTextType="uniform" | |
| android:gravity="center" | |
| android:maxLines="1" | |
| android:textColor="@android:color/white" | |
| app:layout_constraintBottom_toBottomOf="@id/stopwatch_background" | |
| app:layout_constraintEnd_toStartOf="@id/start_or_pause" | |
| app:layout_constraintStart_toStartOf="parent" | |
| app:layout_constraintTop_toTopOf="@id/stopwatch_background" | |
| tools:text="00:00:00:00" /> | |
| </androidx.constraintlayout.widget.ConstraintLayout> |
Step 4: Now, we have to create a PictureInPictureParams builder to initialize and update activity in Pip Mode.
| private fun updatePictureInPictureParams(started: Boolean): PictureInPictureParams { | |
| val visibleRect = Rect() | |
| binding.timerBackground.getGlobalVisibleRect(visibleRect) | |
| val params = PictureInPictureParams.Builder() | |
| .setActions( | |
| listOf( | |
| if (started) { | |
| createRemoteAction( | |
| R.drawable.ic_pause_24dp, | |
| R.string.pause, | |
| START_OR_PAUSE_TIME, | |
| CONTROL_TYPE_START_OR_PAUSE | |
| ) | |
| } else { | |
| createRemoteAction( | |
| R.drawable.ic_play_arrow_24dp, | |
| R.string.start, | |
| START_OR_PAUSE_TIME, | |
| CONTROL_TYPE_START_OR_PAUSE | |
| ) | |
| } | |
| ) | |
| ) | |
| .setAspectRatio(Rational(16, 9)) | |
| .setSourceRectHint(visibleRect) | |
| .setAutoEnterEnabled(true) | |
| .setSeamlessResizeEnabled(false) | |
| .build() | |
| setPictureInPictureParams(params) | |
| return params | |
| } |
Now depending on whether the timer has started or not we change our RemoteAction and we have to handle actions using a broadcast receiver. and to enter pip mode in Android 12 and above add this
.setAutoEnterEnabled(true)
private val broadcastReceiver = object : BroadcastReceiver() {

    override fun onReceive(context: Context?, intent: Intent?) {
        if (intent == null || intent.action != ACTION_TIMER_CONTROL) {
            return
        }
        when (intent.getIntExtra(CONTROL_TYPE, 0)) {
            CONTROL_TYPE_START_OR_PAUSE -> viewModel.startOrPause()
        }
    }
}
Step 6: Now, we need to know when the activity has entered pip mode or not. so using onPictureInPictureModeChanged we can decide which view to make visible or invisible.
override fun onPictureInPictureModeChanged(
    isInPictureInPictureMode: Boolean,
    newConfig: Configuration
) {
    super.onPictureInPictureModeChanged(isInPictureInPictureMode, newConfig)
    if (isInPictureInPictureMode) {
        binding.startOrPause.visibility = View.GONE
    } else {
        binding.startOrPause.visibility = View.VISIBLE
    }
}
Step 7: Now for Android 11 and below you need to enable pip mode when the user leaves and goes to the background.
override fun onUserLeaveHint() {
    super.onUserLeaveHint()
    viewModel.started.observe(this) { started ->
        binding.startOrPause.setImageResource(
            if (started) R.drawable.ic_pause_24dp else R.drawable.ic_play_arrow_24dp
        )
        enterPictureInPictureMode(updatePictureInPictureParams(started))
    }
}
using onUserLeaveHint() callback you can enable pip mode.
Now to go to pip mode you need to call the method enterPictureInPictureMode()
Step 8: Creating ViewModel is fairly simple.
| class MainViewModel: ViewModel() { | |
| private var job: Job? = null | |
| private val timeMillis = MutableLiveData("00:00:00") | |
| private val _started = MutableLiveData(false) | |
| val started: LiveData<Boolean> = _started | |
| val time = timeMillis | |
| private val sdf = SimpleDateFormat("hh:mm:ss:SS", Locale.US) | |
| fun startOrPause() { | |
| if (_started.value == true) { | |
| _started.value = false | |
| job?.cancel() | |
| } else { | |
| _started.value = true | |
| job = viewModelScope.launch { start() } | |
| } | |
| } | |
| private suspend fun CoroutineScope.start() { | |
| while (isActive) { | |
| timeMillis.value = sdf.format(Date()) | |
| awaitFrame() | |
| } | |
| } | |
| } |
Here we simply create a job and cancel or start depending on the user’s choice.
Output
Thank You For Reading
This article was originally published on proandroiddev.com


