

In today’s application development communication between clients and servers is a very crucial aspect. Whether we need a live stream of data, push notifications, data syncing with the backend, etc. We need some sort of approach for these communications based on the use case.
Some of them are REST, Websockets, Polling, Server-Sent Events, etc.
Each of them has its own characteristics and benefits but we will look at Server-Sent Events in today’s article.
What are Server-Sent Events?
Server-Sent Events (SSE) is a long-lived HTTP connection over which a server can send events to its clients in real-time. It provides a simple and efficient way to push data from the server to the client, allowing for real-time notifications, live updates, streaming data, etc.
SSE is based on an event-driven model, where the server sends events to the client whenever there is new data or information available. Each event consists of a message with an optional event name and data payload.
It is a unidirectional connection where only the server can send the events and clients can only listen to it.
SSE vs Websockets
Websockets are also used for real-time connection but unlike SSE, they use a bidirectional communication channel in which both clients and server can send and listen to events and vice-versa.
Hence, whenever we need to build messaging applications where clients and servers trigger and listen to events, we use WebSockets. But when we need to build applications which include monitoring changes of data from the backend (like a stock market graph application), we use SSE.
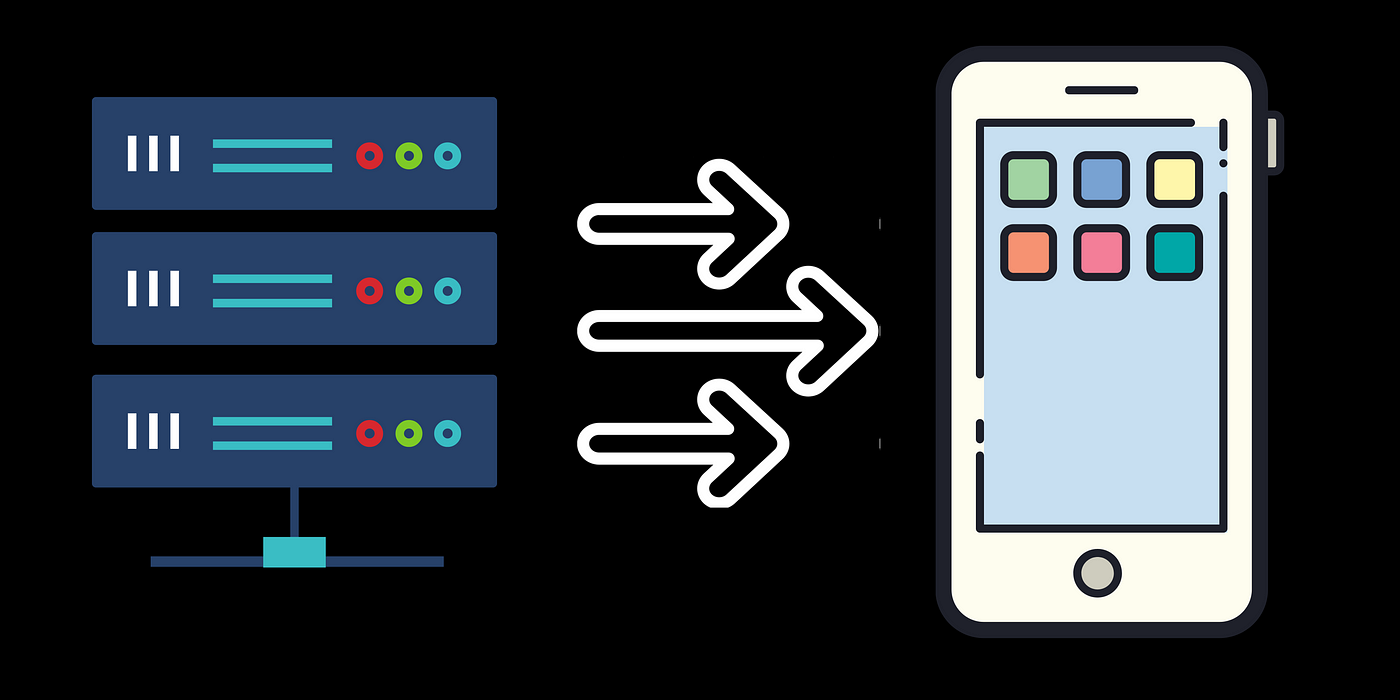
In this article, we will explore how to create an Android application that utilizes Server-Sent Events (SSE) for real-time communication with a Node.js backend. We will demonstrate this by building an application that maintains a collection of images and updates the client application whenever a new image is added.
Backend Setup:
To begin, let’s set up the backend using Node.js and Express. We will create an Express server that maintains two arrays: one for clients and another for images. Additionally, we will define three endpoints:
- /status (GET): Returns the current number of active clients.
- /images (GET): Creates an event stream of images from the images[] array.
- /images (POST): Adds an image to the images[] array, which can be received by clients through the event stream.
const express = require('express');
const bodyParser = require('body-parser');
const cors = require('cors');

const app = express();

app.use(cors());
app.use(bodyParser.json());
app.use(bodyParser.urlencoded({extended: false}));

app.get('/status', (request, response) => response.json({clients: clients.length}));

const PORT = 3000;

let clients = [];
let images = [];

function imagesHandler(request, response, next) {
    const headers = {
      'Content-Type': 'text/event-stream',
      'Connection': 'keep-alive',
      'Cache-Control': 'no-cache'
    };
    response.writeHead(200, headers);

    const data = `data: ${JSON.stringify(images)}\n\n`;

    response.write(data);

    const clientId = Date.now();

    const newClient = {
      id: clientId,
      response
    };

    clients.push(newClient);

    request.on('close', () => {
      console.log(`${clientId} Connection closed`);
      clients = clients.filter(client => client.id !== clientId);
    });
}

app.get('/images', imagesHandler);


function sendImagesToAll(newImage) {
    clients.forEach(client => client.response.write(`data: ${JSON.stringify(newImage)}\n\n`))
}

async function addImage(request, respsonse, next) {
    const newImage = request.body;
    images.push(newImage);
    respsonse.json(newImage)
    return sendImagesToAll(newImage);
}

app.post('/images', addImage);

app.listen(PORT, () => {
  console.log(`Server running at http://localhost:${PORT}`)
})
Jobs
Android Client Implementation:
Now, let’s dive into building the Android client application. Here’s a step-by-step guide:
Repository Class:
— Create a Repository class that acts as the data layer and manages connections to the backend.
— Initialize an OkHttp client, an SSE Request, and an EventSourceListener. These components are used to create an EventSource factory within the Repository’s constructor.
private val sseClient = OkHttpClient.Builder()
    .connectTimeout(6, TimeUnit.SECONDS)
    .readTimeout(10, TimeUnit.MINUTES)
    .writeTimeout(10, TimeUnit.MINUTES)
    .build()

private val sseRequest = Request.Builder()
    .url(EVENTSURL)
    .header("Accept", "application/json")
    .addHeader("Accept", "text/event-stream")
    .build()

private val sseEventSourceListener = object : EventSourceListener() {
    override fun onClosed(eventSource: EventSource) {}

    override fun onEvent(eventSource: EventSource, id: String?, type: String?, data: String) {}

    override fun onFailure(eventSource: EventSource, t: Throwable?, response: Response?) {}

    override fun onOpen(eventSource: EventSource, response: Response) {}
}

init {
    initEventSource()
}

private fun initEventSource() {
    EventSources.createFactory(sseClient)
        .newEventSource(request = sseRequest, listener = sseEventSourceListener)
}
SSEEvent Model:
— Define an SSEEvent model class to hold the data received from the server throughout the application.
data class SSEEventData(
    val status: STATUS? = null,
    val image: String? = null
)

enum class STATUS {
    SUCCESS,
    ERROR,
    NONE,
    CLOSED,
    OPEN
}
Create a Flow:
— Add a mutableStateFlow of SSEEvent in the repository, which will be consumed by the ViewModel.
var sseEventsFlow = MutableStateFlow(SSEEventData(STATUS.NONE))
private set

private val sseEventSourceListener = object : EventSourceListener() {
      override fun onClosed(eventSource: EventSource) {
          super.onClosed(eventSource)
          ---- do something ----
          val event = SSEEventData(STATUS.CLOSED)
          sseEventsFlow.tryEmit(event)
      }

      override fun onEvent(eventSource: EventSource, id: String?, type: String?, data: String) {
          super.onEvent(eventSource, id, type, data)

          ---- do something ----
          val event = SSEEventData(STATUS.SUCCESS)
          sseEventsFlow.tryEmit(event)
      }

      override fun onFailure(eventSource: EventSource, t: Throwable?, response: Response?) {
          super.onFailure(eventSource, t, response)
          t?.printStackTrace()
          val event = SSEEventData(STATUS.ERROR)
          sseEventsFlow.tryEmit(event)
      }

      override fun onOpen(eventSource: EventSource, response: Response) {
          super.onOpen(eventSource, response)
          val event = SSEEventData(STATUS.OPEN)
          sseEventsFlow.tryEmit(event)
      }
  }
ViewModel:
— Consume the flow from the repository and map it to a LiveData object.
— LiveData is lifecycle-aware by default, ensuring seamless updates to the UI.
var sseEvents = MutableLiveData<SSEEventData>()
private set

fun getSSEEvents() = viewModelScope.launch {
    repository.sseEventsFlow
        .onEach { sseEventData ->
            sseEvents.postValue(sseEventData)
        }
        .catch {
            sseEvents.postValue(SSEEventData(status = STATUS.ERROR))
        }
        .launchIn(viewModelScope)
}
Activity/Fragment:
— Observe the LiveData provided by the ViewModel and update the UI accordingly.
viewModel?.sseEvents?.observe(this) {
    it?.let { event ->
        when(event.status) {

            STATUS.OPEN -> {}

            STATUS.SUCCESS -> {}

            STATUS.ERROR -> {}

            STATUS.CLOSED -> {}

            else -> {}
        }
    }
}
Testing the SSE Implementation
To test the SSE implementation, make an API call to the /images (GET) endpoint from your Android application. This will establish a stream connection between the backend and the client. Whenever you send an API request to /images (POST) using tools like Postman, the backend will trigger an event, which will be received by the client through the established stream connection.
Checkout the repository for complete code here: https://github.com/raystatic/SSE-Android-Node
Let’s connect here: LinkedIn | Twitter
This article was previously published on proandroiddev.com


