

Creating a greyscale modifier in Jetpack Compose and how to make complex composables look disabled.
 Photo by Rodion Kutsaiev on Unsplash
Recently, I needed to make a composable look disabled, my friendly design team wanted something quite complex turned to greyscale and made slightly transparent. And it had to be dynamic with changeable data, so I could not just use a drawable for when the composable was in disabled mode, and overlaying a grey box was just not going to cut it design wise.
My first thought was, filters to the rescue! Couldn’t I could apply a filter to the whole composable and be done with it? Unfortunately, there is no filter wrapper for a composable or filter modifier. But, it is a pretty easy thing to create yourself!
If you just want to convert a simple image to black and white you can of course use a colour filter with a colour matrix and set the saturation to zero.
| val greyScaleFilter = ColorFilter.colorMatrix(ColorMatrix().apply { setToSaturation(0f) }) | |
| Image( | |
| painter = painterResource(drawable.rose), | |
| contentDescription = "Scene", | |
| colorFilter = greyScaleFilter, | |
| modifier = Modifier | |
| ) |
This works so well for a photo:
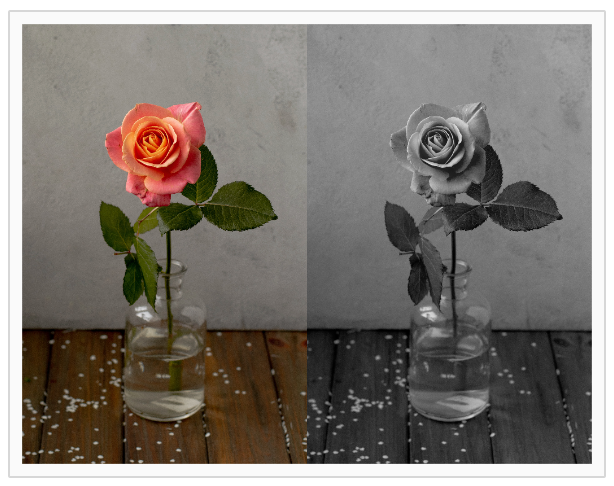
Photo by Olesia 🇺🇦 Buyar on Unsplash
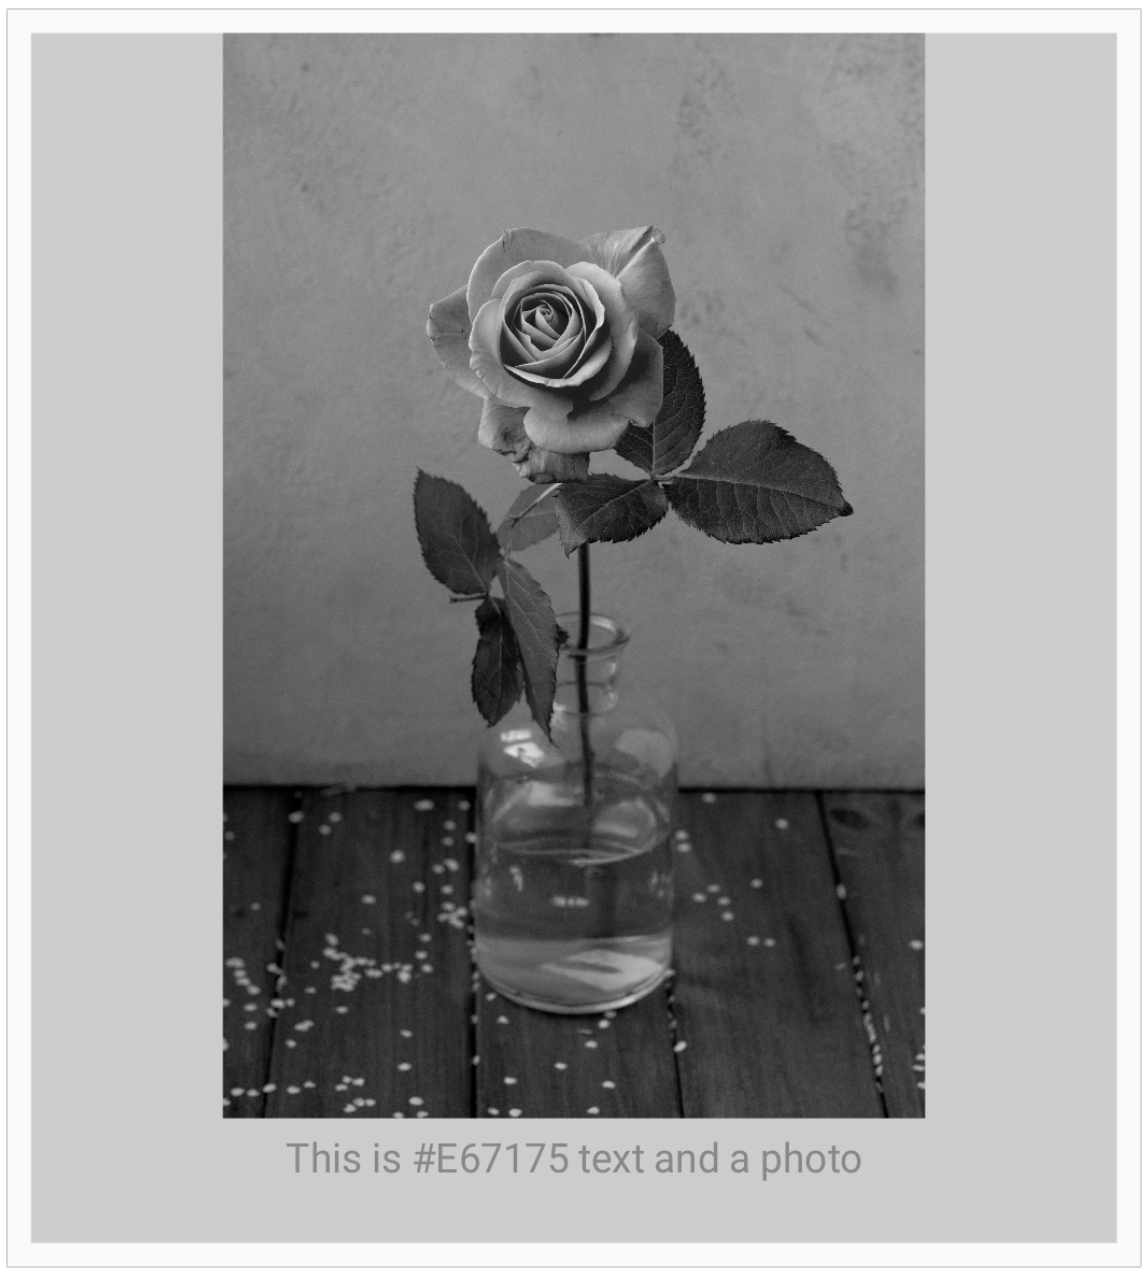
But if your composable involves more than just one photo, especially a more complex or dynamic layout, to acheive the same effect you would need to add logic in many places. For example, for a scene involving a background, photo and some text, the code becomes more complex:
| @Composable | |
| fun PhotoScene(modifier: Modifier = Modifier, showGrey: Boolean) { | |
| val backgroundColor = if (showGrey) { | |
| Color.LightGray | |
| } else { | |
| Sunlight | |
| } | |
| val textColor = if (showGrey) { | |
| Color.Gray | |
| } else { | |
| Pink | |
| } | |
| val photoColorFilter = if (showGrey) { | |
| ColorFilter.colorMatrix(ColorMatrix().apply { setToSaturation(0f) }) | |
| } else { | |
| null | |
| } | |
| Column(modifier.background(backgroundColor)) { | |
| Image( | |
| painter = painterResource(drawable.rose), | |
| contentDescription = "Scene", | |
| colorFilter = photoColorFilter, | |
| modifier = Modifier | |
| .fillMaxWidth() | |
| .aspectRatio(1f) | |
| ) | |
| val hexColor = String.format("#%06X", 0xFFFFFF and Pink.toArgb()) | |
| Text(text = "This is $hexColor text and a photo\n", color = textColor, textAlign = TextAlign.Center, modifier = Modifier.fillMaxWidth().padding(4.dp)) | |
| } | |
| } |
OUR VIDEO RECOMMENDATION


Jobs
Creating a greyscale modifier
I have been recently having fun with creating custom modifiers, so I thought that a good way to apply a filter to an entire composable would be with a modifier.
Here we can create a custom drawing modifier, create the saturation matrix and filter and then apply that to the painting of the drawing layer in the canvas:
| class GreyScaleModifier : DrawModifier { | |
| override fun ContentDrawScope.draw() { | |
| val saturationMatrix = ColorMatrix().apply { setToSaturation(0f) } | |
| val saturationFilter = ColorFilter.colorMatrix(saturationMatrix) | |
| val paint = Paint().apply { | |
| colorFilter = saturationFilter | |
| } | |
| drawIntoCanvas { | |
| it.saveLayer(Rect(0f, 0f, size.width, size.height), paint) | |
| drawContent() | |
| it.restore() | |
| } | |
| } | |
| } | |
| fun Modifier.greyScale() = this.then(GreyScaleModifier()) |
This has the added benefit of removing the saturation evenly so you can use this for dynamic content and colours and not have to manually convert each colour and maintain legibility.
For example, if we start with:
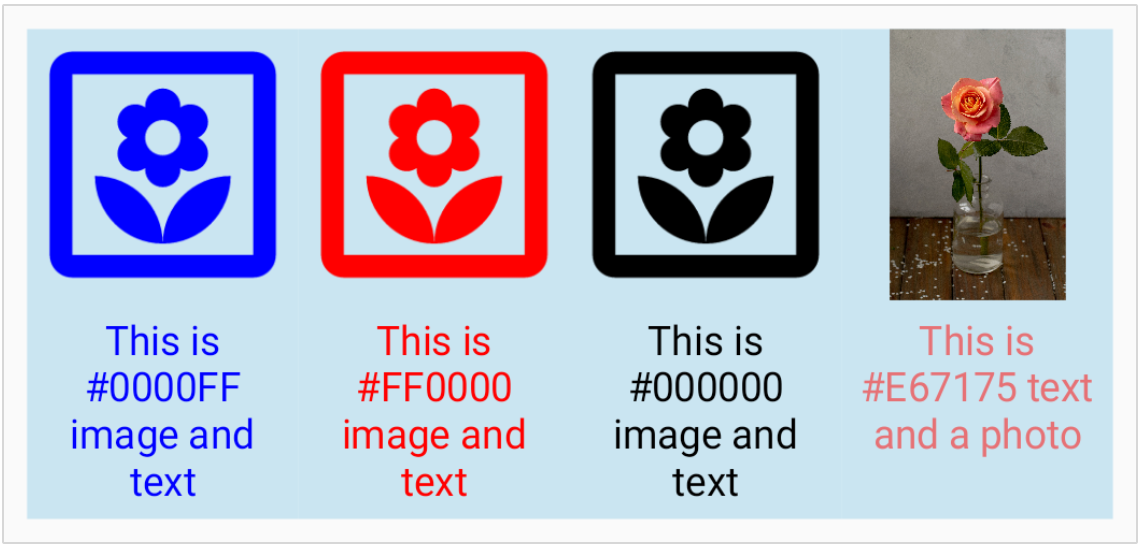
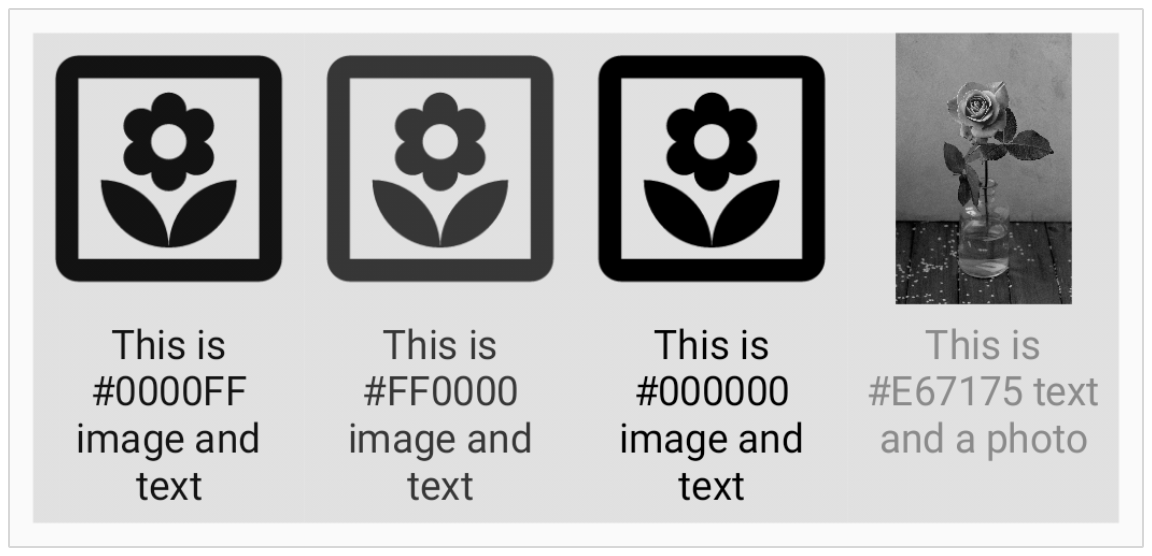
Then apply the modifier at the top level:
| @Composable | |
| fun GreyscaleScene(modifier: Modifier = Modifier) { | |
| Row(modifier.greyScale()) { | |
| SceneContent(color = Color.Blue) | |
| SceneContent(color = Color.Red) | |
| SceneContent(color = Color.Black) | |
| PhotoSceneContent(color = Pink) | |
| } | |
| } |
It will apply consistently to all the images, and still show the shade difference between the images that were in different colours.
Making composables look disabled
As I mentioned above, the original reason I wanted to turn my composables to greyscale was to make them look disabled so the user knows that they could not interact with them. Greyscale alone is not desirable, I needed to add in an alpha modifier. This can be combined into one modifier that can be reused throughout the codebase:
| fun Modifier.disabled() = this.then(greyScale()).then(alpha(0.4f)) |

This looks much better and the code will be much easier to apply, even with conditional modifiers!
| @Composable | |
| fun DisabledScene( | |
| isDisabled: Boolean, | |
| modifier: Modifier = Modifier | |
| ) { | |
| Row( | |
| modifier.conditional(isDisabled, { | |
| disabled() | |
| }) | |
| ) { | |
| SceneContent(color = Color.Blue) | |
| SceneContent(color = Color.Red) | |
| SceneContent(color = Color.Black) | |
| PhotoSceneContent(color = Pink) | |
| } | |
| } |
You can check out the full code and my other Jetpack Compose modifier experiments here:
The code used in this post was inspired by this Stack Overflow question & answers.
While you are at it, check out some other fun I have had with conditional Jetpack Compose Modifiers.
This article was previously published on proandroiddev.com


